104
5-1 Preparing for Recording
Chapter 5 Recording/Playback
Selecting non-audio data as the audio
input signal
Do the procedure below to select non-audio data such as a
Dolby
1)
E or Dolby Digital (AC-3
2)
) signal as the audio
input signal. Use the VTR SETUP menu item 831 “NON
AUDIO SELECT” to select the audio input signal.
1) Dolby is a trademark of Dolby Laboratories.
2) AC-3 is a trademark of Dolby Laboratories.
The following processes are performed for the selected
channels.
• For the input signal, the setting of the VTR SETUP menu
item 831 “NON AUDIO SELECT” takes precedence
over that of the menu item 830 “AUDIO INPUT
SELECT ”.
• For the audio level meters, the whole region lights.
Also, below the input signal display, the word “DATA”
appears in white.
• The analog audio outputs (main line/monitor/
headphones) are muted.
• The audio recording level adjustment itself is possible
for the channel for which “NON AUDIO” is selected,
but the setting does not affect the recording or playback
of DATA.
• Non-audio input channels are selected in stereo pairs.
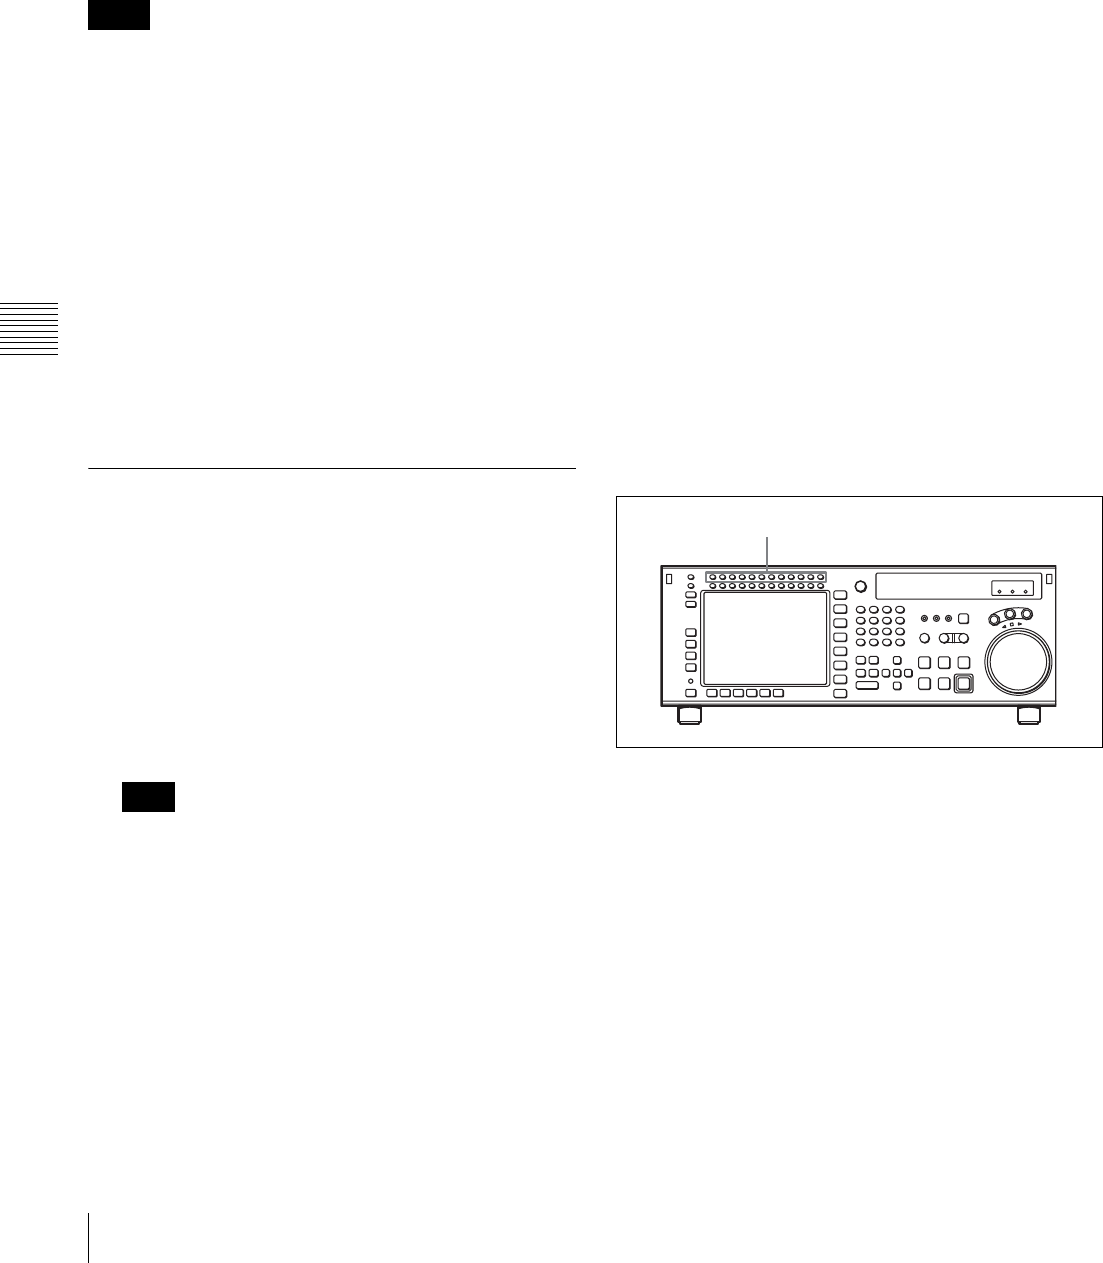
5-1-3 Adjusting the Recording Level
Adjusting the Recording Level
1
Press the REC LEVEL button at the upper left of the
control panel to enter the REC LEVEL adjustment
mode.
A vertical red line appears at the left of the audio level
meter for each channel, indicating the REC LEVEL
adjustment mode.
The adjustment cannot be made with the VIDEO menu
and the VTR SETUP menu.
2
Press the button for the channel for which you want to
carry out the adjustment (common with MONITOR
L), to make the channel active.
An orange border appears around the audio level
meter, indicating that it is active.
3
Use the cursor buttons to make the adjustment.
To escape from the REC LEVEL adjustment mode
Press the REC LEVEL mode button at the upper left of the
control panel once more. The vertical red line at the left of
the audio level meter for each channel disappears or turns
white.
To record at the reference level
In the REC LEVEL adjustment mode, make the channel
active, then press the MULTI CONTROL knob. The
setting becomes the reference value. Press once more to
return to the immediately previous value. Press once more
again to return to the reference value. You can also return
to the reference value with the cursor center button. When
you exit the REC LEVEL adjustment mode, a vertical
white line on the left of the audio level meter is not
displayed.
To record with manual adjustment
In the REC LEVEL adjustment mode, make the channel
active, then at the mean volume make the adjustment with
the MULTI CONTROL knob or cursor R and r buttons so
that the audio level meter is close to the reference 0 dB
level. When you exit the REC LEVEL adjustment mode,
the vertical white line on the left of the audio level meter
and a horizontal red line indicating the setting are
displayed, indicating that the recording level is subject to
manual adjustment.
You can also carry out the recording level adjustment
using the VTR SETUP menu item 832 “ AUDIO REC
LEVEL”.
Selecting the display range of the audio
level meters
You can switch the range of audio level meter display by
pressing the FULL/FINE button on the lower control
panel.
Notes
Note
MONITOR L buttons


