57
Playback
Chapter 3 Recording and Playback
Searching with the Chapter Function
When a clip contains shot marks, you can display them as
chapter thumbnails.
See “To set shot marks” (page 50) about how to set shot
marks.
1
With the thumbnail list visible, select the thumbnail of
the clip that contains the scenes you want.
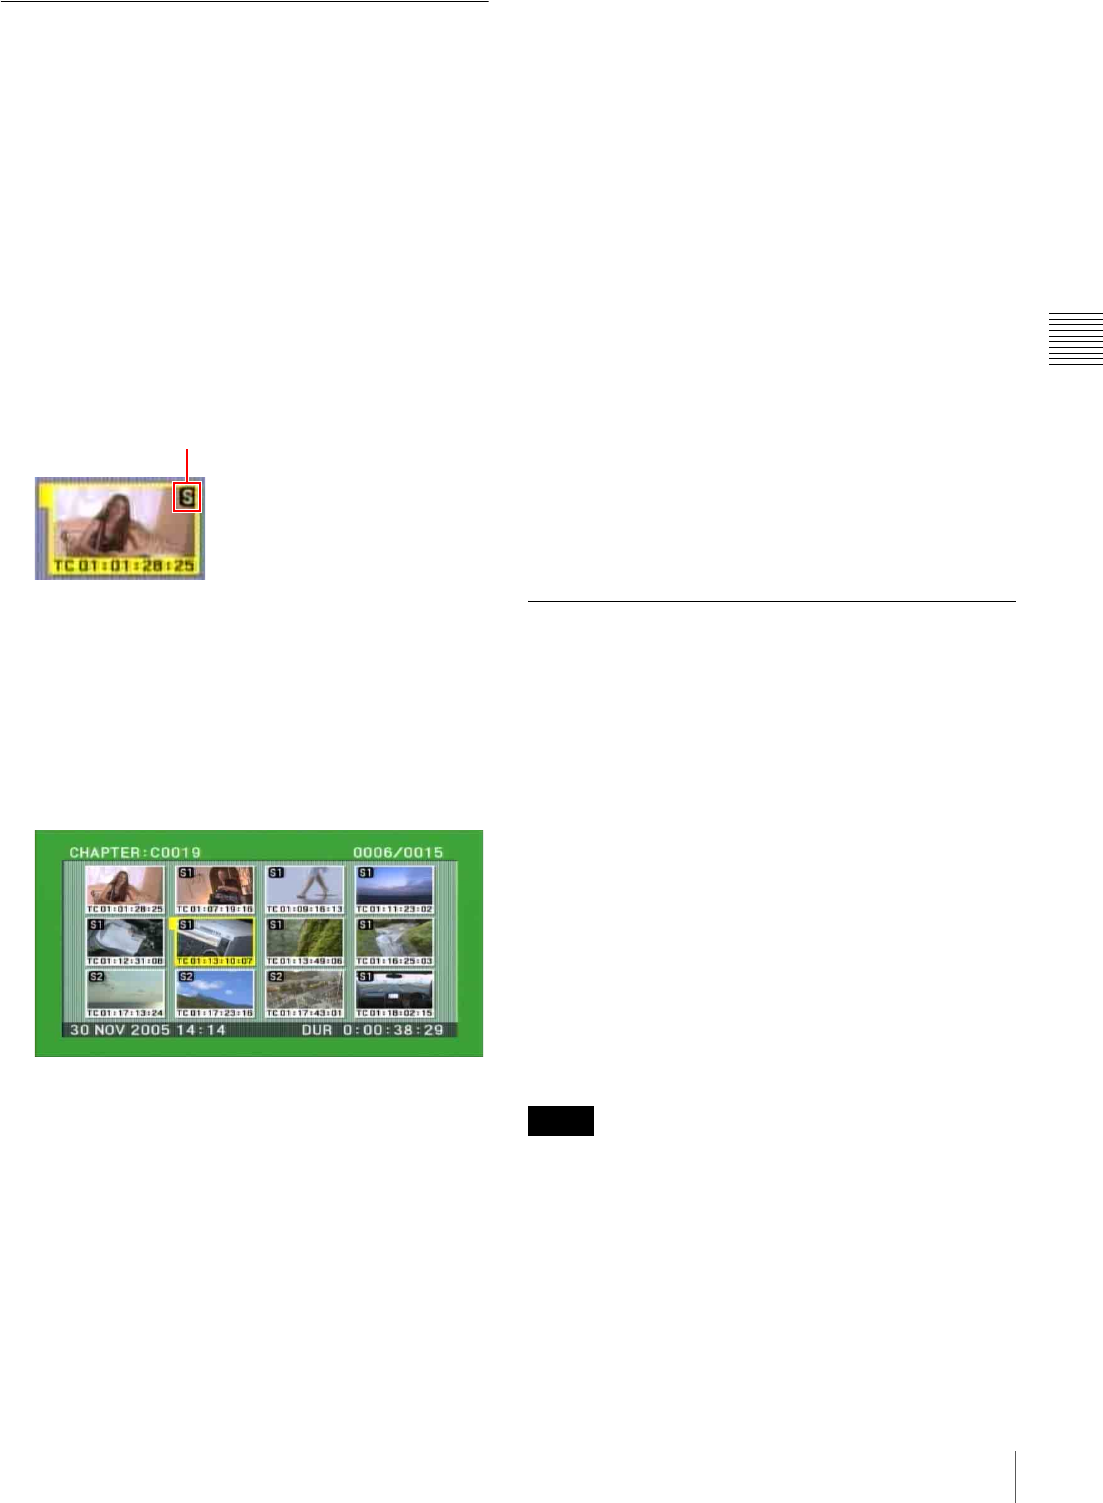
An “S” mark appears in the upper right of clip
thumbnails in the following cases.
• When one or more shot marks have been set in the
clip
• When two or more REC START essence marks have
been set in the clip
2
Press the CHAPTER (F4) button.
The CHAPTER screen appears, showing thumbnails
of the frames where the shot marks are set.
“S1” and “S2” marks on thumbnails indicate frames
where SHOT MARK1 and SHOT MARK2 marks are
set.
Thumbnails without a mark are frames where REC
START marks are set.
3
Select the thumbnail whose frame you want to cue up
(you can do this with the same operations as step 1 of
“To select a thumbnail image and start playback” (see
page 54)).
4
Press the SET button or the PLAY button.
If you press the SET button, a still image appears
showing selected shot mark frame.
If you press the PLAY button, playback starts from the
selected shot mark frame.
To delete shot marks at chapter positions
You can delete shot marks (SHOT MARK1 and SHOT
MARK2) at chapter positions in the CHAPTER screen.
(REC START essence marks cannot be deleted.)
1
With the CHAPTER screen visible, press the CLIP
MENU (SHIFT + SUB CLIP) button or MENU button
to display the clip menu.
2
Select DELETE SHOT MARK.
“DELETE SHOT MARK” appears in the upper left of
the screen.
3
Select the thumbnail image of the shot mark position
to delete.
4
Press the SET button.
A message appears, asking for confirmation of the
deletion.
5
Press OK to execute the deletion or CANCEL to
cancel it, and then press the SET button.
Clip List Playback
You can play back clips in the same order as in a clip list
created using the scene selection function.
See Chapter 4 for more information about scene selection.
Playing back in clip list order
Proceed as follows.
1
If the clip list that you want to play exists on the disc,
load it into the current clip list.
2
Press the SUB CLIP button, turning it on.
3
Press the PLAY button.
Playback begins from the first sub clip in the current
clip list.
• Stop the unit before using the SUB CLIP button. Press
the STOP button if a message appears telling you to stop
the unit.
• Depending on the length of sub clips in the clip list and
their arrangement on the disc, playback may freeze
momentarily between sub clips.
“S” mark
Notes
