49
Recording
Chapter 3 Recording and Playback
To record external timecode directly
(External Preset)
When you use this method, the internal timecode generator
advances without being affected by the external timecode.
To directly record timecode input to the TIME
CODE IN connector
Connect the timecode output of an external device to the
TIME CODE IN connector, and make the following
settings on page P2 of the function menu.
• Set TCG to “EXT”.
• Set TC MODE to “PRESET”.
•Set TC/VITC to “TC”.
Carrying Out Recording
One recording segment (from the start to the end of
recording
1)
) is called a “clip”.
1) In recording with the Clip Continuous Rec function (see page 50) enabled,
a clip is the segment recorded from the start of recording until the function
is stopped or turned off.
See Chapter 4 “Scene Selection” for more information
about clips.
1
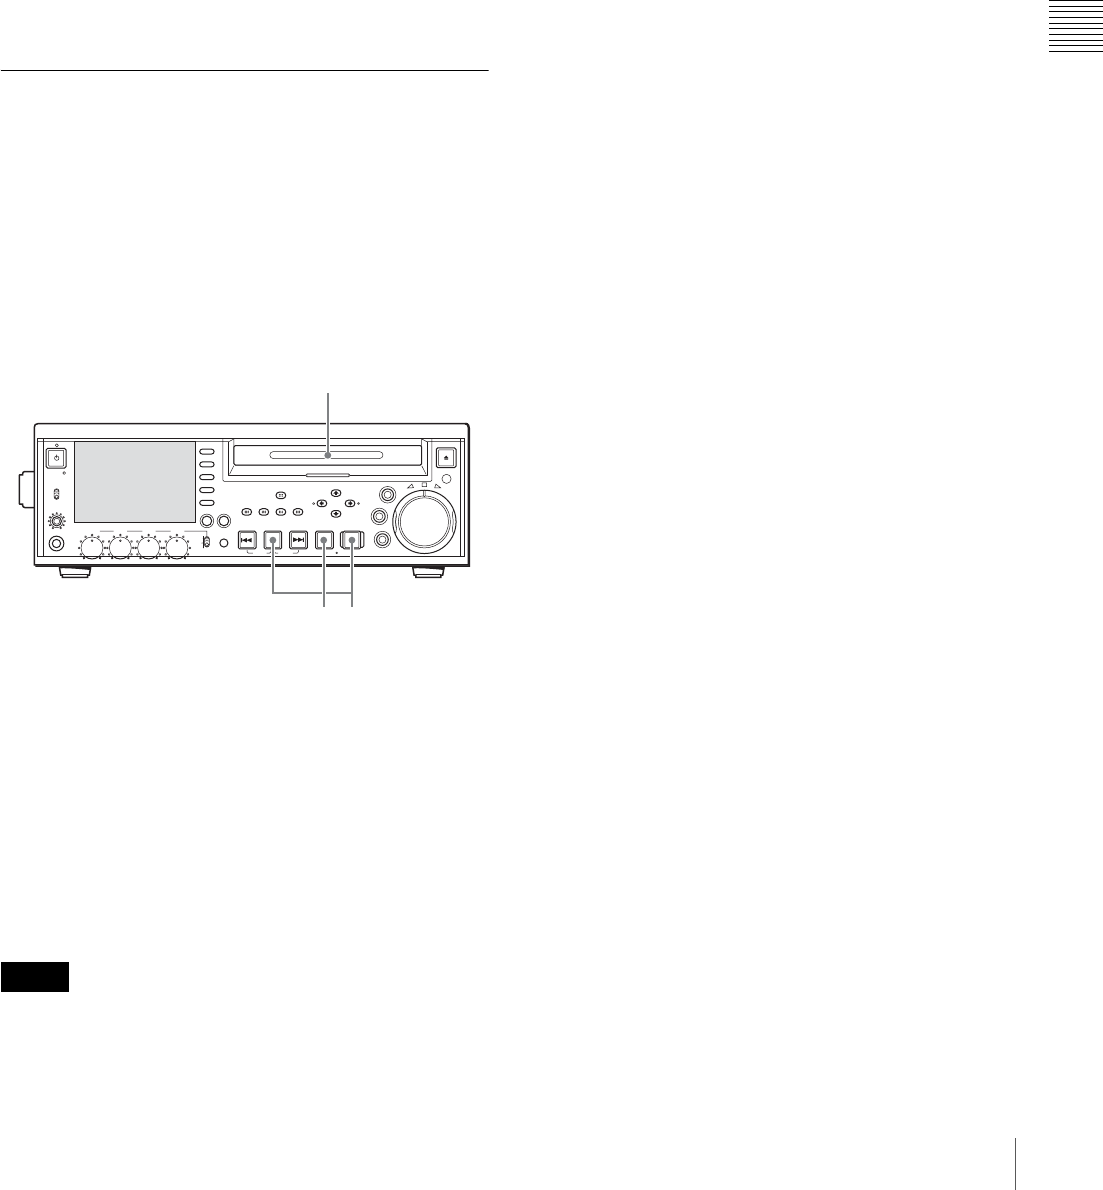
Insert a disc.
2
Hold down the REC button, and press the PLAY
button.
Recording starts.
3
To stop recording, press the STOP button.
If the disc becomes full
Recording stops and the message “ALARM DISC END.”
appears on the monitor.
• The shortest clip that can be recorded is 2 seconds long.
Even if recording start and stop operations are performed
within 2 seconds, a 2-second clip is recorded.
• The maximum number of clips that can be recorded is
300. If the loaded disc already contains 300 clips,
recording with the REC button is not possible. (The
message “Max # Clips” appears in the time data display
section.)
• During recording, do not turn off the POWER switch on
the rear panel or disconnect the power cord. This could
cause the clip being recorded to be lost. For details, see
“Handling of Discs When Recording Does Not End
Normally (Salvage Functions)” on page 45.
To specify the frame to use as the
thumbnail image
You can display a list of thumbnails of all clips on a disc,
and use it to check the recorded content (see page 53).
When the unit is shipped from the factory, it is set up to
display the first frame of each clip as the thumbnail. As
required, you can select another frame to display as the
thumbnail.
For example, if there are several seconds of color bars
recorded at the start of the clip, selecting a frame after the
end of the recording of color bars can make it easier to
identify the clip.
You can use META DATA >INDEX POSITION in the
setup menu to select the position of the thumbnail image
by specifying a number of seconds after the first frame.
The selection range is 0 seconds (0 SEC) to 10 seconds (10
SEC).
To adjust the audio recording levels
When carrying out audio recording at a reference
level
Set the VARIABLE switch to PRESET.
The audio signals will be recorded at a preset reference
level.
You can change the reference level and the input levels
with AUDIO CONTROL >LEVEL SELECT in the setup
menu.
REF LEVEL: Reference level
CH1 IN LEVEL: Input level of channel 1
CH2 IN LEVEL: Input level of channel 2
Manually adjusting the audio recording levels
Set the VARIABLE switch to “REC” and adjust the CH 1
to CH 4 knobs so that the audio level indications on the
audio level meters do not exceed 0 dB for a maximum
volume. Carry out the adjustment in E-E mode.
See OPERATIONAL FUNCTION >AUTO EE SELECT in
the setup menu for more information about the signal
output settings in E-E mode (page 94).
Notes
PHONES
VAR
JOG
MARK1
MENU
PAGEDISPLAY
SUB
CLIP
F1
F5
F4
F3
F2
SHIFT
CLIP
MENU
ESSENCE
MARK
SET
THUMB
NAIL
RESET
OUTIN
MARK2
SHUTTLE
TOP
KEY INHI
EXPAND
CHAPTER
F REV F FWD
END
PREV NEXTPLAY STOP
STANDBY
REC
EJECT
CH 1 CH 2 CH 3 CH 4
NETWORK
LOCAL
REMOTE
ACCESS
LEVEL
REC
VARIABLE
PRESET
PB
23
1
