51
ENTER
MULTI CONTROL
MESSAGE
1
2
3
4
5
WWWWWWWWWWWWWWWWWWWWW
WWWWWWWWWWWWWWWWWWWWW
WWWWWWWWWWWWWWWWWWWWW
GO
O Y
M
ORNDI
nopqrs tuvwxyz*0#, . ; :_
abcdefghi jklm789 ( )@
NOPQRSTUVWXYZ456 !?&%$
A
BCDEFGH I JKLM123+
_
/=
]
,
,
,
G
OODSMORNINGMUS I
E
WW
WWW
WWW
WWW
WWW
W 3 S HAPPYLBIRTHDAYW
2ALASTNMESSAGEGEW
W1ONEWWM
W
SSAGEWWWW
WMESSAGEWSELECTARW
W
W4SAEMEMORABLEADAY
E
WW
WWW
WWW
WWW
WWW
W 3 S HAPPYLBIRTHDAYW
2ALASTNMESSAGEGEW
W1ONEWWM
W
SSAGEWWWW
WMESSAGEWSELECTARW
W
W4SAEMEMORABLEADAY
nopqrs tuvwxyz*0#, . ; :_
abcdefghi jklm789 ( )@
NOPQRSTUVWXYZ456 !?&%$
ABCDEFGH I JKLM123+
_
/=
]
,
,
,
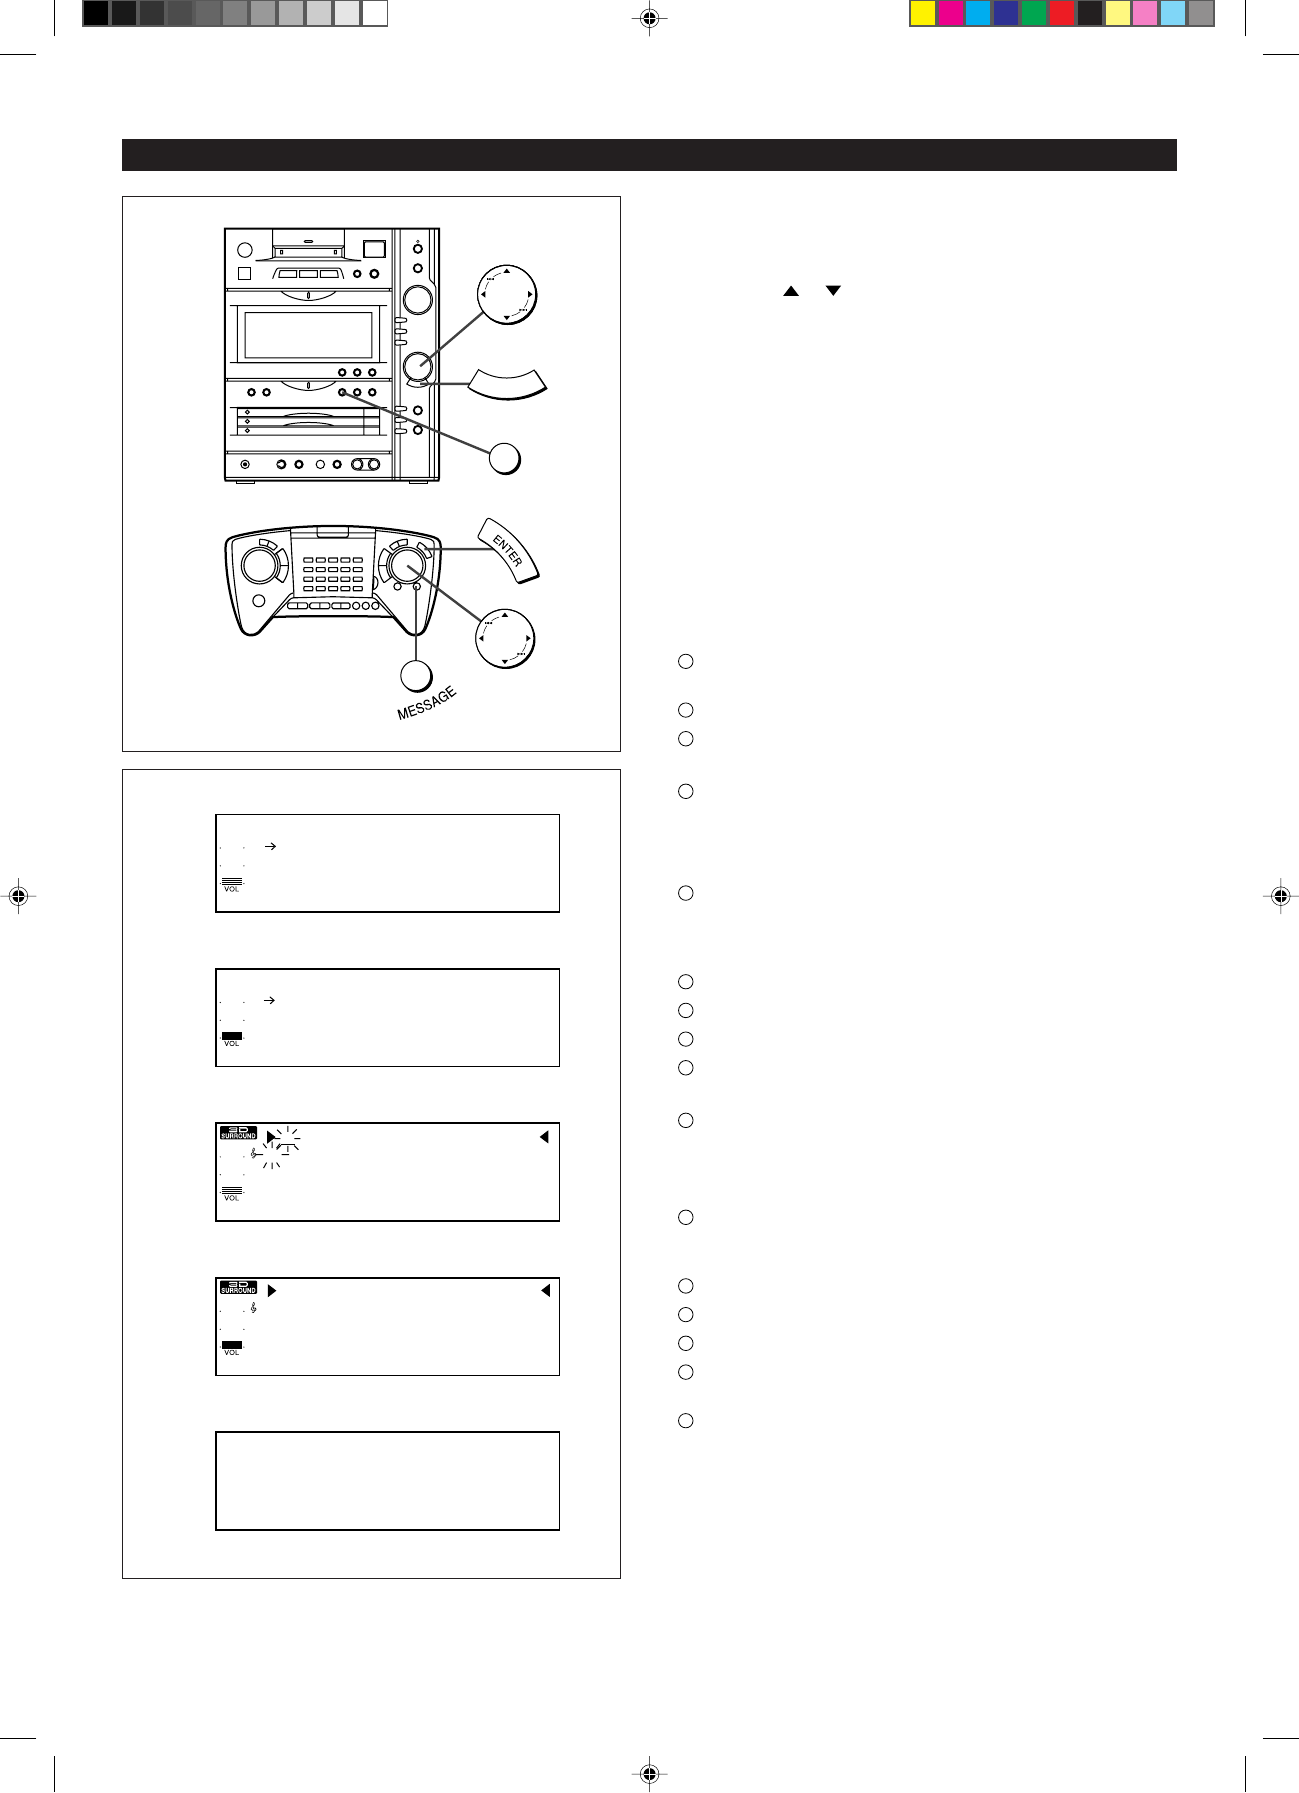
When creating your own message:
1 Perform steps 1 - 5 of "Selecting and storing a built-in
message" (page 50).
2 Press the or on the MULTI CONTROL button to select
"NEW MESSAGE".
3 Press the ENTER button.
4 Enter the message you want to display.
I The message can be up to 32 characters long.
I For details on entering characters and how to make corrections, see
pages 13 - 16.
5 Press the MESSAGE button.
I The message you created will be stored in memory. When the power
is turned on on the specified day, your special message will appear.
To create a new message based on a built-in message:
By selecting one of the built-in messages, for example,
" HAPPY BIRTHDAY", you can create another message by
modifying it.
1
Perform steps 1 - 6 of "Selecting and storing a built-in mes-
sage" (page 50) to select the message you want to use.
2
Press the ENTER button.
3
Add to the message being displayed or change it, as you like.
I The final message must be no longer than 32 characters.
4
Finally, press the MESSAGE button.
To check or change a message:
1
Perform steps 1 - 4 of "Selecting and storing a built-in mes-
sage" (page 50). Then, specify the month and day on which
the message you want to check or change is set to be
displayed.
2
Press the ENTER button.
3
Select "LAST MESSAGE".
4
Press the ENTER button.
5
Check or change the message.
I To change the message, see pages 13 - 16.
6
Finally, press the MESSAGE button.
To cancel the special message setting:
1
Perform steps 1 - 4 of "Selecting and storing a built-in mes-
sage" (page 50). Then, specify the month and day on which
the special message you want to cancel is set to be displayed.
2
Press the ENTER button.
3
Select "LAST MESSAGE".
4
Press the ENTER button.
5
Press the TIMER/DELETE button to delete all the characters
displayed.
6
Finally, press the MESSAGE button.
I The display will return to "WELCOME TO SHARP MD WORLD".
(Continued)
38-58 98.6.23, 10:34 AM51
