42
Section 1. Recording and playing back
1.
Simultaneously press [EXIT] and
[UTILITY] several times to put the MICRO
BR in Normal mode.
Each time you press [EXIT] and [UTILITY]
simultaneously, the recording mode will
alternate in the order of Normal mode
➔
Bounce mode
➔
Mastering mode.
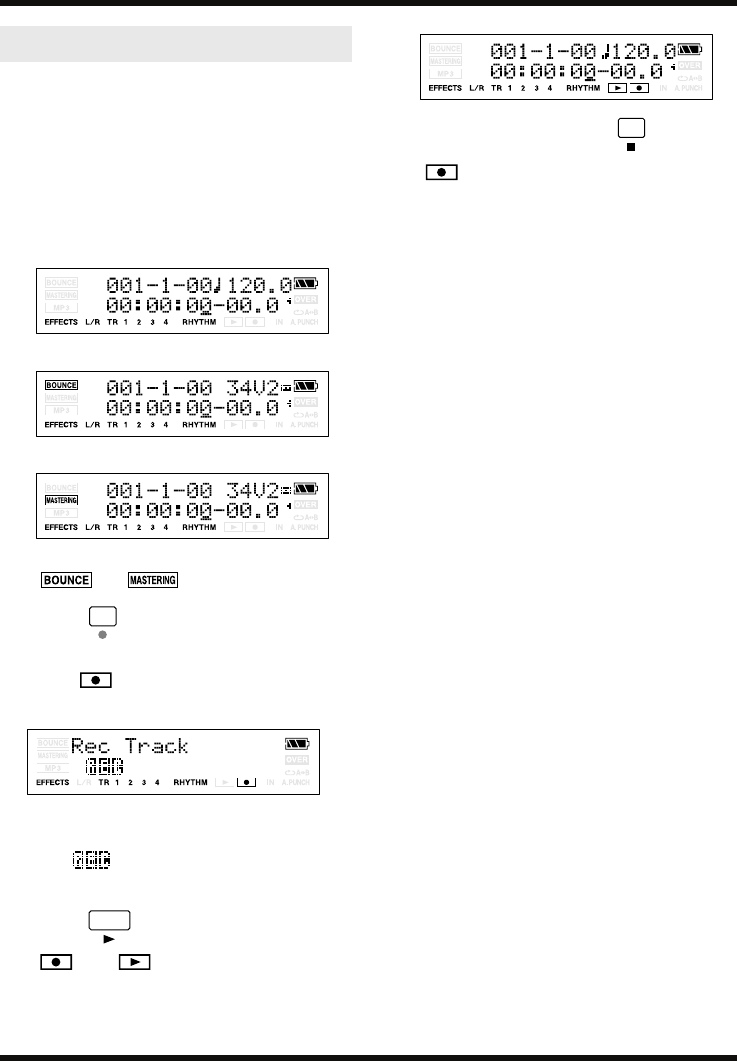
fig.Disp-3mode.eps
Make sure that the display does not indicate
or .
2.
Press
The Rec Track screen will appear. In this
time, will blink, and the MICRO BR
will be in recording standby condition.
3.
Press the [TR1]–[TR4] button of the track
you want to record.
The indication will appear for the
track you choose.
4.
Press
and will light, and recording
will begin.
fig.Disp-recording.eps
5.
To stop recording, press .
will go dark.
* You can’t play back audio whose recording time was
shorter than one second.
* The following operations cannot be performed (or will be
invalid) while the recorder is operating (i.e., during
recording or playback).
• Editing the SONG arrangement
• Selecting a drum kit
• Switching to the USB screen
• Switching to the SONG SELECT screen
• Switching to the SONG NEW screen
• Switching to the SONG INFORMATION screen
• Switching to the SONG EDIT screen
• Track editing operations
• Switching to the INITIALIZE screen
Recording
Normal Mode
Bounce Mode
Mastering Mode
MICRO-BR_e1.book 42 ページ 2006年8月1日 火曜日 午後12時6分
