


27
SET
UP
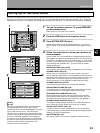
Initial Set Up
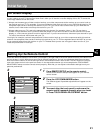
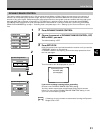
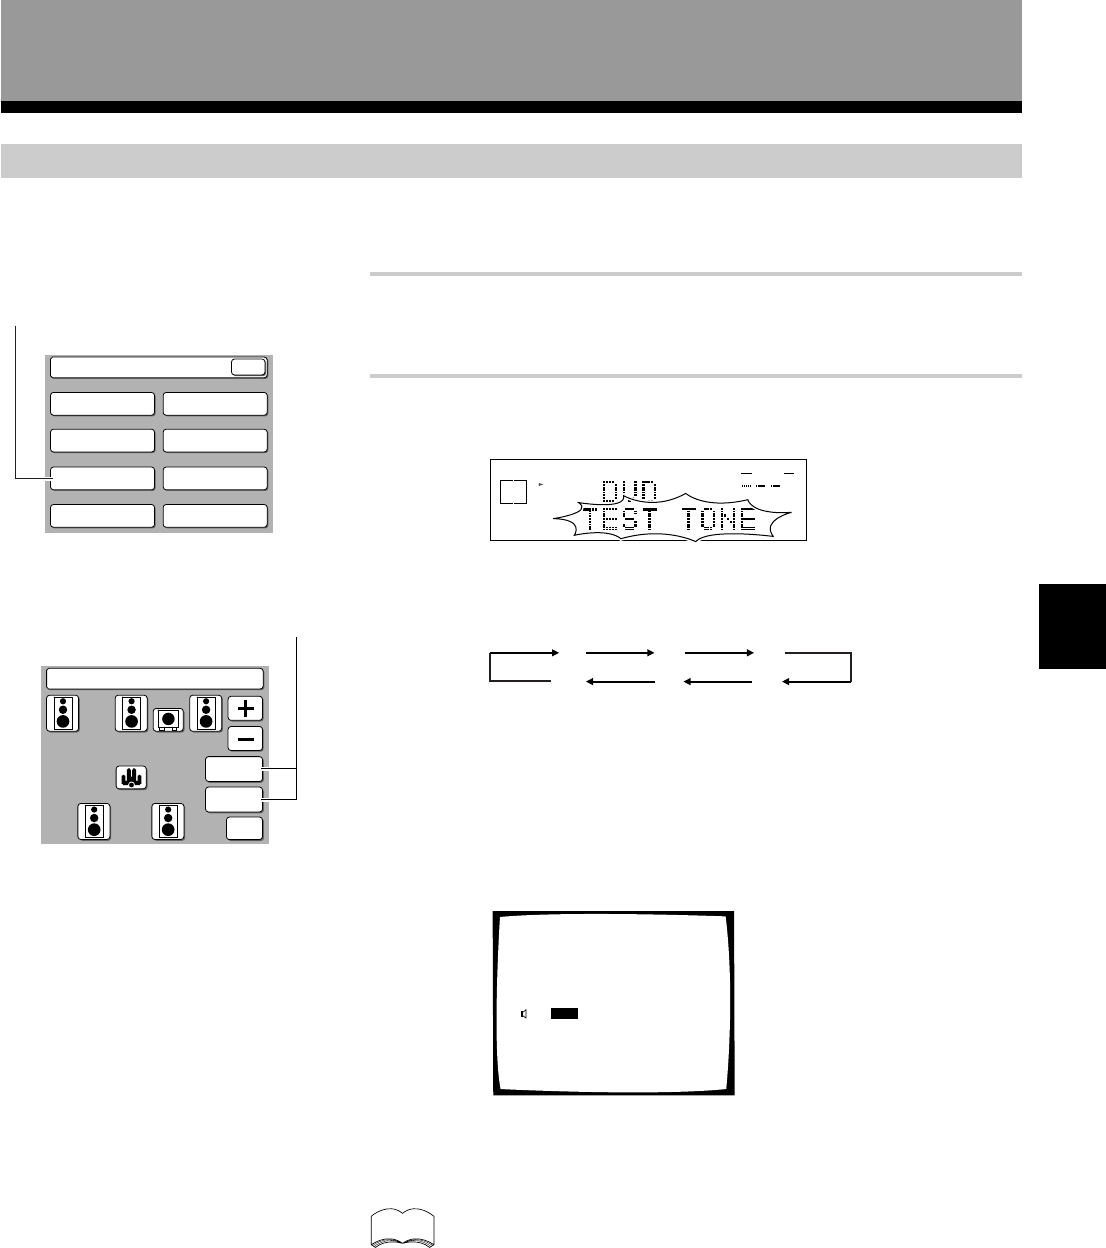
1 Press the CHANNEL LEVEL button.
The CHANNEL LEVEL settings will appear on your remote control
screen.
2 Select a test tone mode by pressing one of the TEST
TONE buttons. Output the TEST TONE.
AUTO (automatic TEST TONE)
This mode switches the test tone between each speaker automatically.
The automatic test tone is output in the following order :
MANUAL (manual TEST TONE)
This mode lets you switch the test tone between each speaker
manually.
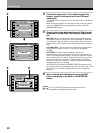
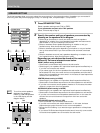
NOTE : Be prepared! The test tone is output at a high volume level.
MASTER VOLUME rotates to the reference position (0 dB) and the
display on the receiver flashes TEST TONE. After a few seconds the
test tone is output.
Any time you want to exit the process
Press SETUP OK.
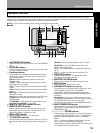
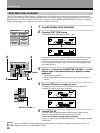
CHANNEL LEVEL
The following steps show you how to balance the sound output level of your speakers. Proper speaker balance is
essential for obtaining high quality surround sound. If continuing from CHANNEL DELAY go to step 1. If starting fresh,
complete steps 1-3 in “Setting Up for Surround Sound“ (p.23) first.
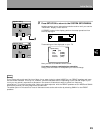
dB
STEREO
SIGNAL
SELECT
ANALOG
SP
A
AUTO
VOLUME
These settings will be displayed on your TV.
FL
CT FR
SR
SL
SW
memo
• Be careful, if you touch one of the speaker buttons by accident
the TEST TONE will automatically sound from each speaker.
• If your sub woofer has a volume control, set it to the middle
position before doing these operations.
FL 0 dB CT 0 dB FR 0 dB
SL 0 dB SW 0 dB SR 0 dB
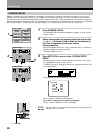
1
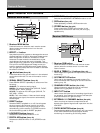
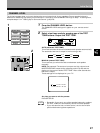
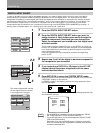
System Setup
SPEAKER
SETTING
CROSSOVER
NETWORK
BASS PEAK LEVEL
MANAGER
DYNAMIC RANGE
CONTROL
DIGITAL INPUT
SELECT
MULTI ROOM
CHANNEL DELAY
CHANNEL LEVEL
EXIT
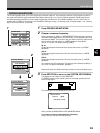
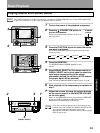
2
Channel Level
AUTO
TEST TONE
MANUAL
TEST TONE
SETUP
OK