


127
[Screenshot 2]
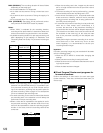
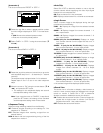
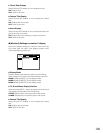
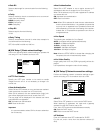
The camera title pop-up window will be displayed.
x Move the cursor to "CAM1" using the arrows button (C
DAB).
[Screenshot 3]
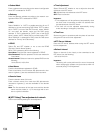
The cursor moves to "CAM1".
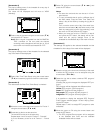
c Select a character to be entered by rotating the jog dial.
Up to 16 characters can be entered.
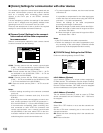
v Move the cursor to the right side of the entered charac-
ter using the arrows button.
Repeat steps 3 and 4 to enter the camera title.
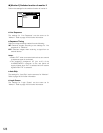
Notes:
• To correct the entered characters, move the cursor
to the character to be corrected and press the
STOP button to delete it. Enter a correct character
after deleting.
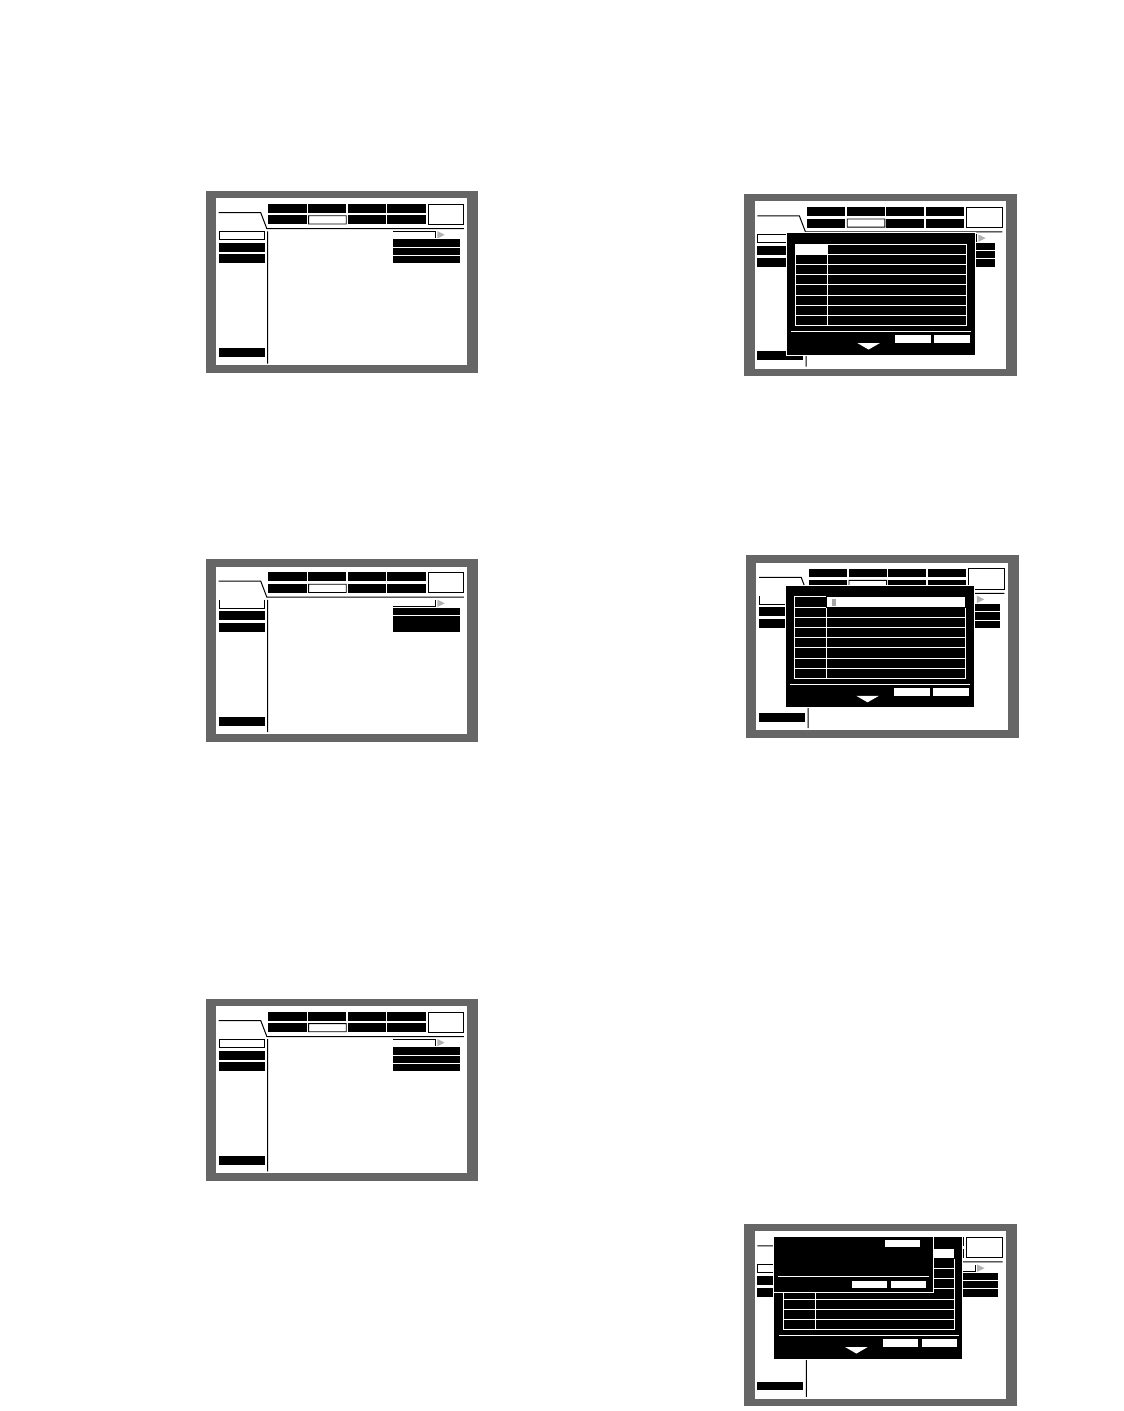
• To copy the camera title that has been set for
another camera channel, follow the procedure
below.
1. Move the cursor to "CAM 1" in step 2 above and
press the SET button. The following screen will
be displayed.
2. Select the camera channel for which the cam-
era title is to be copied by rotating the jog dial.
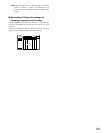
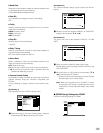
Perform the display settings for monitors 1 and 2 connected
to the unit.
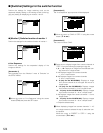
● [OSD Setup]
Perform the On Screen Display settings for monitor 1 and
monitor 2 such as the settings of camera titles or the set-
tings of the time display position.
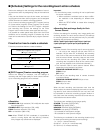
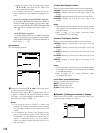
8 Camera Title
Perform the settings for the camera title. It is possible to
display a camera title on the monitor 1/monitor 2, and
record it as a part of the recorded image (page 111). Do
the following to set the camera title.
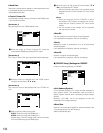
[Screenshot 1]
Start operation from the "OSD Setup" menu.
z Move the cursor to "Camera Title" using the arrows but-
ton (C D) and press the SET button.
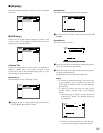
■ [Display]
Schedule
Maintenance
Display
Comm
Switcher
SETUP MENU
LIVE
System Recording Event
OSD Setup
Monitor 1
Monitor 2
Quick Menu
SETUP
L-UPPER
R-LOWER
WHITE
■
Camera Title
■
Time & Date Display Position
■
Camera Title Display Position
■
Line Color on the Multi Screen
Advanced
Schedule
Maintenance
Display
Comm
Switcher
SETUP MENU
LIVE
System Recording Event
OSD Setup
Monitor 1
Monitor 2
Quick Menu
SETUP
L-UPPER
R-LOWER
WHITE
■
Camera Title
■
Time & Date Display Position
■
Camera Title Display Position
■
Line Color on the Multi Screen
OK CANCEL
CAM8
CAM7
CAM6
CAM5
CAM4
CAM3
CAM2
CAM1
CAM8
CAM7
CAM6
CAM5
CAM4
CAM3
CAM2
CAM1
Advanced
Schedule
Maintenance
Display
Comm
Switcher
SETUP MENU
LIVE
System Recording Event
OSD Setup
Monitor 1
Monitor 2
Quick Menu
SETUP
L-UPPER
R-LOWER
WHITE
■
Camera Title
■
Time & Date Display Position
■
Camera Title Display Position
■
Line Color on the Multi Screen
Advanced
Schedule
Maintenance
Display
Comm
Switcher
SETUP MENU
LIVE
System Recording Event
OSD Setup
Monitor 1
Monitor 2
Quick Menu
SETUP
L-UPPER
R-LOWER
WHITE
■
Camera Title
■
Time & Date Display Position
■
Camera Title Display Position
■
Line Color on the Multi Screen
Advanced
Schedule
Maintenance
Display
Comm
Switcher
SETUP MENU
LIVE
System Recording Event
OSD Setup
Monitor 1
Monitor 2
Quick Menu
SETUP
L-UPPER
R-LOWER
WHITE
■
Camera Title
■
Time & Date Display Position
■
Camera Title Display Position
■
Line Color on the Multi Screen
OK CANCEL
CAM8
CAM7
CAM6
CAM5
CAM4
CAM3
CAM2
CAM1
CAM8
CAM7
CAM6
CAM5
CAM4
CAM3
CAM2
CAM1
■
Copy Another Camera Title
O K
CAM2
CANCEL
Advanced
Schedule
Maintenance
Display
Comm
Switcher
SETUP MENU
LIVE
System Recording Event
OSD Setup
Monitor 1
Monitor 2
Quick Menu
SETUP
L-UPPER
R-LOWER
WHITE
■
Camera Title
■
Time & Date Display Position
■
Camera Title Display Position
■
Line Color on the Multi Screen
OK CANCEL
CAM8
CAM7
CAM6
CAM5
CAM4
CAM3
CAM2
CAM1
Advanced