13258 11/01
From Remote From Front Panel Action
1
(PAUSE) or
(STOP)
(UP) or (DOWN) move to Control Out
2
SEL or ENTER
↵
(ENTER)
activate CONTROL OUT SETTINGS
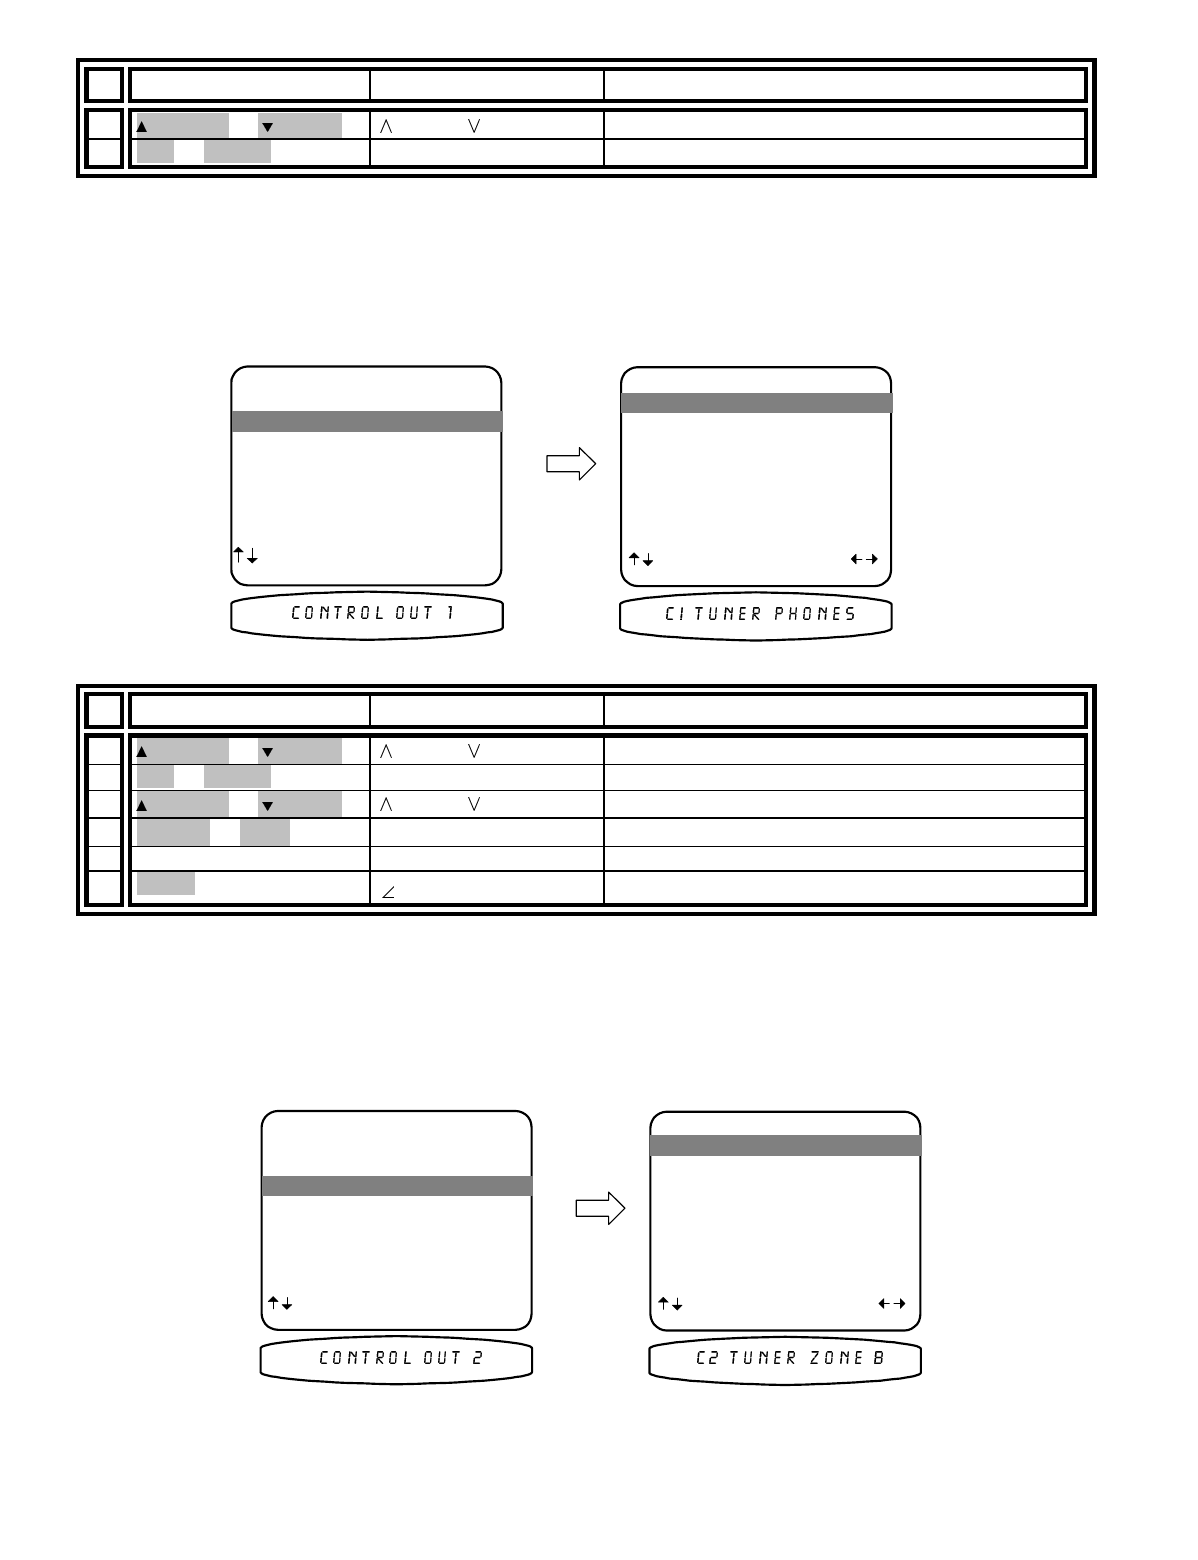
Setup Control Out 1
Control out 1 is dedicated to Zone 1 (A) it can be programmed to be on or off for each source. For example you
may wish to use the control out to pull down a projection screen for your V1 and DVD sources but roll it up for
Tuner and CD. Control out 1 can also be set to HEADPHONE or RS-232. HEADPHONE mode is intended to
control external amplifiers to permit headphone listening without the need for manually turning off your external
amplifiers. Select the RS-232 option when Control out 1 is to be set using BKC-DIP.
From Remote From Front Panel Action
1
(PAUSE) or
(STOP)
(UP) or (DOWN) move to Control Out 1
2
SEL or ENTER
↵
(ENTER)
activate CONTROL OUT 1 SETUP
3
(PAUSE) or
(STOP)
(UP) or (DOWN) move to desired source
4
X
(REW) or
W
(FF)
VOLUME KNOB select desired control operation
5
repeat 3 - 4 repeat 3 – 4 set control out 1 for other sources
6
MENU
MENU
return to CONTROL OUT SETTINGS
Control Out 2, 3, and 4 -
Control out 2, 3, and 4 can be used in either zone. For each source they can be
programmed to be on when that source is selected in Zone 1 (A), Zone 2 (B), or both zones. If the source is
selected in neither zone the control out will be off. Control outs 2, 3, and 4 can also be set to REMOTE. In
REMOTE mode your processor acts like a remote repeater - IR remote signals detected by your processor are
repeated on the control out. Select the RS-232 option when a Control out is to be set using BKC-DIP.
Setup Control Out 2


