13258 11/01
From Remote From Front Panel Action
1
(PAUSE) or
(STOP)
(UP) or (DOWN) move to Zone ID
2
X
(REW) or
W
(FF)
VOLUME KNOB adjust Zone 1 (A) ID to desired value
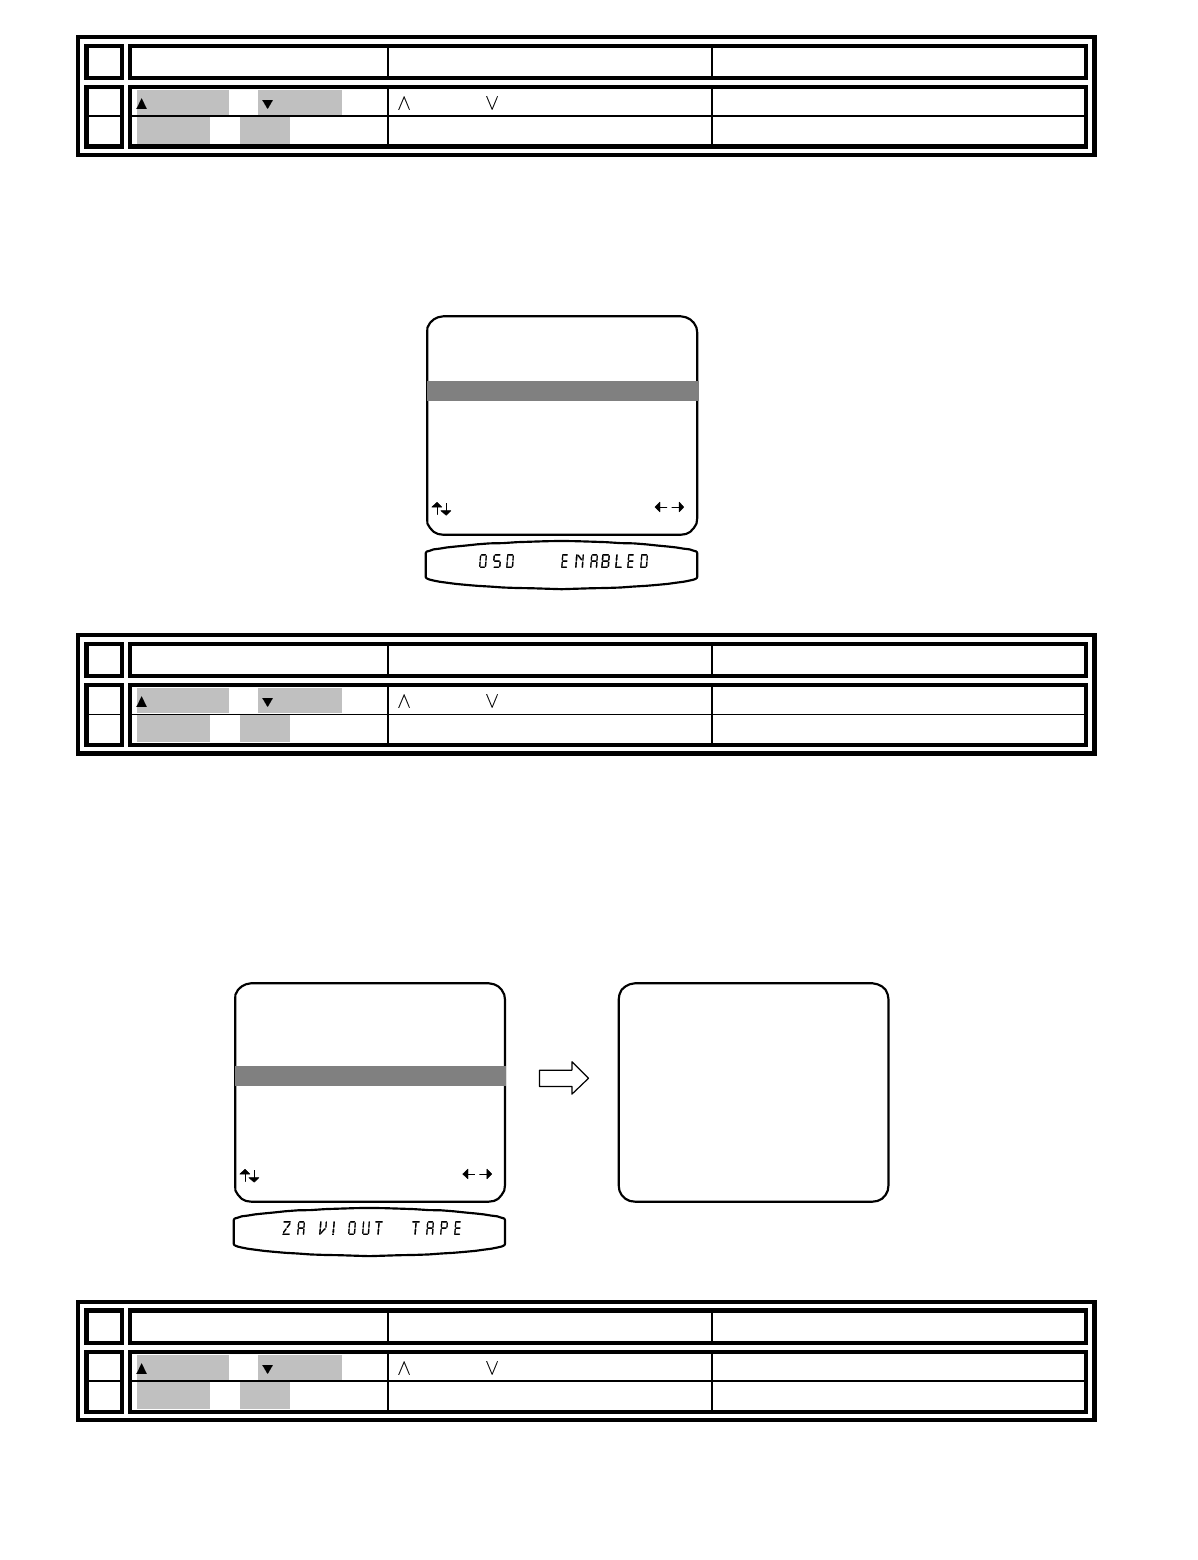
Set Zone 1 (A) On Screen display usage -
During normal operation, when you make a change to a system
setting or your processor detects a change to the incoming audio or video, a message is overlaid along the
bottom of your video screen. You can turn off the overlay display from this menu. This will not affect the on-screen
displays when you enter the menu system.
From Remote From Front Panel Action
1
(PAUSE) or
(STOP)
(UP) or (DOWN) move to On Screen Display
2
X
(REW) or
W
(FF)
VOLUME KNOB set to Enabled or Disabled
Set V1 line output usage -
V1 output is normally set up as a tape loop. The V1 and Zone 1 (A) output are the
current source (V2, TV, CD, DVD, etc.) except when the current selection is V1. When V1 is selected as the
source, the Zone 1 (A) output is V1 and the V1 output is off. This prevents feedback when the V1 inputs and
outputs are connected to a tape deck or VCR. Feedback can cause high frequency oscillations which may
damage your speakers. If you don’t connect a tape deck to the V1 input and output you can use the V1 output as
an additional line out. In this mode V1 output is always the selected input including V1. Note: The Tape input and
output is always set up as a tape monitor for Zone 1 (A).
From Remote From Front Panel Action
1
(PAUSE) or
(STOP)
(UP) or (DOWN) move to V1 Output
2
X
(REW) or
W
(FF)
VOLUME KNOB set for Tape or Line
3 On Sreen Display Enabled
3 On Sreen Display Enabled
3 On Sreen Display Enabled
