


43
US
Getting Started
6: Preparing the receiver
and the remote control
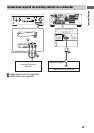
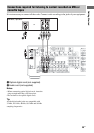
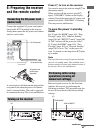
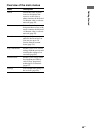
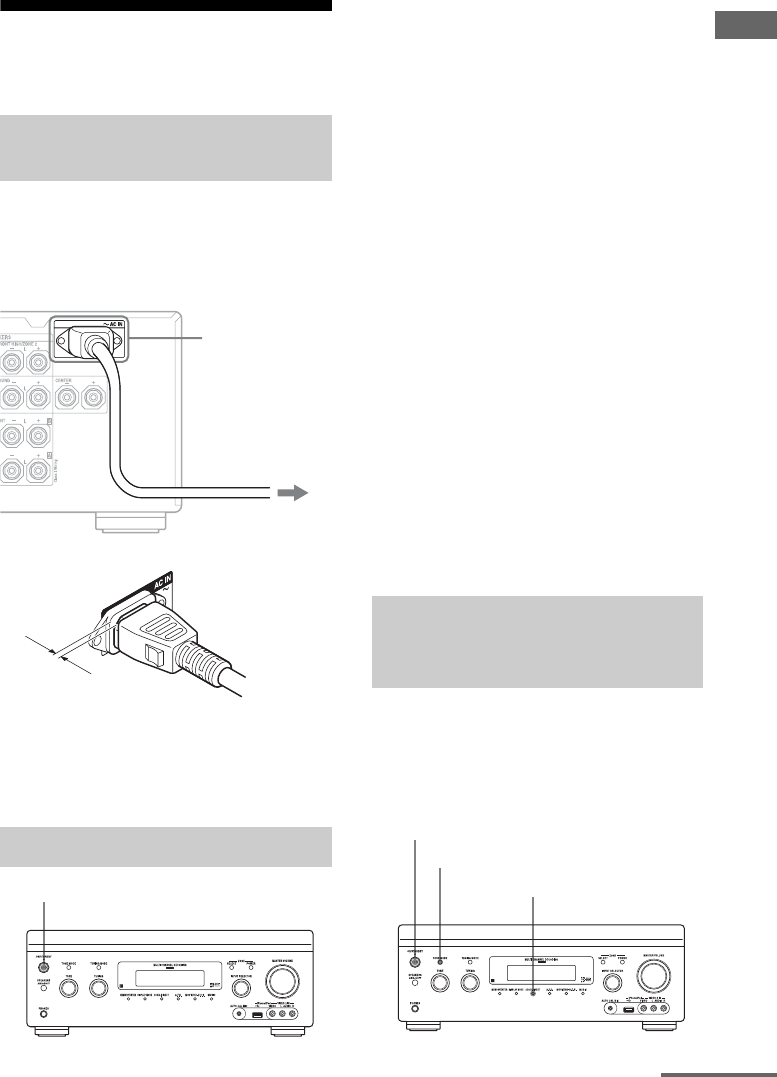
Connect the supplied AC power cord (mains
lead) to the AC IN terminal on the receiver
firmly, then connect the AC power cord (mains
lead) to a wall outlet.
A several space is left between the plug and the
rear panel even when the power cord (mains
lead) is inserted firmly. The cord is supposed
be connected this way. This is not malfunction.
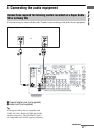
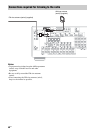
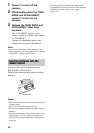
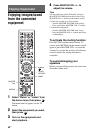
Press ?/1 to turn on the receiver.
You can also turn on the receiver using ?/1 on
the remote control.
When you turn off the receiver, press ?/1
again. “STANDBY” flashes on the display
window. Do not disconnect the AC power cord
(mains lead) while “STANDBY” is flashing.
This may cause a malfunction.
To save the power in standby
mode
Set “Control for HDMI” (page 103), “Pass
Through” (page 103), “Network Standby”
(page 105) and “RS232C Control” (page 108)
to “Off,” and turn off the power for zone 2.
If “Control for HDMI” (page 103), “Pass
Through” (page 103), or “Network Standby”
(page 105) is set to “On,” or the power for
zone 2 is turned on, the lamp above ?/1 lights
up in amber.
Note
The top of the receiver may become hot while the
receiver is in standby mode. This condition occurs
because current is flowing in the internal circuits of
the receiver. This is not a malfunction.
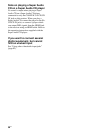
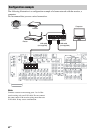
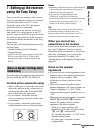
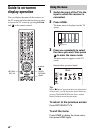
Before using the receiver for the first time,
initialize the receiver by performing the
following procedure. This procedure can also
be used to revert back to the factory default
settings.
Connecting the AC power cord
(mains lead)
Turning on the receiver
AC IN terminal
To the wall outlet
AC power cord
(mains lead)
(supplied)
?/1
Performing initial setup
operations (clearing all
memorized settings)
?/1
TONE MODE
2CH/A.DIRECT
continued