


ENGLISH
55
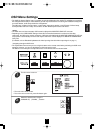
SETTING THE SPEAKER / ROOM EQ SETUP
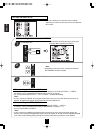
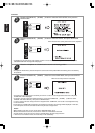
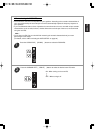
Place the microphone on a flat level surface at the first main listening position.
1
• After you have installed this receiver and connected all the components, you should adjust the speaker settings for the
optimum sound acoustics according to your environment and speaker layout.
• Even when you change speakers, speaker positions, or the layout of your listening environment, you should adjust the
speaker settings, too.
• When performing the AUTO SETUP procedure, you need not perform the SPEAKER CONFIGURATION, SPEAKER
DISTANCE, SPEAKER CROSSOVER and CH LEVEL SETUP procedures.
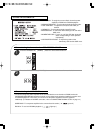
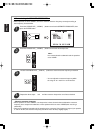
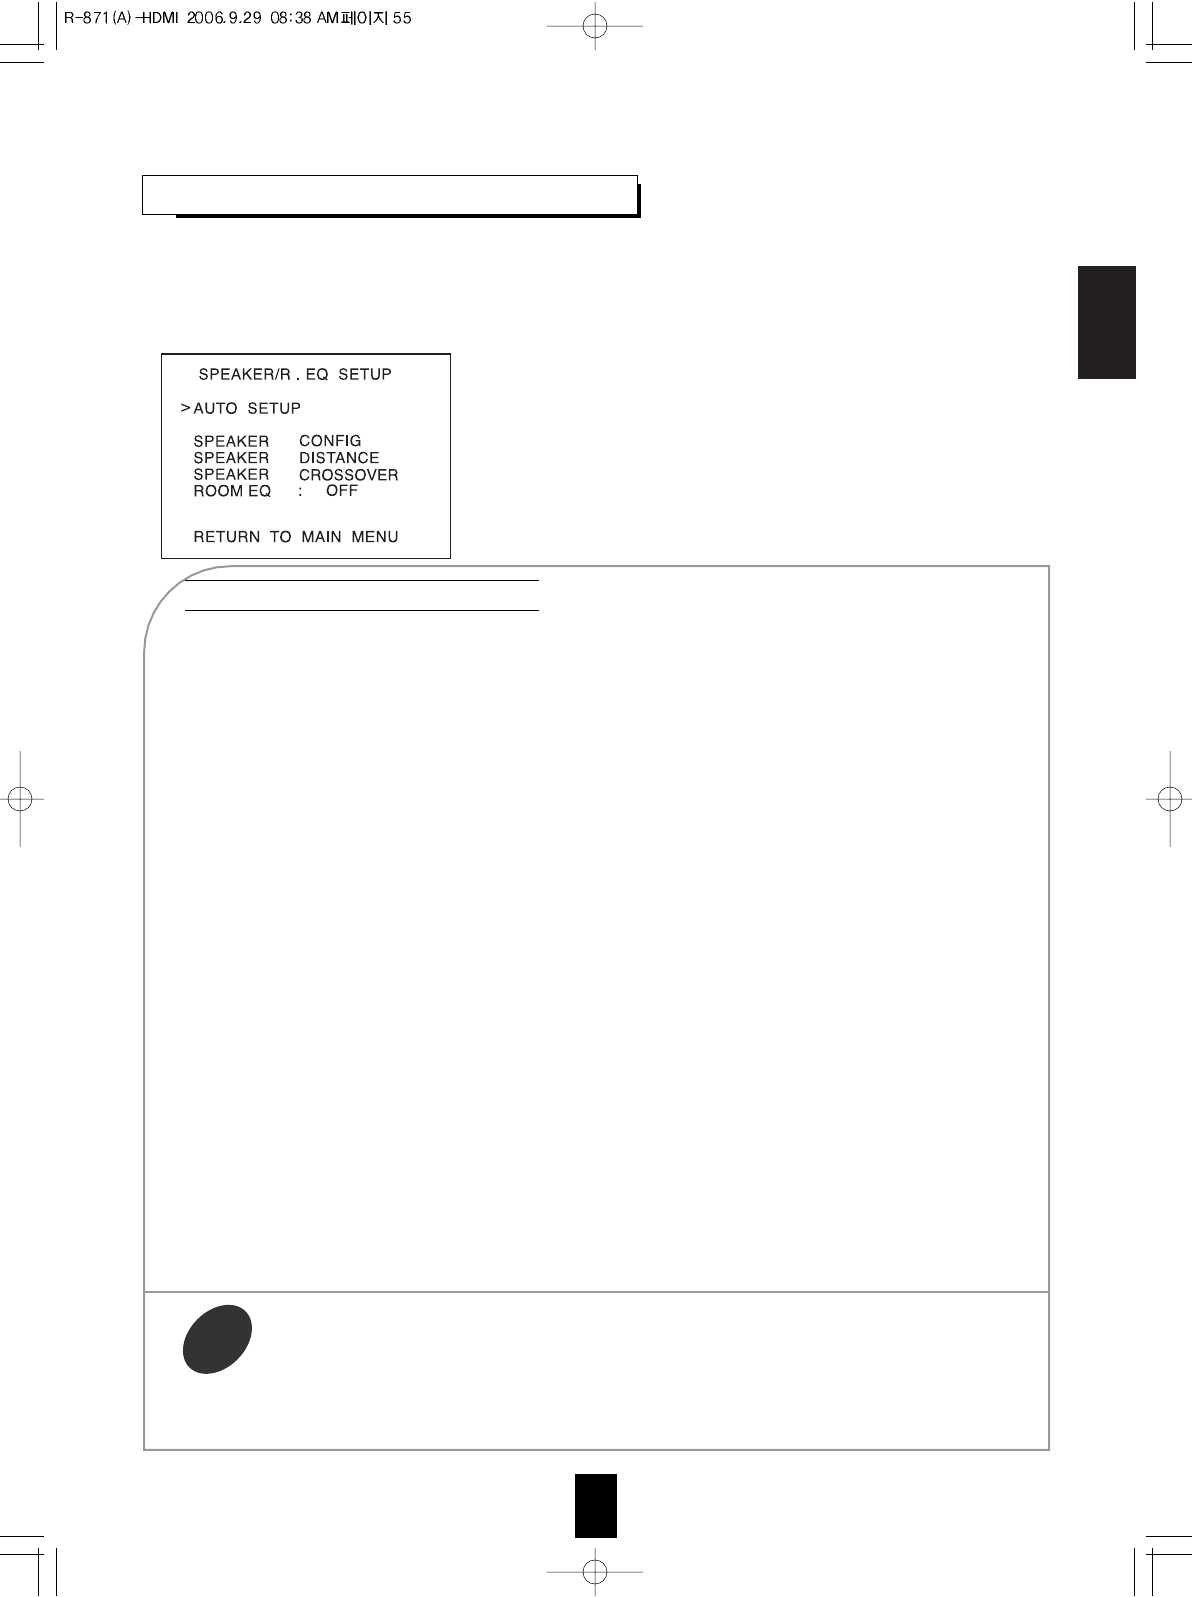
• AUTO SETUP : To set the speaker setup and channel level setup
automatically.
• SPEAKER CONFIGURATION : To select the sizes of the speakers that
are connected.
• SPEAKER DISTANCE: To enter the distance between the listening
position and each speaker to set the delay time
automatically for optimum surround playback.
• SPEAKER CROSSOVER : To select the desired crossover frequency.
• ROOM EQ : To turn on or off the room EQ.
When selecting the AUTO SETUP
• Auto Setup lets you avoid troublesome listening-based speaker setup and achieve good surround sound.
Auto Setup has the feature that provides the optimum listening environment at two main listening
positions in your room, where there are often multiple listeners viewing programs together.
You should connect the supplied microphone to the SETUP MIC jack so that this receiver can analyze the
information from a series of test tones emitted from speakers at two main listening positions and can
adjust the size, distance, sound level, crossover frequency and frequency response of each speaker
automatically.
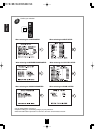
For optimum effectiveness, move the microphone from first position to second position within the listening
area surrounded by the speakers while performing the auto setup.
About the first listening position
The first listening position is the point where a listener sits most often or the listening position when only
one person is listening. Measurements start from this point.
• If you want to personalize your speaker setup and channel level setup by making the settings manually,
perform the "When selecting the SPEAKER CONFIGURATION" on page 57, "When selecting the
SPEAKER DISTANCE" on page 59, "When selecting the SPEAKER CROSSOVER" on page 60,
"Adjusting each channel level with test tone" on page 35 and "Adjusting the current channel level" on
page 36.
• After the auto setup has been completed, set the room EQ mode as desired. (For details, refer to "When
selecting the ROOM EQ" on page 61.)
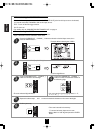
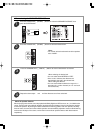
Preparations
1. Check that the speakers are securely connected
to this receiver.
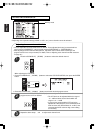
• If your subwoofer has adjustable volume and
crossover frequency, set the volume halfway
and set the crossover frequency to the
maximum or the low pass filter off.
2. Connect the supplied microphone to the SETUP
MIC jack on the front panel.(For details, refer to
"SETUP MIC JACK" on page 16.)
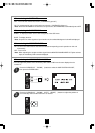
Notes :
• Because the microphone for Auto Setup is
designed for use with this receiver, to use the auto
setup function, do not use a microphone other than
the one supplied with this receiver.
• After you have completed the auto setup
procedure, disconnect the microphone.
• If possible, use a tripod, etc. to attach the microphone at the same height as your ears would be when
you are seated in your listening position.
• Ensure there are no obstacles between the speakers and the microphone.