


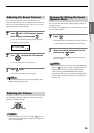

33
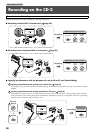
Recording to CF/CD
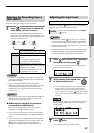
4
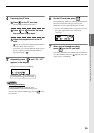
Prepare the music CD.
Insert the music CD.
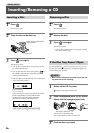
Page 26, “Inserting a Disc”
Press on the CD side.
The CD is selected as the source.
Press or to select the track
that you want to play back.
Adjust the playback level of the music
CD.
Page 38, “Temporarily Adjusting the Playback
Level of a Music CD or CF Card”
If necessary, you can also adjust the input level of
the mic or guitar so that the overall balance is
appropriate (Step 3- ).
5
Repeatedly press until “CD →CF”
appears in the display.
Now you are ready for overdubbing.
MEMO
• Canceling overdubbing
To cancel overdubbing, repeatedly press
[OVERDUBBING] until its indicator goes out.
You can also cancel overdubbing by pressing on the
CF card side.
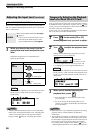
6
Press on the CF card side.
The music CD track you selected in Step 4 begins
playing, and recording on the CF card begins
simultaneously. Record your vocal or instrumental
performance.
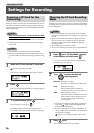
• If you’re overdubbing with a song from a music CD,
the upper right of the screen will indicate
“CD→CF.”
When the music CD track ends, recording ends
automatically (the music CD stops playing).
A new track is created at the end of the CF card.
MEMO
• If you decide to stop recording midway through the
track, press on the CF card side.
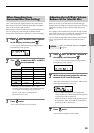
HINT
• You can connect an instrument instead of a mic, and
overdub your own instrumental performance along with
the playback from a “minus-one” CD.
• You can also use the internal mics for recording instead
of connecting a mic.
In this case, follow Steps 1–2 of “Recording with the
Internal Mics” ( Page 30) instead of Steps 1–3.
If you’re recording using the internal mics, you won’t
hear any sound from the internal speakers. You’ll need
to use headphones to monitor your performance.
1
2
3
4
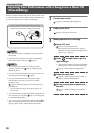
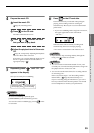
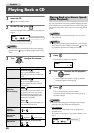
3
CD track number
you’re playing back
CF track number
you’re recording
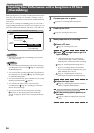
Layering Your Performance with a Song from a Music CD (Overdubbing)