RQT8926
95
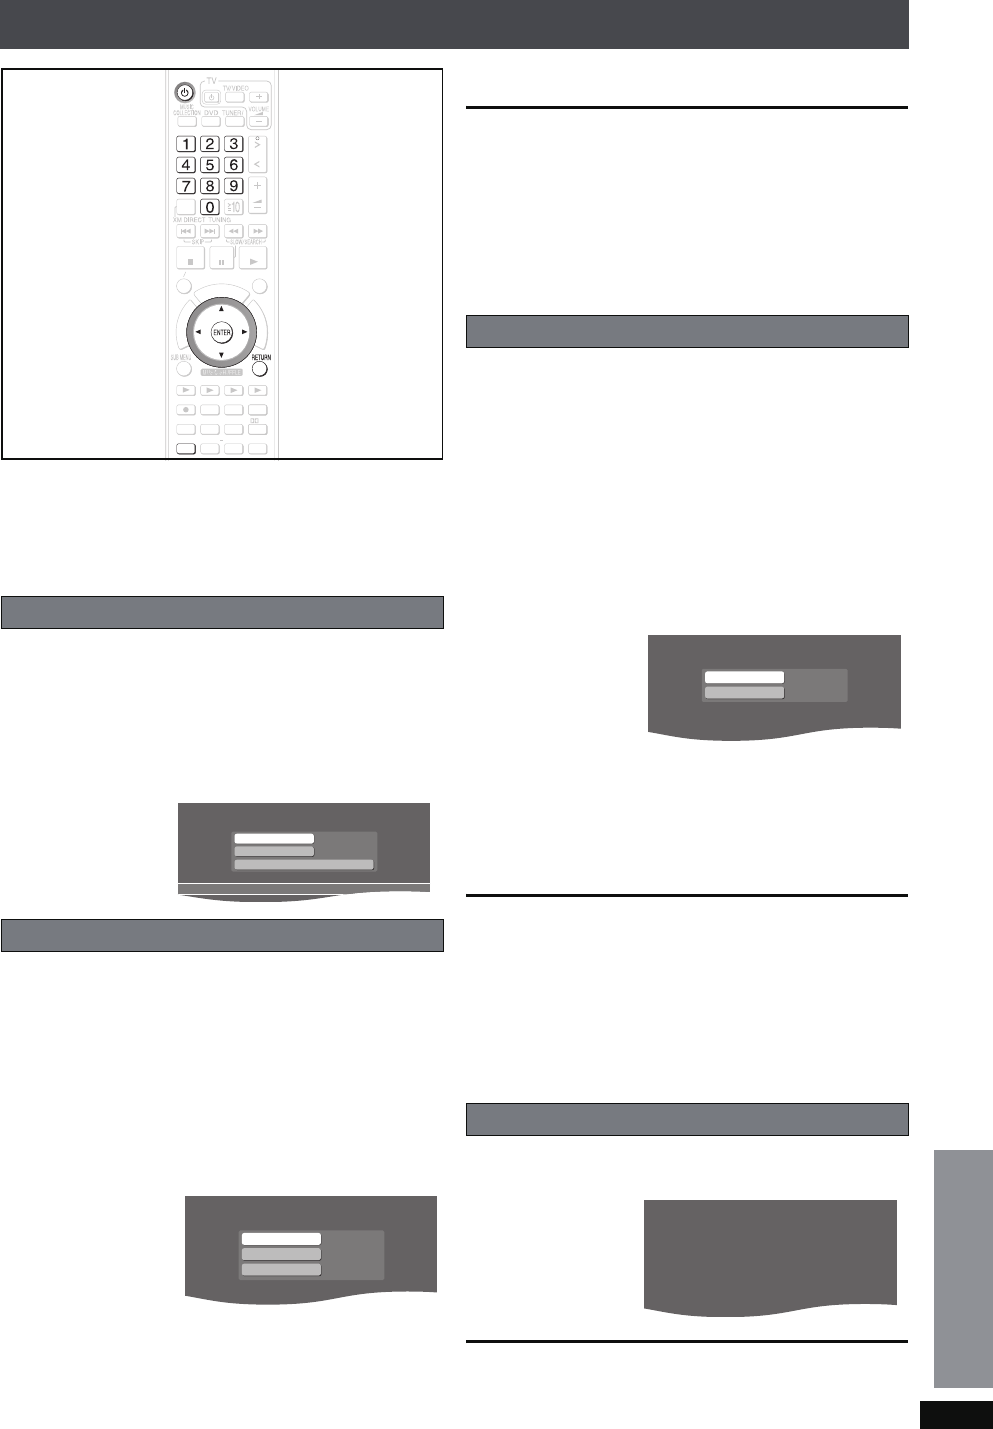
Changing the network settings
These settings are used if you will connect this unit to a
network.
Preparation
1 To display the picture turn on the television and select the
appropriate video input to suit the connections to this unit.
2Press [Í].
1 Press [SETUP].
2
Press [
34
] to select “Other Setup” and press [ENTER].
3 Press [34] to select “Network” and press [1].
4 Press [34] to select “Network Settings” and press
[ENTER].
The network connection status is displayed.
In most cases, default settings can normally be used without
making any changes.
When connecting this unit to a network and assigning a fixed
IP address, perform the following settings.
After performing steps 1–4 (➜ above)
5 Press [34] to select “TCP/IP 1” and press [ENTER].
6 Press [34] to select “IP Manual Setting” and press
[ENTER].
7 Press [34] to select the item to be set and press
[ENTER].
8 Enter numbers with the numbered buttons and press
[ENTER].
≥After checking the specifications for your broadband
router, enter each number.
≥The numeric input range is between 0 and 255.
Repeat steps 7–8, and enter numbers for other items.
To return to the previous screen
Press [RETURN].
To exit the screen
Press [RETURN] several times.
If you made an input mistake
Move the cursor with [21] and make corrections with the
numbered buttons.
To delete settings and use default settings
Select “IP Auto Setting” in step 6 and press [ENTER].
In most cases, default settings can normally be used without
making any changes.
When setting an assigned DNS server from your ISP, perform
the following settings.
After performing steps 1–4 (➜ left)
5 Press [34] to select “TCP/IP 2” and press
[ENTER]
.
6 Press [34] to select “DNS Manual Setting” and
press
[ENTER]
.
≥If “TCP/IP 1” is set to “IP Manual Setting”, the “DNS Auto
Setting” will not be displayed.
7 Press [34] to select the item to be set and press
[ENTER]
.
8 Enter numbers with the numbered buttons and press
[ENTER].
≥Follow the instructions given by your ISP and enter the
numbers.
≥The numeric input range is between 0 and 255.
Repeat steps 7–8, and enter numbers for other items.
To return to the previous screen
Press [RETURN].
To exit the screen
Press [RETURN] several times.
If you made an input mistake
Move the cursor with [21] and make corrections with the
numbered buttons.
To delete settings and use default settings
Select “DNS Auto Setting” in step 6 and press [ENTER].
After performing steps 1–4 (➜ left)
5
Press [
34
] to select “IP Address” and press
[ENTER]
.
To return to the previous screen
Press [RETURN].
To exit the screen
Press [RETURN] several times.
Common procedures
Manually setting the IP address
HDD
BAND
FUNCTIONS
MENU PLAYLIST
CANCEL
SELECT
VOLUME
FAVORITE
PLAYMODE
HDDREC
ENERGETIC RELAXINGMELLOW
MUTING
SELECT
SOUND
SLEEP
FL DISPLAY
VS
2
ND
EMOTIONAL
REG
SELECT
PLAYPAU SESTOP
CH SELECT
SETUPSETUP
O
N
E
T
O
U
C
H
P
L
A
Y
S
T
A
R
T
ޓ
ޓ
ޓ
T
O
P
M
E
N
U
TCP/IP 1
TCP/IP 2
IP Address
Auto Setting
Auto Setting
Network Settings
Connected to network.
IP Address
Subnet Mask
0. 0. 0. 0
0. 0. 0. 0
Gateway
0. 0. 0. 0
IP Manual Setting
Manually setting the DNS server
To check the IP Address, etc.
Primary DNS Address
Secondary DNS Address
0. 0. 0. 0
0. 0. 0. 0
DNS Manual Setting
[MAC Address]
[IP Address]
[Subnet Mask]
[Gateway]
[Primary DNS Address]
[Secondary DNS Address]
00-00-00-00-00-00
---.---.---.---
---.---.---.---
---.---.---.---
---.---.---.---
---.---.---.---
IP Address
Changing the unit’s settings
Reference
PTX79P.book Page 95 Monday, April 9, 2007 9:24 AM


