RQT8926
38
Recording audio from external devices
You can record audio tracks to the HDD from externally
connected devices. After recording starts, track data will be
recorded and divided using the time settings selected before
the recording starts. Therefore the recording (from start to
finish) will be made and divided into multiple tracks.
Preparation
1 To display the picture turn on the television and select the
appropriate video input to suit the connections to this unit.
2Press [Í].
3 Connect the device from which you want to record/play
(➜ page 18, 19).
4Press [N SELECT O] to switch the selector.
AUX: If connected to the AUX terminal
TV Audio: If connected to the TV IN terminal
≥You cannot record when “TV Audio Input” is set to
“DIGITAL IN” (➜ page 83).
MUSIC PORT: If connected to the Music Port terminal
≥When the audio output level of the external device is too
high, audio may be distorted. Adjust the volume on the
external device.
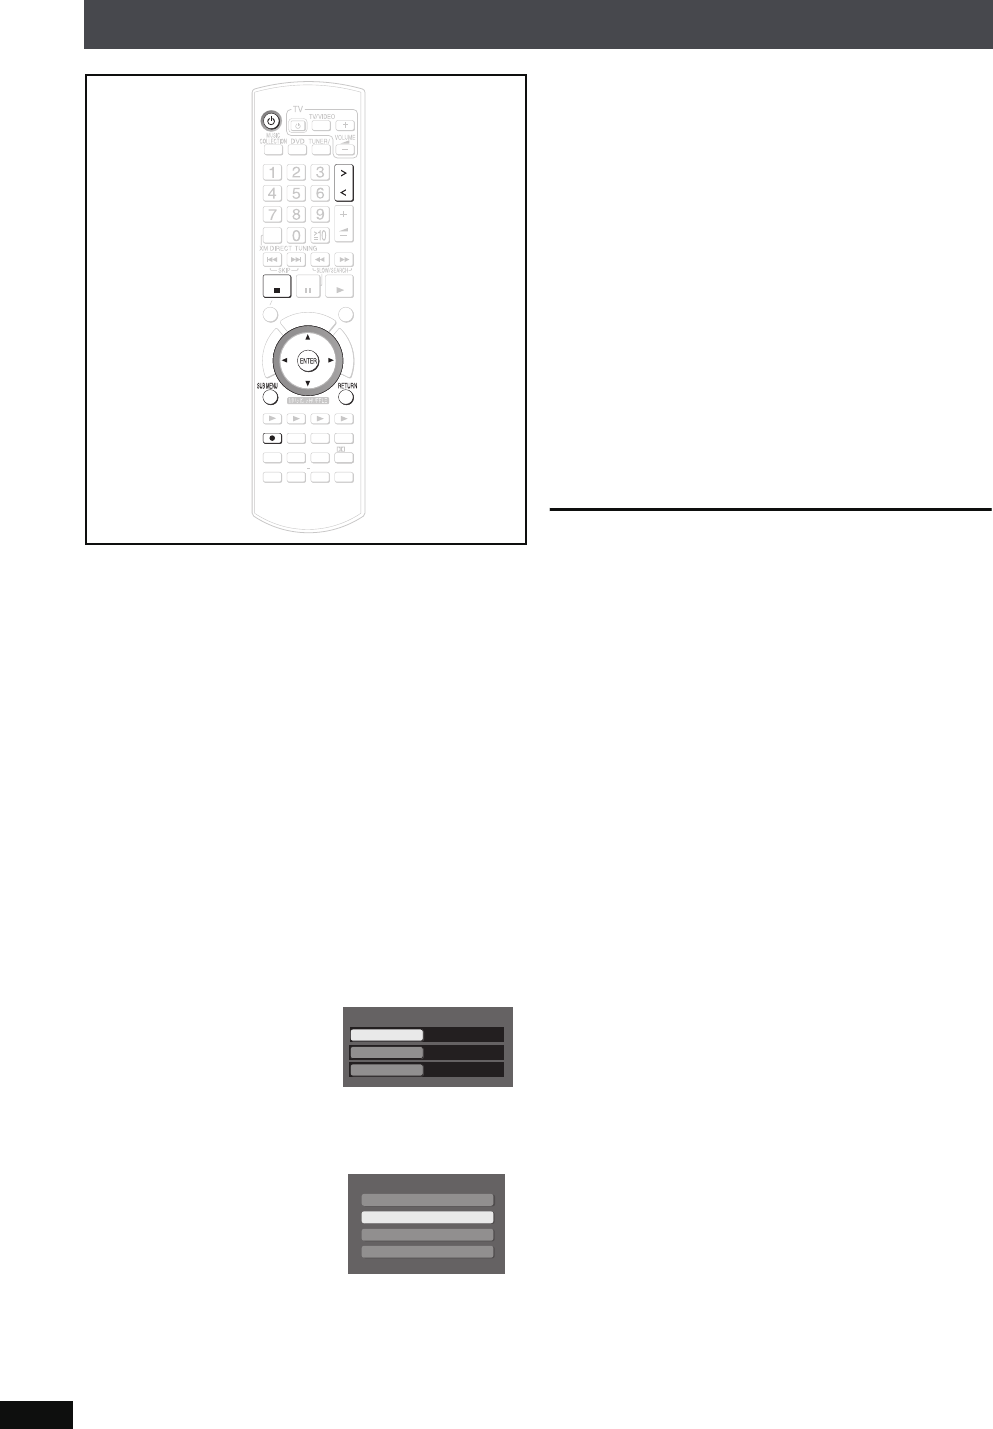
1 Press [SUB MENU].
2
Press
[34]
to select “Auto Track Divide” and press
[ENTER]
.
3 Press [34] to select the method of division and
press
[ENTER].
Auto 5 Minutes Tracks are divided into 5-minute
recordings.
Auto 10 Minutes Tracks are divided into 10-minute
recordings.
Auto Synchro:When external equipment starts playing,
recording starts automatically. The unit
searches for silence in between tracks,
and when a break of 3 seconds or longer
is found, recording pauses (the track is
divided) and will restart again when audio
is found.
Manual: Divide tracks at the point you like. (For division
methods, see below.)
4 Press [RETURN].
5 Press [¥ HDD REC].
Auto 5 Minutes
,
Auto 10 Minutes
,
Manual
:
Recording starts.
Auto Synchro
:
Unit enters recording standby mode.
6 Starting play on an external device.
≥Auto Synchro: Recording starts once audio is output.
Titles are automatically added (➜ page 39).
To change the recording mode before recording
Follow steps 1 to 3 of “Setting the recording mode/recording
method” on page 34. (The recording method cannot be
selected.)
To stop recording
Press [∫].
To pause recording
Press [¥ HDD REC].
≥To continue recording, press [¥ HDD REC] once more
(The track is divided).
To manually divide tracks
While recording, press [ENTER] at the point where you want to
divide the track.
≥When dividing tracks, create at least a 2-second space
between two tracks. (Tracks divided with less than 2-second
of space cannot be divided.)
≥Tracks recorded in “Manual” mode that exceed 60 minutes
will automatically be divided.
To adjust the synchro level
For synchro recordings, if the recording does not start, or the
tracks are not divided correctly between tracks, make
adjustments and record again.
1 Press [SUB MENU].
2Press [34] to select “Auto Synchro Level” and press
[ENTER].
3Press [34] to select the level and press [ENTER].
You can make adjustments within a range of 25 levels.
s12 (Low) ,. 0 (Standard) ,. r12 (High)
≥If the track is quiet, recording may not start. In this case,
lower the value.
≥If recording from a cassette tape, etc. with a lot of noise,
tracks may not be divided correctly or recording may not
start. In this case, raise the value.
ޓ
D
I
R
E
C
T
N
A
V
I
G
A
T
O
R
O
N
E
T
O
U
C
H
P
L
A
Y
S
T
A
R
T
ޓ
ޓ
ޓ
T
O
P
M
E
N
U
HDD
BAND
FUNCTIONS
MENU PLAYLIST
SELECT
VOLUME
FAVORITE
PLAYMODE
HDDREC
ENERGETIC RELAXINGMELLOW
MUTINGSETUP
SELECT
SOUND
SLEEP
FL DISPLAY
VS
2
ND
EMOTIONAL
REG
SELECT
PLAYPAU SESTOP
CH SELECT
CANCEL
SELECT
HDDREC
STOP
CH SELECT
CANCEL
AUX Sub Menu
LPCM
Auto 10 Minutes
Level0
Recording Mode
Auto Track Divide
Auto Synchro Level
Auto Track Divide
Auto 5 Minutes
Auto 10 Minutes
Auto Synchro
Manual
PTX79P.book Page 38 Monday, April 9, 2007 9:24 AM


