


Chapter 4 Settings — [P IN P] menu
112 - ENGLISH
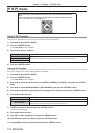
[P IN P] menu
On the menu screen, select [P IN P] from the main menu, and select an item from the sub‑
menu.
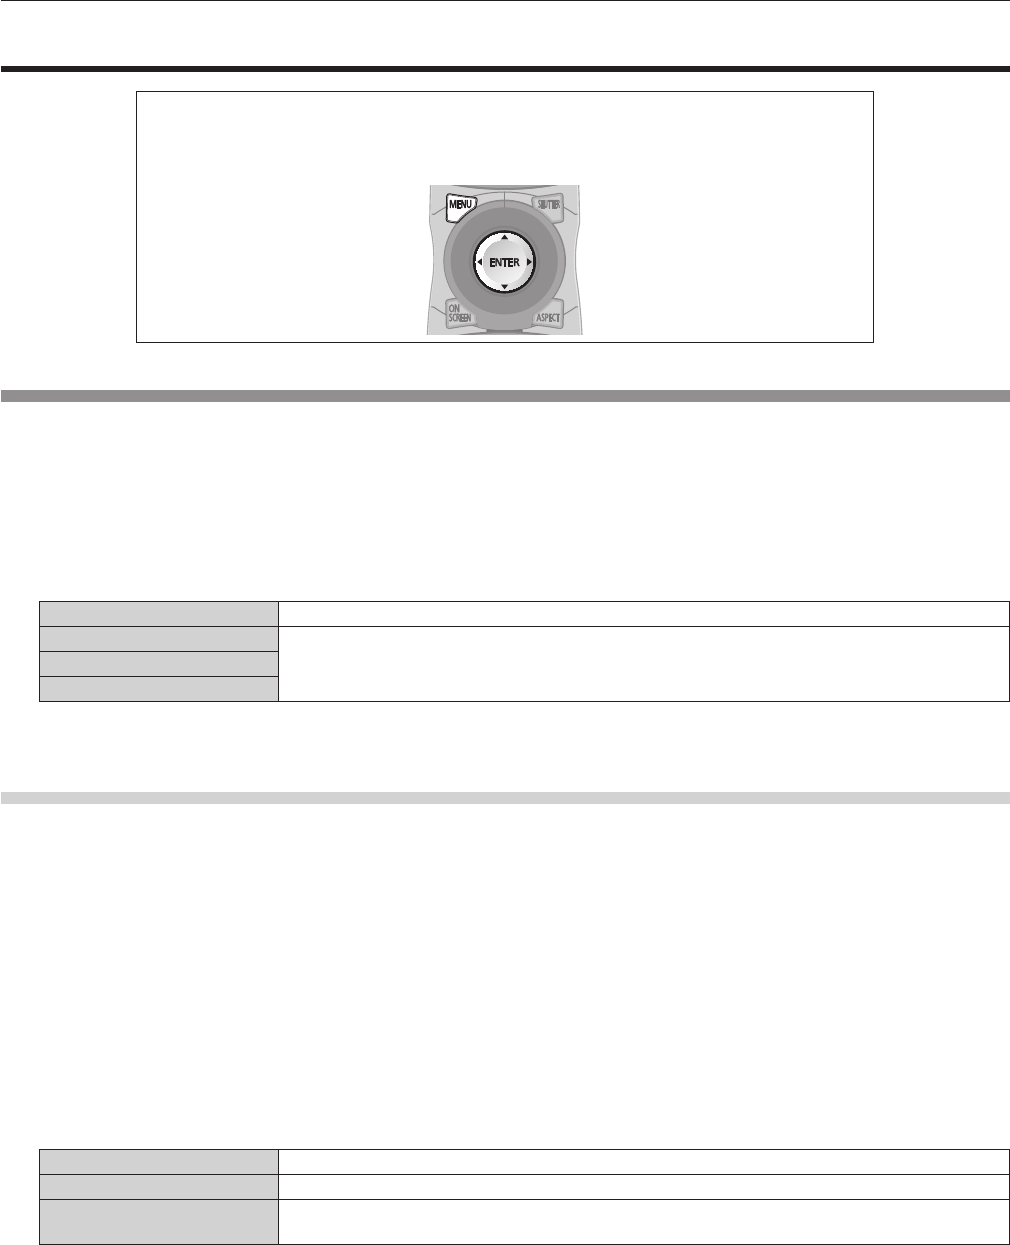
Refer to “Navigating through the menu” (x page 59) for the operation of the menu screen.
f After selecting the item, press asqw to set.
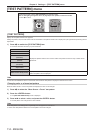
Using P IN P function
Locate a separate, small sub screen in the main screen to project two images simultaneously.
1) Press as to select [P IN P MODE].
2) Press the <ENTER> button.
f The [P IN P MODE] screen is displayed.
3) Press as to select a function.
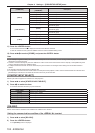
[OFF] P IN P function is not used.
[USER1]
The items set in “Setting P IN P function” (x page 112) are used in P IN P function.
[USER2]
[USER3]
4) Press the <ENTER> button.
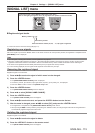
Setting P IN P function
P IN P function settings can be saved to [USER1], [USER2], and [USER3].
1) Press as to select [P IN P MODE].
2) Press the <ENTER> button.
f The [P IN P MODE] screen is displayed.
3) Press as to select the desired mode from [USER1], [USER2], and [USER3], and press the <ENTER>
button.
4) Press as to select [MAIN WINDOW] or [SUB WINDOW], and press the <ENTER> button.
5) Press as to select the input terminal to be displayed in the window, and press the <ENTER> button.
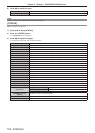
6) Press asto select an item.
[SIZE] Set the window display size between 10 % and 100 %.
[POSITION] Set the display position of the window within the screen.
[CLOCK PHASE]
When the sub window is input from the <RGB 1 IN> terminal or the <RGB 2 IN> terminal and a
ickering image or smeared outline appears, set between 0 and +31.
7) If [SIZE] is selected in Step 6), press the <ENTER> button.
f The sub-menu is displayed.
8) Press asto select an item.
9) Press qw to make adjustment, and press the <MENU> button.
10) If [POSITION] is selected in Step 6), press the <ENTER> button.
11) Press asqw to adjust the position, and press the <MENU> button.