


[PROJECTOR SETUP] menu
ENGLISH - 99
Settings
[PROJECTOR SETUP] menu
Select [PROJECTOR SETUP] from the main
menu, and select the item from the sub-menu.
Refer to “Navigating through the menu”
(
page 61) for the operation of the menu
screen.
z
After selecting the item, press
to set.
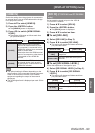
[PROJECTOR ID]
The projector has an ID number setting function that
can be used when multiple projectors are used side
by side to enable simultaneous control or individual
control via one remote control.
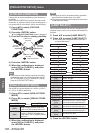
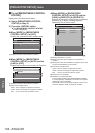
1) Press
to select [PROJECTOR ID].
2) Press
to switch [PROJECTOR ID].
z
The setting will change as follows each time
you press the button.
[ALL] [1]
[64] [2]
Note
z
The ID number can be set to a value from [ALL], [1]
to [64].
z
To specify an ID number for individual control, the
ID number of a remote control must match the ID
number of the projector.
z
When the ID number is set to [ALL], the projector
will operate regardless of the ID number specied
during remote control or computer control. If
multiple projectors are set up side by side with IDs
set to [ALL], they cannot be controlled separately
from the projectors with other ID numbers.
z
Refer to “Setting Remote control ID numbers”
(
page 27) regarding the method to set the ID
number on the remote control.
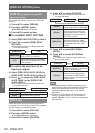
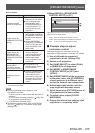
[PROJECTION METHOD]
Set the projection method in accordance with the
installation status of the projector.
Change the projection method if the screen display is
upside down or inverted.
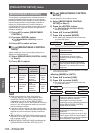
1) Press
to select [PROJECTION
METHOD].
2) Press the <ENTER> button.
z
The [PROJECTION METHOD] screen is
displayed.
3) Press
to select the projection
method.
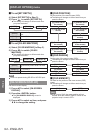
[FRONT/FLOOR]
When installing on the desk,
etc., in front of the screen
[FRONT/CEILING]
When installing using the
ceiling mount bracket (optional
accessories) in front of the
screen
[REAR/FLOOR]
When installing on the desk,
etc., behind the screen (using a
translucent screen)
[REAR/CEILING]
When installing using the
ceiling mount bracket (optional
accessories) behind the screen
(using a translucent screen)
4) Press the <ENTER> button.
5) When the conrmation is displayed,
select [OK] or [CANCEL], and press
the <ENTER> button.
Attention
z
When [PROJECTION METHOD] is changed,
confirm that [COOLING CONDITION] (
page 100) is
set correctly.