


[PROJECTOR SETUP] menu
110 - ENGLISH
Settings
[NO SIGNAL SHUT-OFF]
You can set the power of the projector automatically
to standby if there is no input signal by the specied
time.
1) Press
to select [NO SIGNAL
SHUT-OFF].
2) Press
to switch [NO SIGNAL
SHUT-OFF].
[DISABLE]
Disables the No signal shut-off
function.
[10MIN.] -
[90MIN.]
Allows you to set in ten minutes
intervals.
[REMOTE2 MODE]
You can set the <REMOTE 2 IN> terminal.
1) Press
to select [REMOTE2 MODE].
2) Press
to switch [REMOTE2
MODE].
z
The setting will change as follows each time
you press the button.
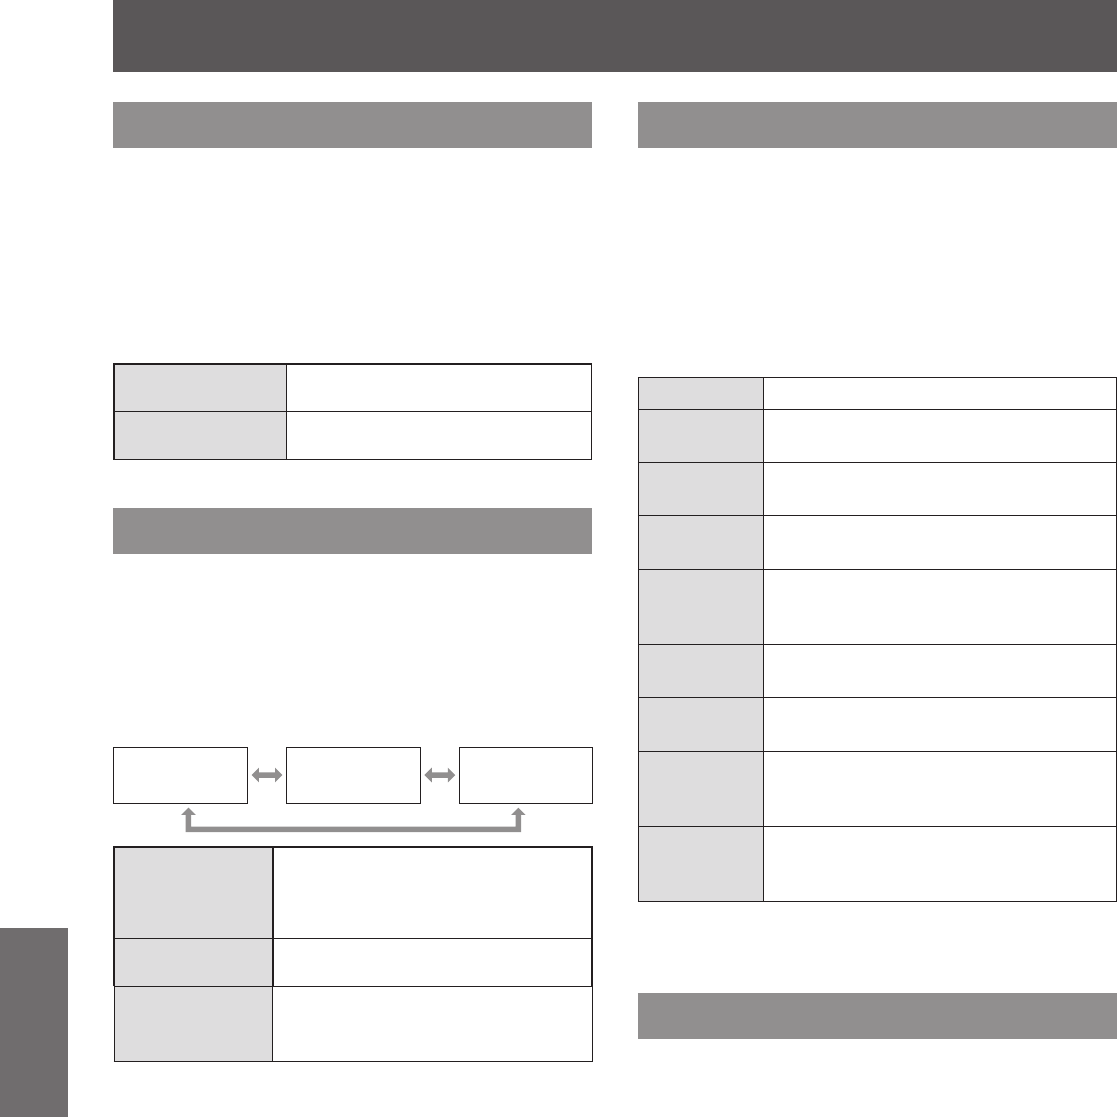
[DEFAULT] [USER]
[L6500
SERIES]
[DEFAULT]
The pin assignment of the
<REMOTE 2 IN> terminal is used
by the factory default setting of the
projector. (
page 164)
[USER]
Used to change the setting of the
<REMOTE 2 IN> terminal.
[L6500
SERIES]
Use the settings for the L6500
series compatible REMOTE2
terminal.
■
To set [USER]
3) Select [USER] in Step 2).
4) Press the <ENTER> button.
5) Press
to select either [PIN2] or
[PIN8] and press
to switch the
setting.
[FUNCTION BUTTON]
Set the functions of the <FUNC> button on the remote
control.
1) Press
to select [FUNCTION
BUTTON].
2) Press the <ENTER> button.
z
The [FUNCTION BUTTON] screen is displayed.
3) Press
to select a function.
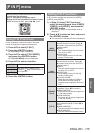
[DISABLE] Disables the <FUNC> button.
[P IN P]
Switches [OFF]/[USER1]/[USER2]/
[USER3] in [P IN P]. (
page 115)
[SUB
MEMORY]
Lists the sub memory. (
page 120)
[SYSTEM
SELECTOR]
Switches to [SYSTEM SELECTOR]
settings. (
page 70)
[SYSTEM
DAYLIGHT
VIEW]
Switches to [SYSTEM DAYLIGHT
VIEW] settings. (
page 68)
[FREEZE]
Temporarily pauses the image.
(
page 96)
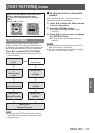
[WAVEFORM
MONITOR]
Displays the waveform of the input
signal. (
page 96)
[LENS
MEMORY
LOAD]
Calls the registered memory.
(
page 112)
[LEFT/
RIGHT
SWAP]
*1
Switches the ip horizontal settings.
(
page 84)
*1: PT-DZ21KU and PT-DS20KU only
4) Press the <ENTER> button.
[DATE AND TIME]
Set the time zone, date, and time of the built-in clock
of the projector.
1) Press
to select [DATE AND TIME].
2) Press the <ENTER> button.
z
The [DATE AND TIME] screen is displayed.
3) Press
to select an item.
■
To set time zone
4) Select [TIME ZONE] in Step 3).
5) Press
to set [TIME ZONE].