


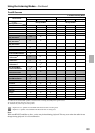
91
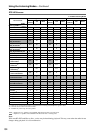
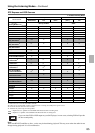
Advanced Setup—Continued
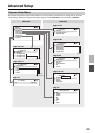
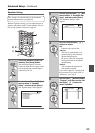
5
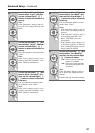
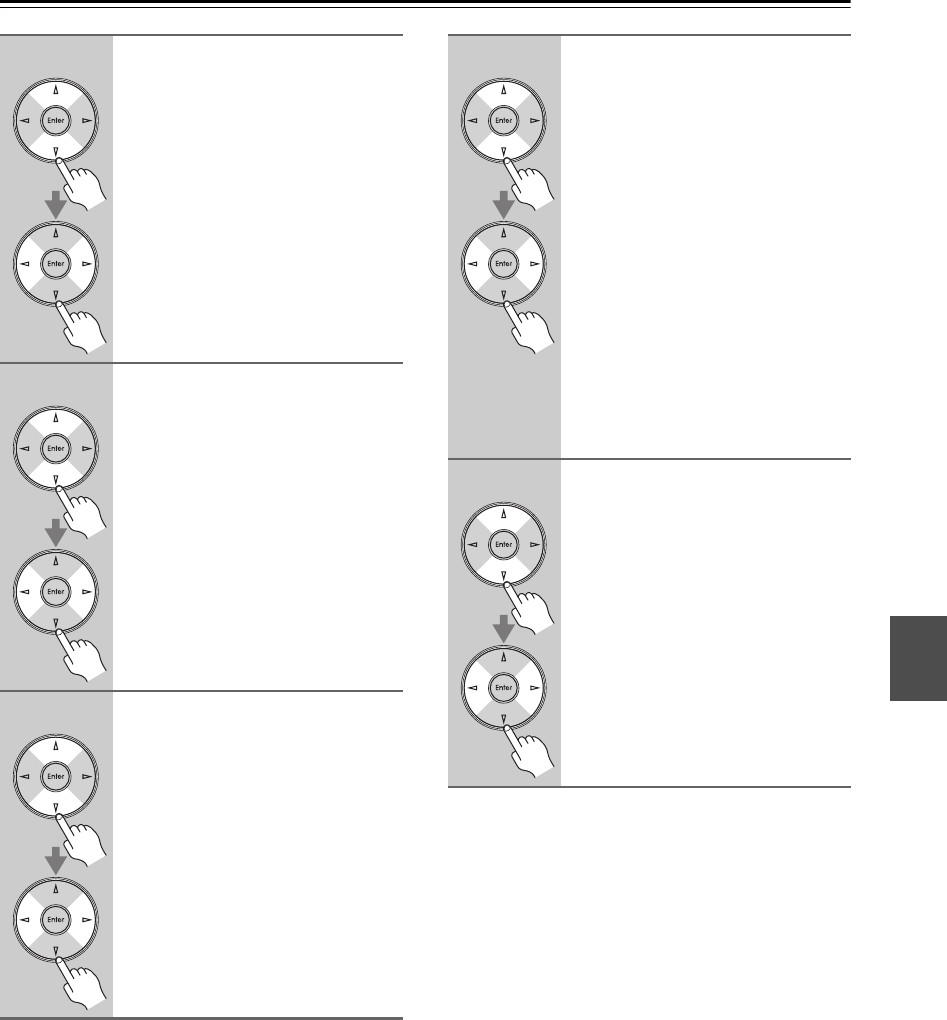
Use the Up and Down [ ]/[ ] but-
tons to select “Front”, and then
use the Left and Right [ ]/[ ]
buttons to select a crossover fre-
quency.
Note:
If the “Subwoofer” setting in step 4 is
set to
“No”, this setting is fixed at “Full
Band”.
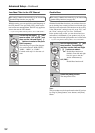
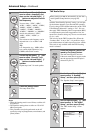
6
Use the Up and Down [ ]/[ ] but-
tons to select “Center”, and then
use the Left and Right [ ]/[ ]
buttons to select a crossover fre-
quency.
If no center speaker is connected, select
“None”.
Note:
If the
“Front” setting in step 5 is set to
anything other than
“Full Band”, “Full
Band”
cannot be selected here.
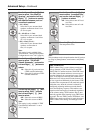
7
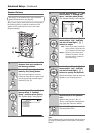
Use the Up and Down [ ]/[ ] but-
tons to select “Surround”, and
then use the Left and Right [ ]/
[ ] buttons to select a crossover
frequency.
If no surround left and right speakers
are connected, select “None”.
Note:
If the
“Front” setting in step 5 is set to
anything other than
“Full Band”, “Full
Band”
cannot be selected here.
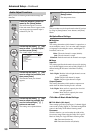
8
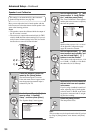
Use the Up and Down [ ]/[ ] but-
tons to select “Surr Back”, and
then use the Left and Right [ ]/
[ ] buttons to select a crossover
frequency.
If no surround back speakers are con-
nected, select “None”.
Notes:
• If the “Surround” setting in step 7 is
set to “None”, this setting cannot be
selected.
• If the “Surround” setting in step 7 is
set to anything other than “Full
Band”, “Full Band” cannot be
selected here.
• If the “Speakers Type” setting is set
to “Bi-Amp” (page 45), or Powered
Zone 2 is being used (page 116), this
setting cannot be selected.
9
Use the Up and Down [ ]/[ ] but-
tons to select “Surr Back Ch”,
and then use the Left and Right
[ ]/[ ] buttons to select:
1ch: Select if one surround back
speaker is connected.
2ch: Select if two (left and right)
surround back speakers are
connected.
Note:
If the
“Surr Back” Setting in step 8 is
set to
“None”, this setting cannot be
selected.
Continue with step 10 on the next page.