Wolf Cinema Owner's Manual
3-58
4. SET BLEND WIDTH: On one projector, increase the Blend Width for an overlapping edge
(for example, if the projector’s image is on left, its right edge overlaps the adjacent image
— adjust Right Blend Width). Use the same setting on the second projector for this shared
edge.
5. Re-adjust width (both projectors) until the overly bright band at the midpoint of the
overlapping blends disappears or just changes to very light gray. For the shared edge, use
the same Blend Width setting on each projector. If the “best blend” appears to be between
two settings, choose the wider setting for both projectors.
6. CHECK BLEND: If the blended region appears too dark or light in relation to the rest of the
image:
• IncreaseBlend Midpoint in both projectors to “lighten” the overall blend, decrease to “darken”
the overall blend.
• AdjustBlend Shapeinbothprojectorstone-tunechangetheamountofmid-grayintensity
(as opposed to black/white) in the blend.
7. Repeat with remaining projectors / overlaps.
8. Check completed display wall with the desired external signal.
9. Adjust mechanical alignment if necessary to maintain perfect pixel-on-pixel alignment over
time.
In applications where you are projecting only white or light images, the Blend Width may be
slightly higher—set according to how much overlap you have between images. Use the following
as a guide (examples show overlapping width only — values for overlapping height will differ):
Recommended overlap is 12.5% - 25%•
Similar to Edge Blending, Black Edge Blending allows you to adjust the black level hues of
multiple adjacent projected images to create one large seamless display. Edge blending must be
enabled in order to use the Black Edge Blending features.
Black Edge Blending Procedure
NOTES: 1) Adjust white levels before adjusting black levels. 2) The zones in BLB menu
correspond to the Edge Blend zones. If a given Edge Blend zone width is set to 0 (i.e. no blend
on that side) then the corresponding BLB zone is disabled. It only becomes accessible when that
Edge Blend zone is active.
Start with two projectors. Select the black test pattern for both projectors from the 1. Geometry
and Color submenu.
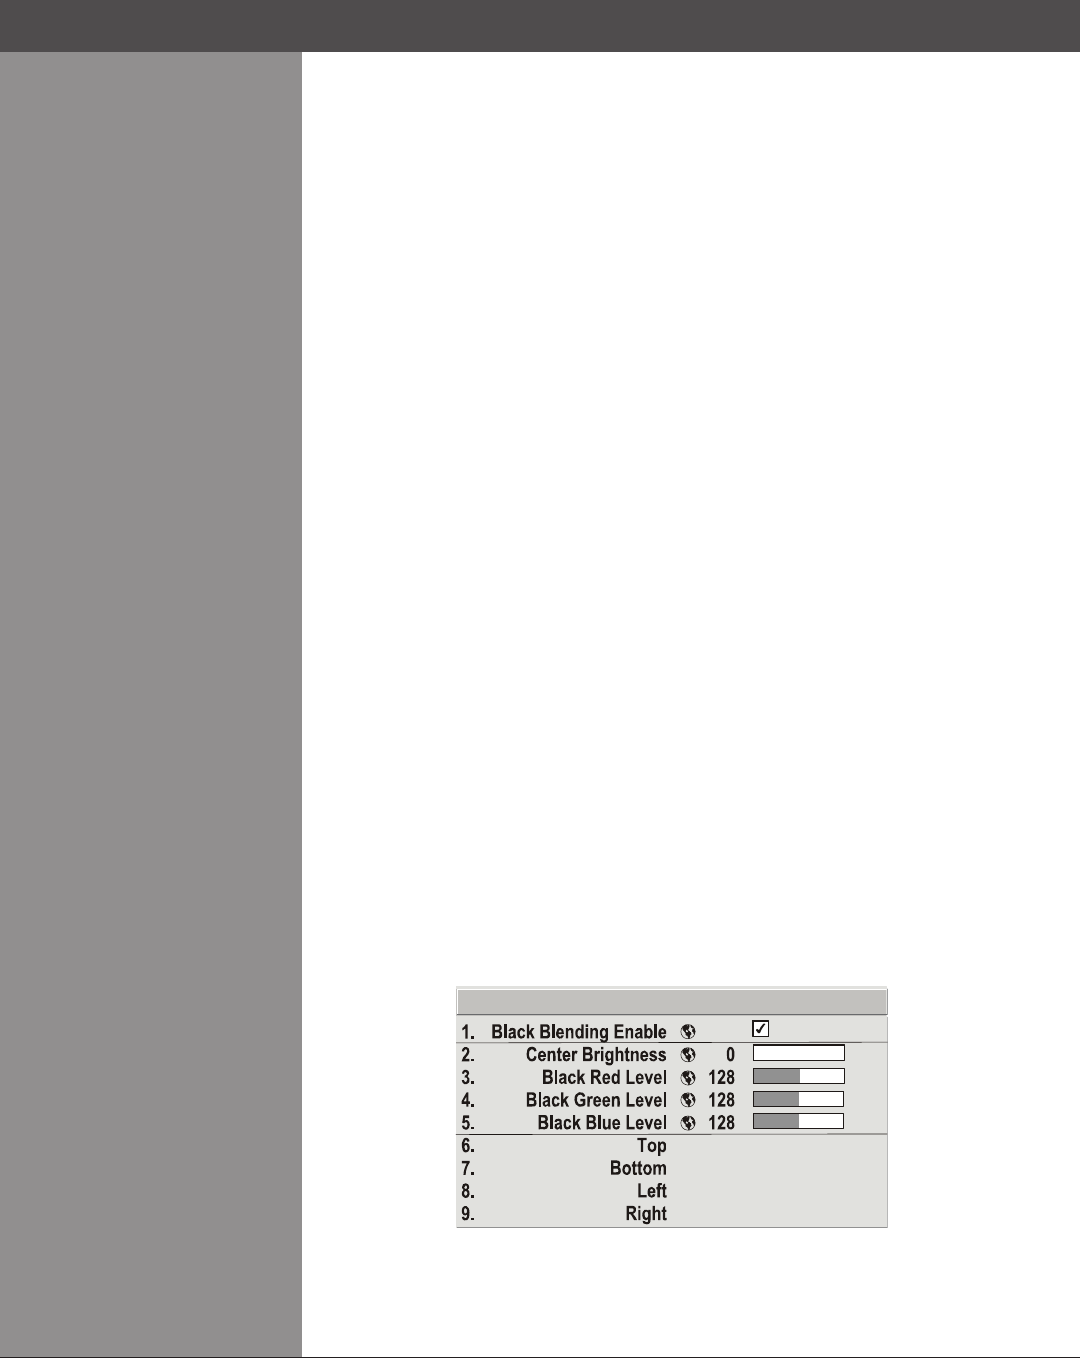
In the 2. Black Edge Blending submenu, enable black blending by putting a checkmark in the
checkbox for each projector.
3. Working with one projector at a time, use the center brightness slide bar to adjust the center
brightness (brightness of the non-blended region) so that the center intensity matches that
of the brightest blended region (the center of all images when blending a 2 x 2 display is the
target area).
Black Edge Blending >
Section3►Operation


