


Wolf Cinema Owner's Manual
3-41
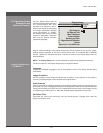
Test Pattern
Choose the desired internal
test pattern to display, or
select OFF to turn off a test
pattern. Alternatively, use
the
Test
key for cycling
through test patterns.
NOTE: There is a centerline
(both horizontal and vertical)
in the Edge Blending test
pattern. The intersection of
these lines is the true center
of the projector’s display
area.
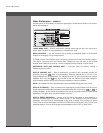
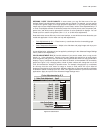
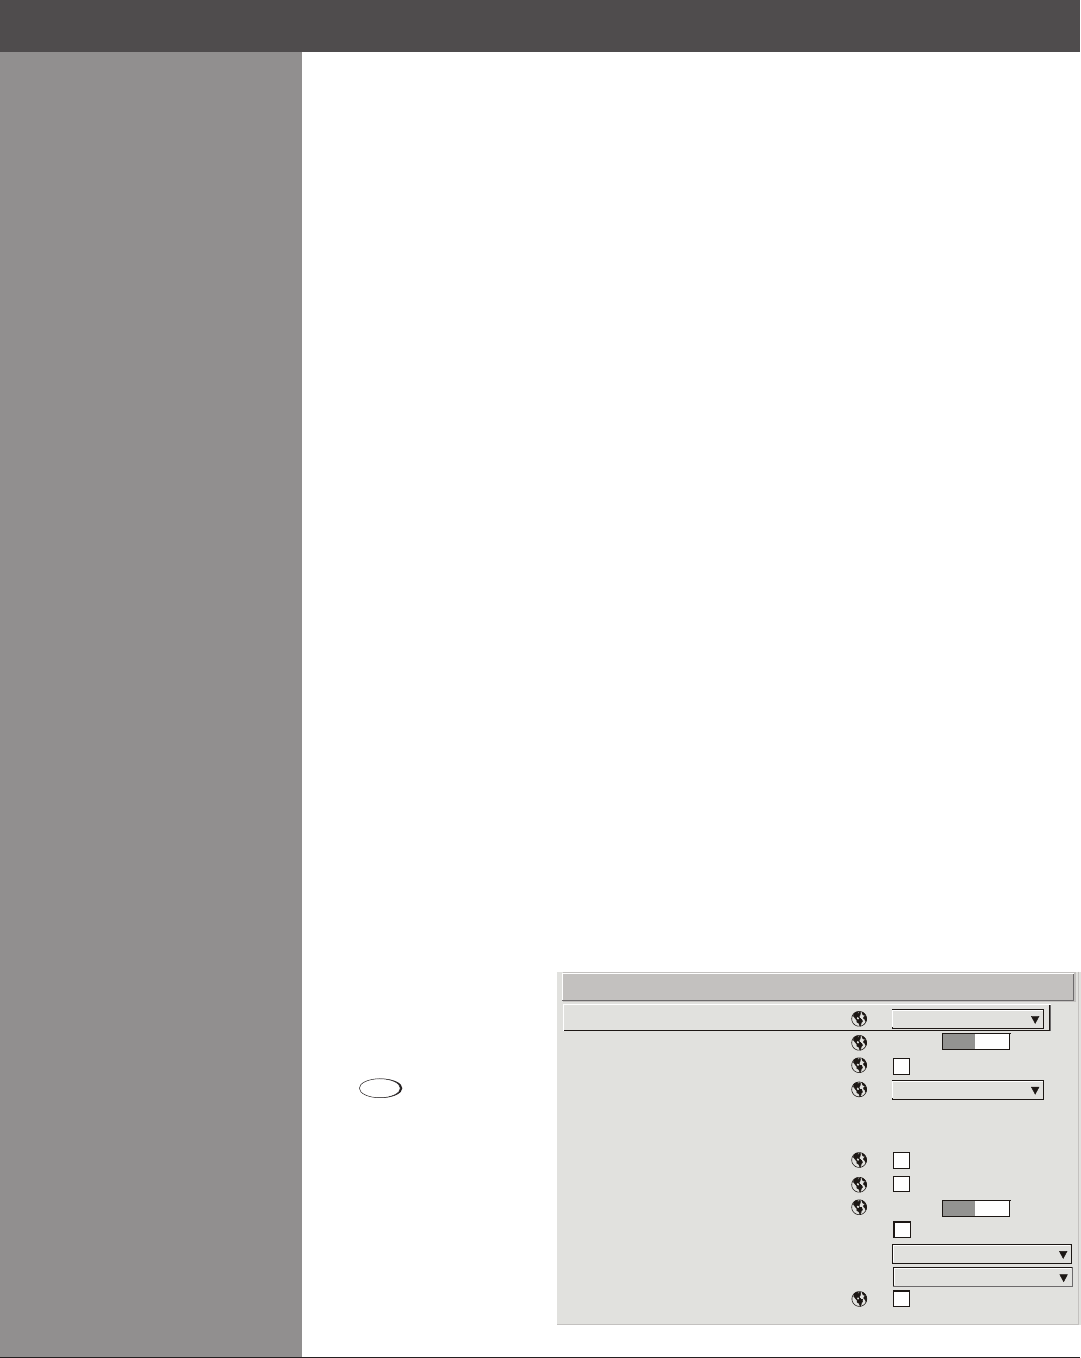
System Conguration >
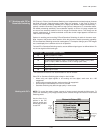
DIAGNOSTICS/CALIBRATION
Section3►Operation
Diagnostics and Calibration
Test Pattern
Grey Level
Freeze Image
Color Enable
Odd Pixel Adjustment
Peak Detector
Level Detector
Level Value
Aspect Ratio Overlay
Lamp Tracking Calibration
LVS Calibration
Automatic LVS Lens Calibration
1.
2.
3.
4.
5.
6.
7.
8.
9.
0.
Grid
512
White
512
Calibrate Lamp Tracking
Full Calibration
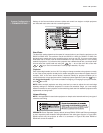
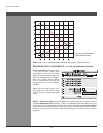
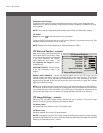
Black Edge Blending — SUBMENU
Black Edge Blending is a feature that eliminates the differences between black levels when
edge blending multiple projectors. The Black Edge Blending submenu provides many controls
to allow the edges of adjacent images to be smoothly overlapped creating a “seamless” image.
Edge blending smoothes white levels, and if edge blending is not in use, Black Edge Blending
is disabled. Black Edge Blending provides a simple solution for uneven black levels, without
the need for external hardware, by matching up black level hues with a “target area” hue (the
intersection of the center lines), and adjusting the overlaps (edges) surrounding the target area.
NOTES: 1) Refer to section 3.10, Using Multiple Projectors for additional information. 2)
There is a centerline (both horizontal and vertical) in the Black Edge Blending test pattern. The
intersection of these lines is the true center of the projector’s display area. 3) Adjust white levels
before adjusting black levels. 4) Blinders are recommended for xed installations.
Default Color Adjustments — SUBMENU
Refer to System Conguration – Geometry and Color, Color Adjustments by X,Y for
description.
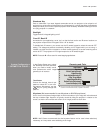
Lens VariScope™ (LVS™) — SUBMENU
LVS™providestheabilitytorecallfocusandzoomsettingsspecictoeachsourceinput.Custom
lens settings you’ve chosen for any source will be quickly and accurately applied when you
select a source that has already been calibrated. Place a checkmark in the checkbox to enable
LVS™. If no calibration has previously been done you may be prompted to do a full calibration.
If a motion calibration has been done, you will be prompted to complete a reference calibration.
If both calibrations have been done, the checkbox will be checked and LVS™ enabled. If LVS™
is enabled, a reference calibration will be done on power up and the lens will return to the
saved position of the source that is active at the time of power up or to the position the lens was
located when it was powered on. Further adjustments to the zoom, focus and position will be
automatically saved for source the selected source. If you switch to a source with different lens
settings and switch back, the lens will automatically move to your saved settings upon return.
Other sources can be used without using LVS™ .
NOTES: 1) See System Conguration – Diagnostics/Calibration, LVS Calibration for further
details about calibration. 2) LVS™ control is a preference setting and will be retained between
power cycles.