


System Configuration
26
Signature 2.0
Once the reference level has been established, press the
¤ Menu Control
button
i
so that
Center
is
highlighted. Adjust the sound level using the
‹
or
›
Menu Control
buttons
i
until the volume from the
center channel is equal to what you had just heard from
the left front speaker.
When the center channel level is set press the
¤ Menu
Control
button
i
until
Right Front
is high-
lighted and once again use the
‹
or
› Menu Control
buttons
i
until the level is equal to the preceding
speakers. Continue until all speaker locations have been
set, and then quickly cycle through the list one more
time to make certain that no additional adjustments
are required.
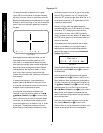
NOTE: For proper operation, the test tone should
always be heard from the speaker location indicated in
the on-screen menu. If the sound is being heard from a
location other than the one shown on the screen there is
a misconnection in the system. In that event, press the
Menu
button
j
three times to exit the menu system
and then turn the unit off by pressing the
Master
Power Switch 1
on the front panel until the
Standby LED 5
goes dark. Once the 2.0 and all
amplifiers have been turned completely off (NOT placed
in a standby mode) check all connections from the 2.0
to the power amplifier and from the amplifier to the
speakers to find the incorrect connection. Once the
problem is found and corrected, turn your system on
again and resume the setup.
When all speaker locations have been set so that
the sound is equal, press the
Menu
button
j
to
end the calibration and return to the
Speaker
Setup Menu
.
To complete the speaker setup, press the
¤ Menu Control
button
i
until
Speaker
Distances >
is highlighted and press the
› Menu Control
button
i
to move to the next step.
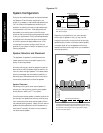
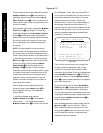
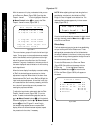
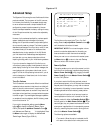
At the
Speaker Dist Adj
menu (Figure OSD-4)
you will enter the information that will permit the 2.0 to
automatically calculate the proper delay time for each
analog and digital surround mode. Thanks to the
advanced circuitry of the 2.0 it is no longer necessary to
calculate delay times and enter them manually. It is
important, however, that you have the distance from the
preferred listening position to the front left/right, center
and surround speakers measured and available before
proceeding to the next step.
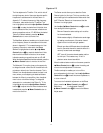
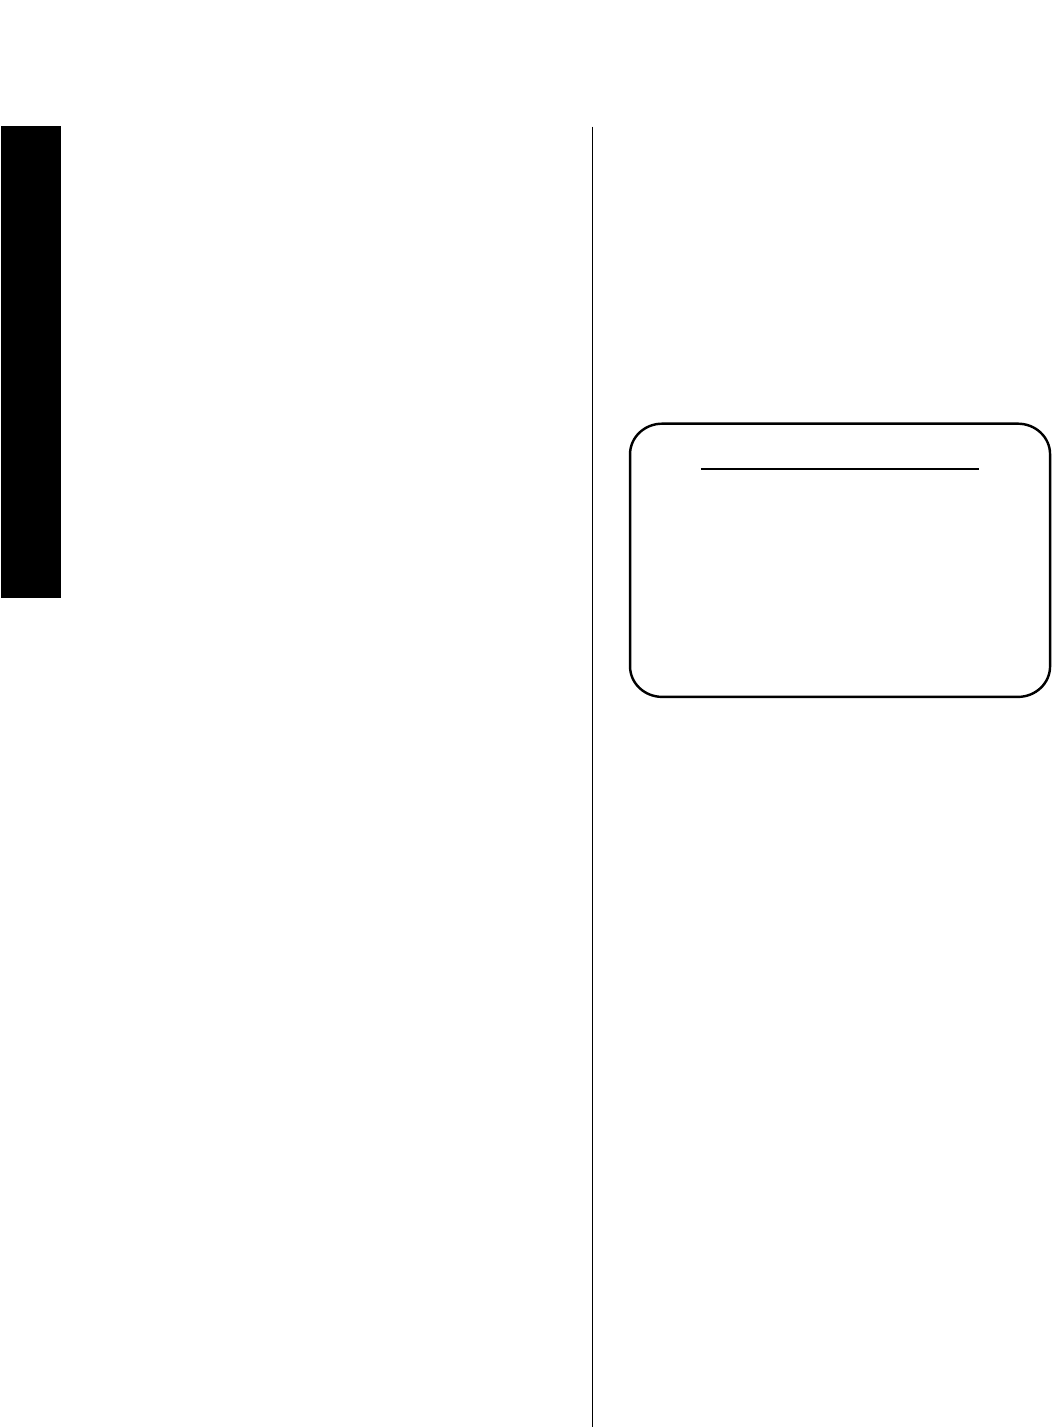
Figure OSD-4
The first line on the menu allows you to change from
the factory preset of measurement in feet to metric
increments. If you prefer to enter the data in meters,
make certain that the
Meas Std
line is highlighted and
press the
› Menu Control
button
i
until
Feet
is
replaced with
Meters
. Press the
¤ Menu Control
button
i
when the desired measurement unit appears
and move to the next line.
At each of the next three lines, use the
‹
or
› Menu
Control
buttons
i
to change the setting so that the
distance shown is as close as possible to the distance
from your listening position to the speaker location that
is highlighted. When the setting for a speaker position is
complete, press the
¤ Menu Control
button
i
to
move to the next position.
When all speaker distances have been entered, press the
Menu
button
j
to return to the
Spkr Setup
Menu
to select any items that may require final fine
tuning. Press the
Menu
button one more time to return
to the
Setup Menu
so that final adjustments and
configuration data may be entered.
Speaker Dist Adj
Meas Std: Feet
Front L and R:10 FT
Center: 10 FT
Surrounds: 10 FT
Indicate distance
from Speakers to
listening postition.