


System Configuration
23
Signature 2.0
Using these guidelines, you may find that it takes some
experimentation to find the correct location for the front
speakers in your particular installation. Don’t be afraid to
move things around until the system sounds correct.
Optimize your speaker positions so that pans across the
front of the room sound smooth, and that sounds from
all speakers appear to arrive at the listening position at
the same time.
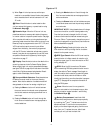
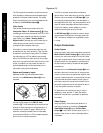
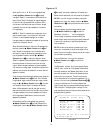
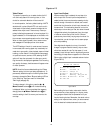
Surround speakers should be placed on the side walls of
the room, at or slightly behind the listening position. The
center of the speaker should face into the room. The
speakers should be located so that the bottom of the
cabinet is at least two feet higher than the listeners’ ears
when in the desired area, as shown below.
If side wall mounting is not practical, the speakers may
be placed on a rear wall, behind the listening position.
Again, they should be located so that the bottom of the
cabinet is at least two feet higher than the listeners’ ears.
The speakers should be no more than six feet behind the
rear of the seating area.
Subwoofers produce non-directional sound, so they
may be placed almost anywhere in a room. Subwoofer
placement is highly influenced by room size and shape,
and the type of subwoofer used. Follow the instructions
provided by the subwoofer’s manufacturer, or experi-
ment with the best location for a subwoofer in your
listening room.
At least 2 feet
At least 6 inches from ceiling
Configuring Your System
Once the speakers have been installed, the next step is to
configure the 2.0 and calibrate it for the specific equip-
ment in your system. First make certain that you have
installed the supplied batteries in the remote control, as
shown on page 16. Next, make certain that the
AC
Power Cord ‚
is plugged into a non-switched AC
wall outlet.
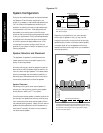
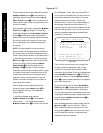
You are now ready to turn on the 2.0. Before proceeding,
place the
Master Power Switch 1
in the ON
position by pressing it in until the switch latches and
is flush with the 2.0’s front panel. The front panel
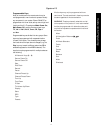
Information Display )
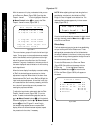
will light briefly and
display a message with the software revision number
(Figure FPD-1).
Figure FPD-1
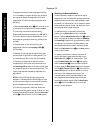
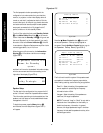
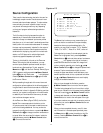
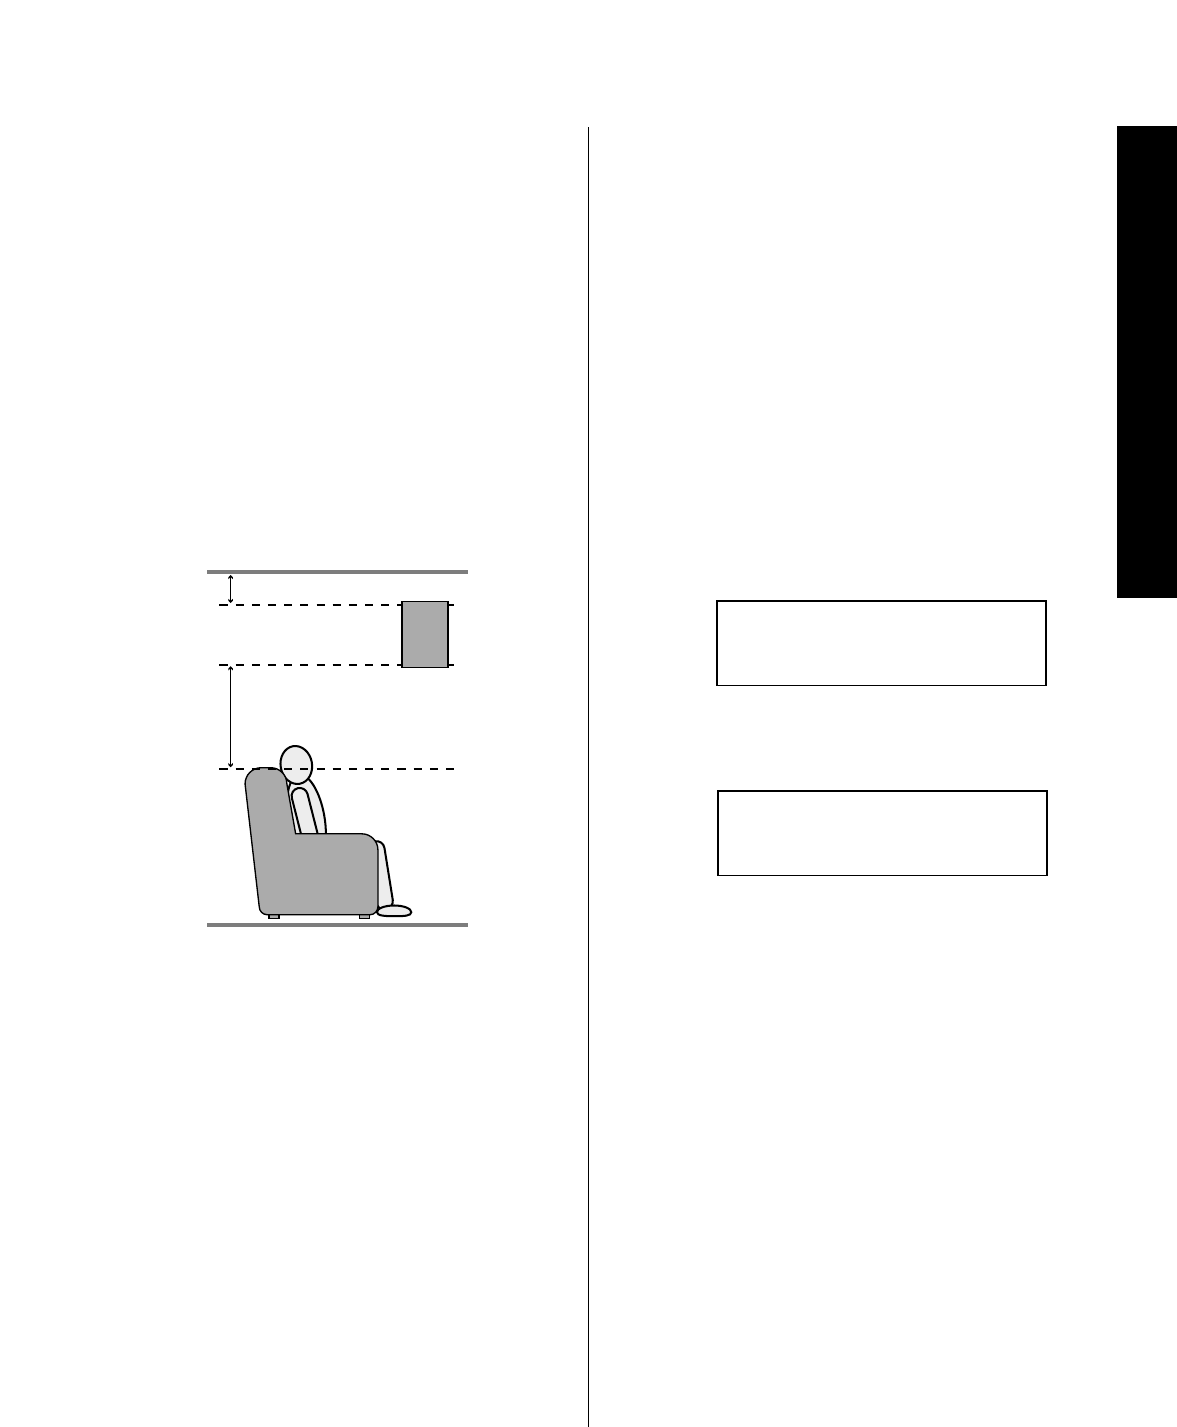
It will then show a
Power Off
message (Figure
FPD-2)and then go dark.
Figure FPD-2
At the same time, the
Standby LED 5
will turn
amber, indicating that the unit is in the Standby mode
and ready to accept commands from the remote control.
NOTE: It is a good idea to write down the software
version that is installed in your unit in the place provided
in Appendix B. Although it is unlikely that you will
encounter problems with the 2.0, the exact revision
number of the software installed in your system is a
valuable diagnostic tool that may be helpful to Customer
Service Representatives when you contact Harman
Kardon via letter, phone or E-Mail.
Power Off Standb
y
Si
g
nature Series 2.0
Ver. X.X