


Page 40
Page 41
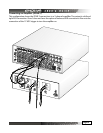
Safety Precaution - Make sure that all of your equipment remains unplugged from the AC mains until
you have made all the connections.
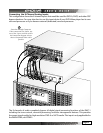
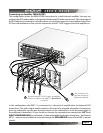
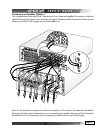
Step 3 - Connect the speakers to your amplier(s) so you will be able to hear sound.
Step 4 - If you are using a new DVD player or had previously congured it with 2-channel (RCA type)
analog audio connections, you may need to congure the output to digital audio. In your DVD player’s
AUDIO SETUP MENU, you must set the digital output to BITSTREAM. If this is not set correctly, the
DMC-1 cannot decode the digital information for discrete surround sound playback.
Step 5 - The DMC-1 has a bass management system which allows the damaging bass from each full
range channel to be redirected to a subwoofer. Larger speakers can typically play the full frequency
range, however you may choose to have smaller speakers (such as satellite types) can have the
bass redirected to the subwoofer(s). Make a note of which speakers you would like to play the full
frequency range (Large) and those which will have the bass redirected (Small). Also make a note of
the approximate distance of each speaker from your listening position.
Step 6 - Turn on the DMC-1
Step 7 - Turn on your ampliers, TV and other source equipment.
Step 8 - Press the remote MAIN button - a few times to make sure you are on the Main Menu in the
remote’s display.
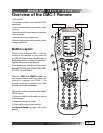
Step 9 - Set the remote to operate the DMC-1 by pressing the EMO button.
Step 10 - Turn down the DMC-1 volume and use the remote or front panel input selector to select
a video source.
Step 11 - Play the source, and bring up the volume to a low level. Make sure the video can be seen
in the TV monitor.
Step 12 - Stop or pause the source.
. The DMC-1 now needs to be setup correctly to suit your speakers and system. The SETTINGS (OSD)
menu is used to enter and make three main adjustments:
· Speaker Size
· Speaker Calibration
· Speaker Position
This setup needs to be done when you use your system for the rst
time, or if you change anything such as the ampliers or speakers, or
the speaker position. The calibration is also a good way to check that
your system is working correctly. These adjustments are made using
the OSD as follows:
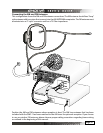
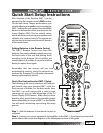
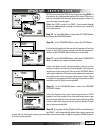
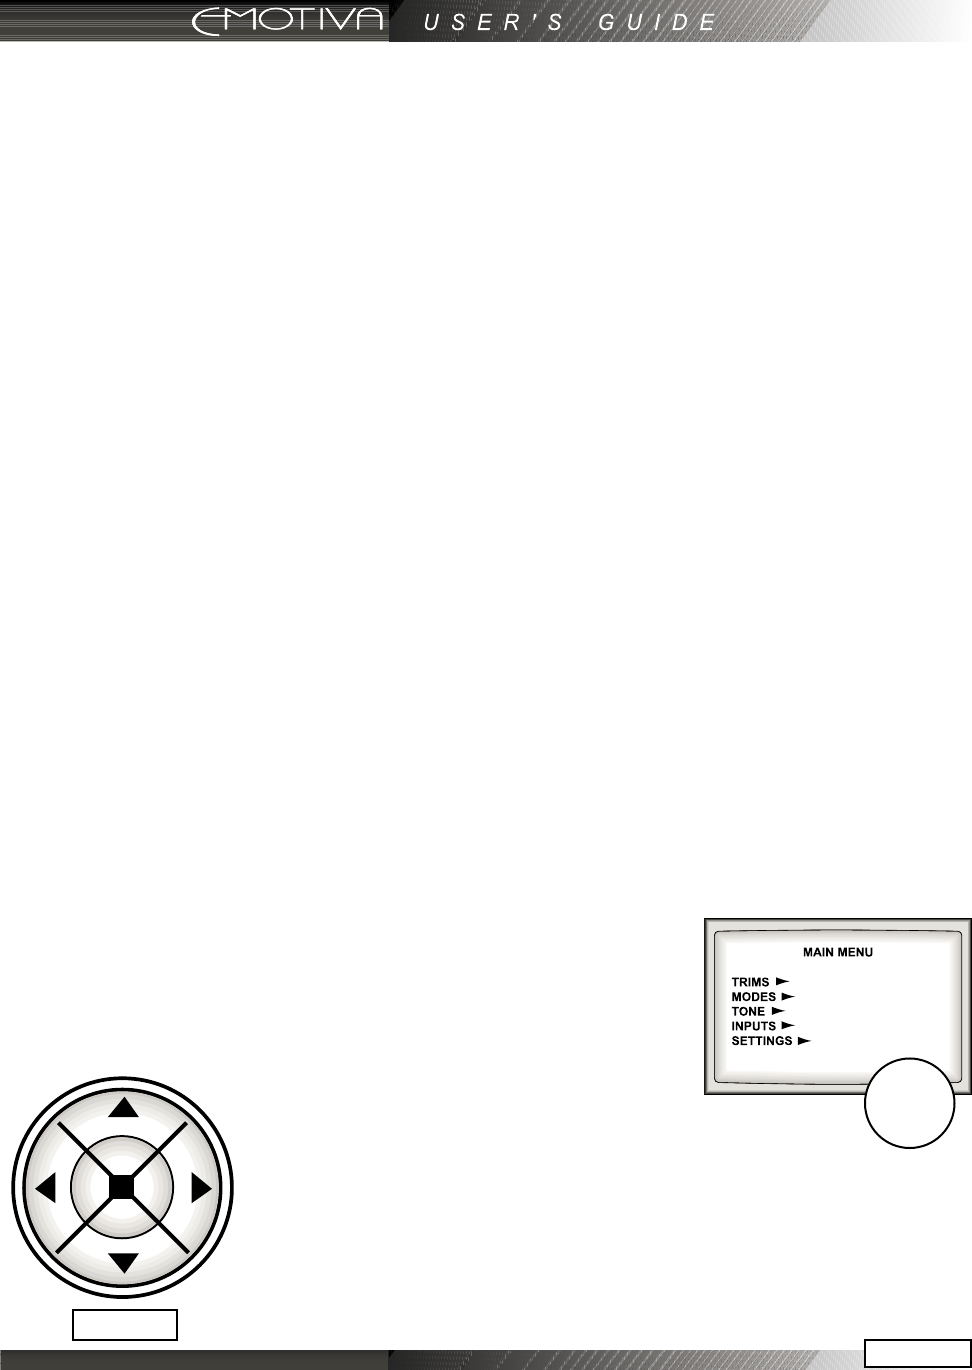
Step 13 - Press MENU on the remote to
bring up the MAIN Menu of the OSD on
your TV.
Step 14 -Use the joystick pad left, right, up and down buttons
to navigate through the menus in the next steps.
Step
13
Joystick