


<P=005>
(Continued)
● Before setting the timer, make sure that the clock setting is
correct. (Page 9)
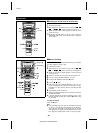
ENTER
ON
STAND-BY
MD REC
TAPE REC
TIMER
2
3
4
5
7
6
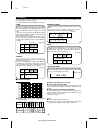
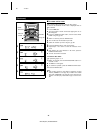
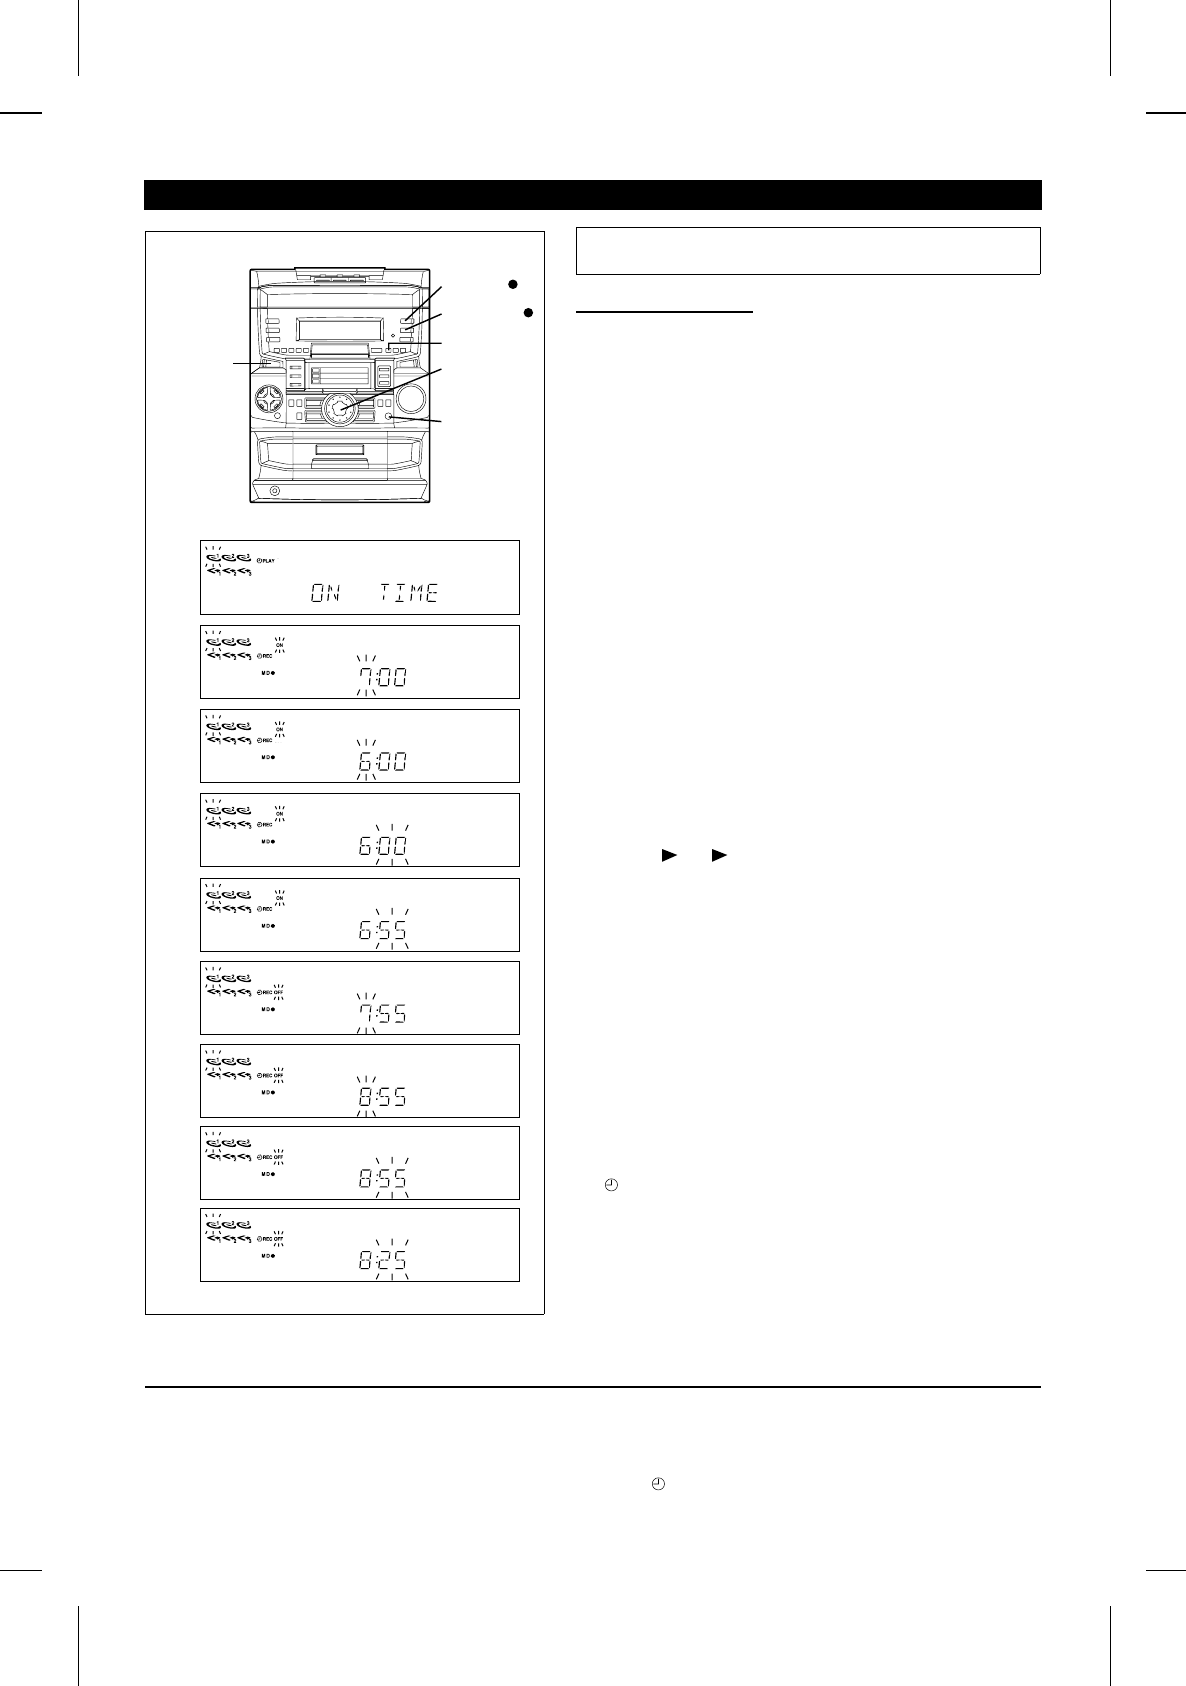
■ Timer recording
Before timer recording, the following preparations are required.
● Load a recordable MD or tape.
1 Press the ON/STAND-BY button to turn the power on.
2 Press the TIMER button.
3 Within 5 seconds, press the MD REC ● or TAPE REC ●
button.
● The start time setting display will appear.
4 Within 10 seconds, turn the jog dial to set the hour to start,
and then press the ENTER button.
5 Within 10 seconds, turn the jog dial to set the minute to start,
and then press the ENTER button.
● If not set manually, the ending time will automatically be set
for one hour after the starting time.
6 Within 10 seconds, turn the jog dial to set the hour to stop,
then press the ENTER button.
7 Within 10 seconds, turn the jog dial to set the minute to stop,
then press the ENTER button.
8 Press the MD, CD, TUNER (BAND), TAPE or AUX button to
select the desired function.
When MD is selected:
● Continuous recording will start from MD 1.
When CD is selected:
● Continuous recording will start from the CD whose red frame
is flashing.
To specify a disc to start recording from, press one of the CD
PLAY 1 - 3 buttons. Then, press the ■ button.
When TUNER is selected:
● Tune in the radio station.
When is AUX is selected:
● Set the timer on the other equipment connected to this unit.
9 Rotate the VOLUME control to adjust the sound volume.
● Be careful not to turn the volume up too high.
10Press the ON/STAND-BY button to enter the stand-by mode.
● The timer set indicator will light up.
11When the timer start time is reached, timer recording will start.
● When there are three recordable MiniDiscs in the unit, con-
tinuous recording will start from MD 1 and continue in order.
Recording on a tape will stop after the recording has filled
one side.
12When the timer end time is reached, timer recording will stop.
● " REC" will disappear, and the timer mode will be cancelled.
The unit will enter the stand-by mode.
Notes:
● Timer playback and timer recording cannot be set at the same
time using the timer.
Use the timer in one mode or the other.
● The timer cannot control the component connected to the
AUX-IN sockets.
● When the available recording time has been consumed, the
recording will stop.
To change the programmed contents:
Start again from step 1.
To confirm the timer setting:
Press the TIMER button once.
● The turn-on time and the turn-off time will be dis-
played.
To cancel timer operation:
①Press the ON/STAND-BY button to turn the power on.
②Press the ON/STAND-BY button repeatedly to turn off the
timer, " REC" will go out.
Jog dial
MD-C2H(SUK) TINSE0238AWZZ
45