


Remote Control of Other Components
BASIC
61
En
5
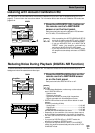
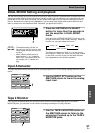
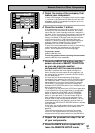
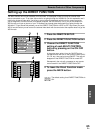
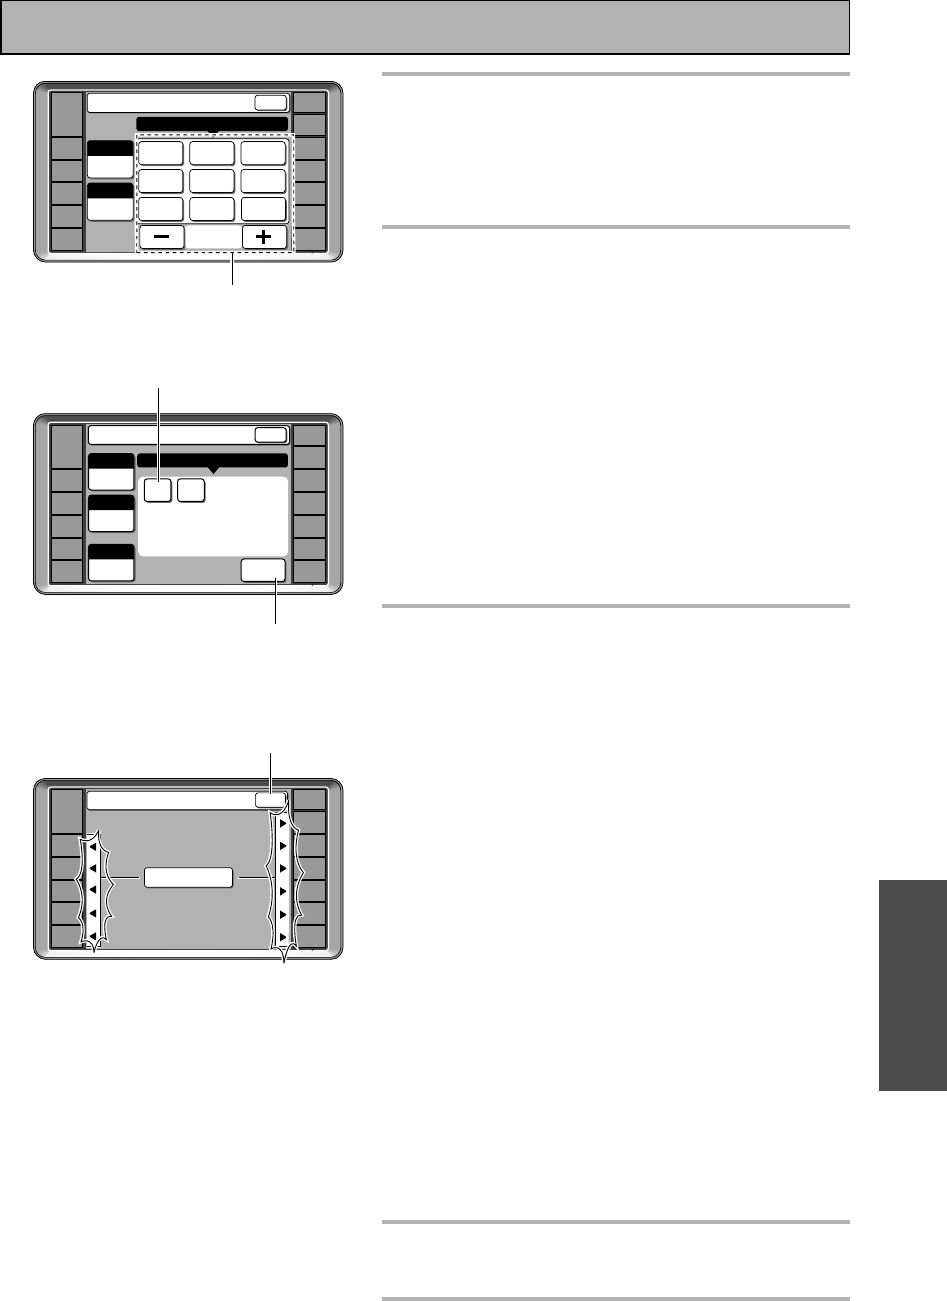
Select the name of the company that
makes your component.
If there are two pages of company names, use the page
+/– buttons to go back and forth between the two sets
of makers' names. For explanation purposes, we'll use
PIONEER as an example.
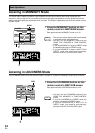
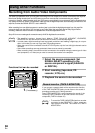
6
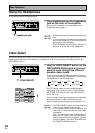
Press the number 1 button.
If the component you are trying to control turns on/off,
the setup for this component is complete, but compo-
nents that don't have a standby mode can't respond in
this way. To test if you've set it up properly work through
step 8. Then try using selecting the function you just
setup (for example a CD player) and using the controls
on this remote control. If the component does not
respond, try working through the procedure again and
pressing number 2 instead this time. Continue this
procedure until one of the commands works.
If none of the commands seem to work, try the learning
mode to program the component into the remote
control. This is explained on the following page.
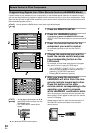
To go back a screen
press the BACK button.
To exit the process without inputting the commands
press the BACK button repeatedly.
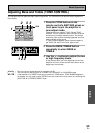
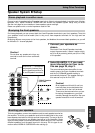
7
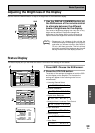
Press the SETUP OK button and the
screen returns to SELECT FUNCTION
so you can program another
component into the remote control.
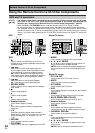
Naturally it's easiest and most logical to assign the
button that has the same name as the component you
are setting up (for example, choose the DVD/LD button
for your DVD player).
You may find you have components which do not
correspond to the name on any MULTI CONTROL button
(for example a cable TV tuner) or you have two compo-
nents where only one button is provided (for example,
CD-R/TAPE 1). In this case, use step 3 to assign any
available MULTI CONTROL button to the component you
want to remote control.
For example, you may have both a CD-R and a tape deck
in your system but only one video deck. It would make
sense to assign the CD-R/TAPE 1 MULTI CONTROL
button to the CD-R and the VCR 2 MULTI CONTROL
button to your tape deck. To do this choose VCR 2 in
step 3 when you want to set up the tape deck. Then
choose TAPE in step 4 and proceed as above. The only
practical difference in this method is that you have to
remember the VCR 2 MULTI CONTROL button is actually
your tape deck.
In this case, you would need to hook up your tape deck
to the input jacks marked VCR 2 on the back of the
amplifier.
This method should help you customize the remote
control for your system and let you control all of your
components with the remote control for the VSA-AX10.
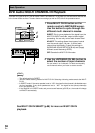
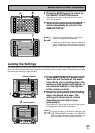
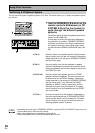
8
Repeat the process from step 2 for all
of your components.
9
Press the BACK button repeatedly to
leave the REMOTE SETUP mode.
5
6
7
«
AMP
DVD/LD
VCR1
/DVR
VCR2
VCR3
TV
REMOTE
SETUP
CD-R/
TAPE1
CD
TUNER
VIDEO
SAT
TV
CONTROL
Preset Recall
PAGE
1 / 2
PIONEER TOSHIBA
ITEM
SELECT MAKER
MAKER
SHARP
SONY
PANA-
SONIC
SAM-
SUNG
DVD
PIONEER AKAI
DENON
VICTOR
BACKDVD/LD
][
AMP
DVD/LD
VCR1
/DVR
VCR2
VCR3
TV
REMOTE
SETUP
CD-R/
TAPE1
CD
TUNER
VIDEO
SAT
TV
CONTROL
Preset Recall
ITEM
SELECT NUMBER
MAKER
DVD
PIONEER
NUMBER
1
SETUP
OK
BACKDVD/LD
][
1 2
AMP
DVD/LD
VCR1
/DVR
VCR2
VCR3
TV
REMOTE
SETUP
CD-R/
TAPE1
CD
TUNER
VIDEO
SAT
TV
CONTROL
Preset Recall
BACK
SELECT FUNCTION
9