


26 ENGLISH
Tips:
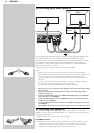
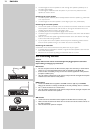
• When you have connected a passive subwoofer to the 6.1SB/5.1SUB sockets (17) in a 5.1
configuration, 'SB size' must be set to 'Subwoofer'.
• Whenever a subwoofer is connected, 'SUB' must be set to 'YES' or 'Always'.
• For speakers that are not connected, select 'None'.
• The centre speaker is normally placed directly in the front of the listening room and closer
to the listening position than the front speakers.This means that sound from the centre
speaker will be heard before sound from the front speakers.To prevent this, set the centre
speaker distance ('C distance') a little further than it actually is. In this way sound from the
front and centre speakers will be heard at the same time.
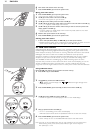
1 Make sure receiver and TV are switched on and that RECVR. is selected and A/V source
are selected.
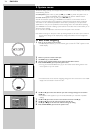
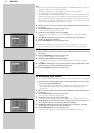
2 Press SYSTEM MENU (5) to open the system menu.
> The main menu appears on your TV screen.
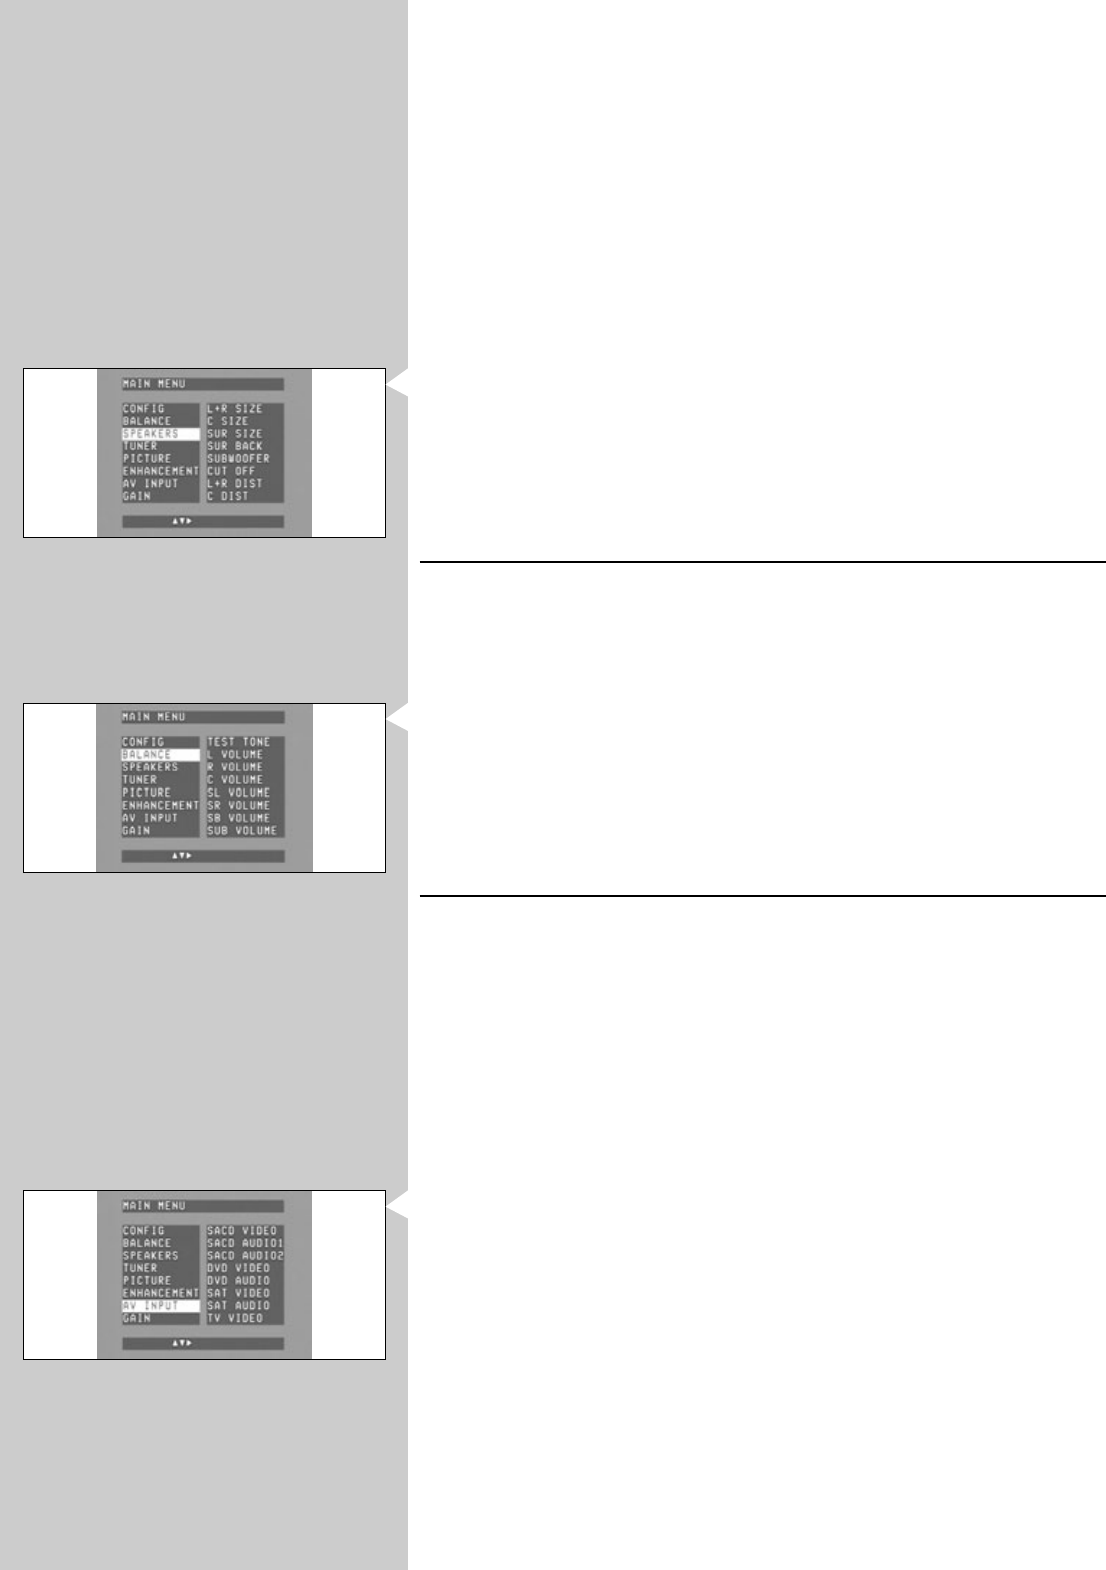
3 Use 4 (6) to select ‘Speakers’ and enter with 2 (6).
> The submenu items appear on your TV screen, followed by an overview of possible
settings.
4 Using 1, 2, 4 and 3 (6) you can now set size and distance for all your speakers.
Confirm all adjustments with OK (7).
5 Press SYSTEM MENU (5) to close the system menu.
Note: If you have set speakers to ‘Small’, you should also select a ‘Cutoff’ frequency in the menu.
For the cutoff frequency of your speakers, refer to the Instructions for Use of the speakers.
6.5 Setting the speaker volume
1
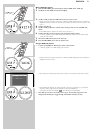
Make sure receiver and TV are switched on and that RECVR. is selected and A/V source
are selected.
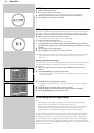
2 Press SYSTEM MENU (5) to open the system menu.
> The main menu appears on your TV screen.
3 Use 4 (6) to select ‘Balance’ and enter with 2 (6).
> The submenu items appear on your TV screen, followed by an overview of possible
settings.
4 Using 1, 2, 4 and 3 (6) you can now set the volume for all your speakers.You can also
activate a test tone. Confirm all adjustments with OK (7).
5 Press SYSTEM MENU (5) to close the system menu.
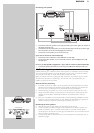
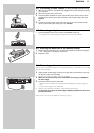
6.6 Reassigning input sockets
This is only necessary if you wish to connect a device for which no socket(s) is/are preassigned.
• To determine the currently assigned audio and video input sockets for a source, switch
to this source and press DISPLAY (22).
> The left display shows the selected source, followed by the type of input signal (audio,
video).The middle display shows the name(s) of the input socket(s) the source is
connected to.
1 Make sure receiver and TV are switched on and that RECVR. is selected and A/V source
are selected.
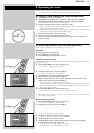
2 Press SYSTEM MENU (5) to open the system menu.
> The main menu appears on your TV screen.
3 Use 4 (6) to select ‘AV input’ and enter with 2 (6).
> On your TV screen a list of source names with their audio and video inputs is shown.
4 Use 4 and 3 (6) to select the kind of audio or video input you wish to configure for a
source. E.g.‘CD audio’ for the audio source CD. Enter with 2 (6).
5 Use 1, 2, 4 and 3 (6) to select the input sockets you wish to assign for connecting
your CD player to. E.g.‘Game in’. Confirm with OK (7).
6 Press SYSTEM MENU (5) to close the system menu.
> The device (CD player) can now be connected to the GAME IN sockets (25).