


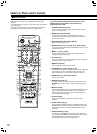

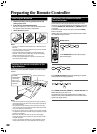
19
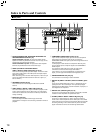
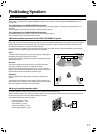
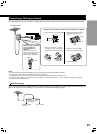
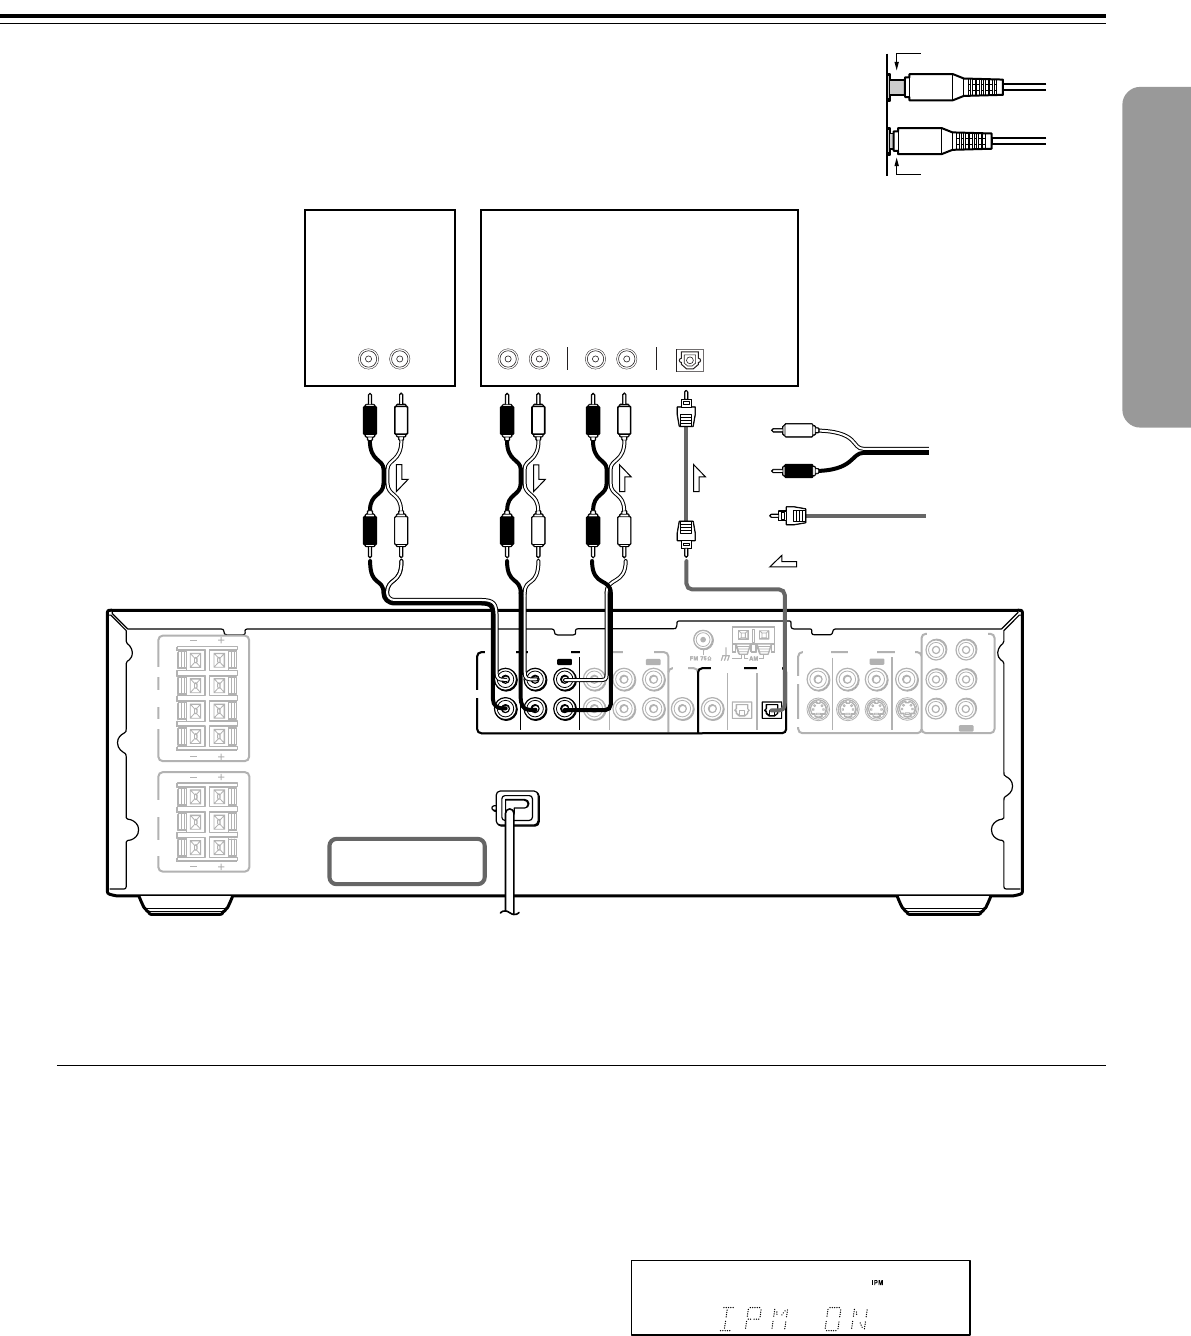
Before connecting
• Refer also to the instruction manual of each component to be
connected.
• When you connect the DVD Changer Receiver to audio/video
equipment, be sure to turn off the power and unplug all the units
from the mains before making any connections.
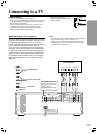
Incomplete
Insert completely
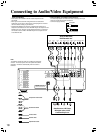
Y
P
B
P
R
COMPONENT VIDEO
L
R
R
L
R
L
R
L
ININ
IN
IN
OUT OUT
VIDEO
1
VIDEO
2
PRE OUT
COAXIAL
OPTICAL
OPTICAL
IN
OUT
MONI
OUT
VIDEO
2
VIDEO
1
ININ
OUT
DIGITAL
OUT
DIGITAL IN
VIDEO 2
VIDEO 1
TAPE/CD-R
TV/LINE
AUDIO
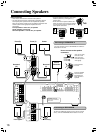
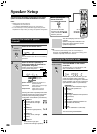
FRONT
SPEAKERS
A
B
SURROUND
SPEAKERS
CENTER
SPEAKER
VIDEO
S VIDEO
ANTENNAANTENNA
SUB
WOOFER
AUDIO
IN
RL RL
AUDIO
OUT
RL
AUDIO
OUT
DIGITAL
IN
OPTICAL
MD Recorder, Cassette Tape
Deck, CD Recorder , Hard Disk
Recorder etc.
Audio cable
Signal flow
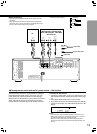
DO NOT connect the
power cord at this time.
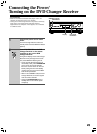
TV
■ Turning the unit on/off with the TV’s power switch — IPM function
Optical fiber cable
To activate the IPM function
1 Connect the audio output of your TV’s audio output to the
DVD Changer Receiver’s TV/LINE IN L/R jacks (refer to page
15).
2 Press MODE RCVR/VCR on the remote controller.
3 Press IPM on the remote controller repeatedly until “IPM ON”
appears on the display. The IPM indicator illuminates in the
display.
• Connect the plugs securely.
The DVD Changer Receiver is equipped with the Intelligent
Power Management (IPM) system. Just turn on your TV’s
power switch and, in about 5 seconds, the DVD Changer
Receiver turns on automatically. If you turn off the TV’s power
switch, IPM indicator flashes on the display and the DVD
Changer Receiver automatically turns off in about 5 minutes.
Notes
• The IPM system may not function properly with some TV sets.
• When using monaural TV, connect the audio output of the TV to
the DVD Changer Receiver’s TV/LINE IN L jack.
• When the TV is turned off while the DVD Changer Receiver
selects other input source, the DVD Changer Receiver does not
turn off.
L
R