Using the FS-2/2E
FS-2 and FS-2E Studio DTE Disk Recorders User Guide
3 - 4
Part Number: MANL-0927-03
The second 2GB segment is labeled with a “-02”.
Additional 2GB segments are labeled with a “-XX”
number.
With most NLE systems on a Windows computer, it
is possible to utilize clips within the timeline by
selecting the clips on the source volume (in this
case, the connected FireWire disk drive) and
importing them directly into the NLE’s bin.
Clips can then be immediately used in the NLE’s
timeline.
With FireWire disk drives such as the FireStore
FSHDD-1, the drive itself is fast enough to directly
stream the clips to the NLE eliminating the need to
copy or transfer the clips before use.
When utilizing the Avid OMF file format, you must
follow the following steps to import clips.
Using FireStore FS-2/2E
Recorded Avid OMF Clips on Avid
Editing Systems
The Avid DV OMF file format was developed for use
with Avid editing systems on Windows 2000,
Windows XP or Mac 0S10. These include Avid
Xpress Pro, NewsCutter, Media Composer
Adrenaline, and Symphony (with the DV option).
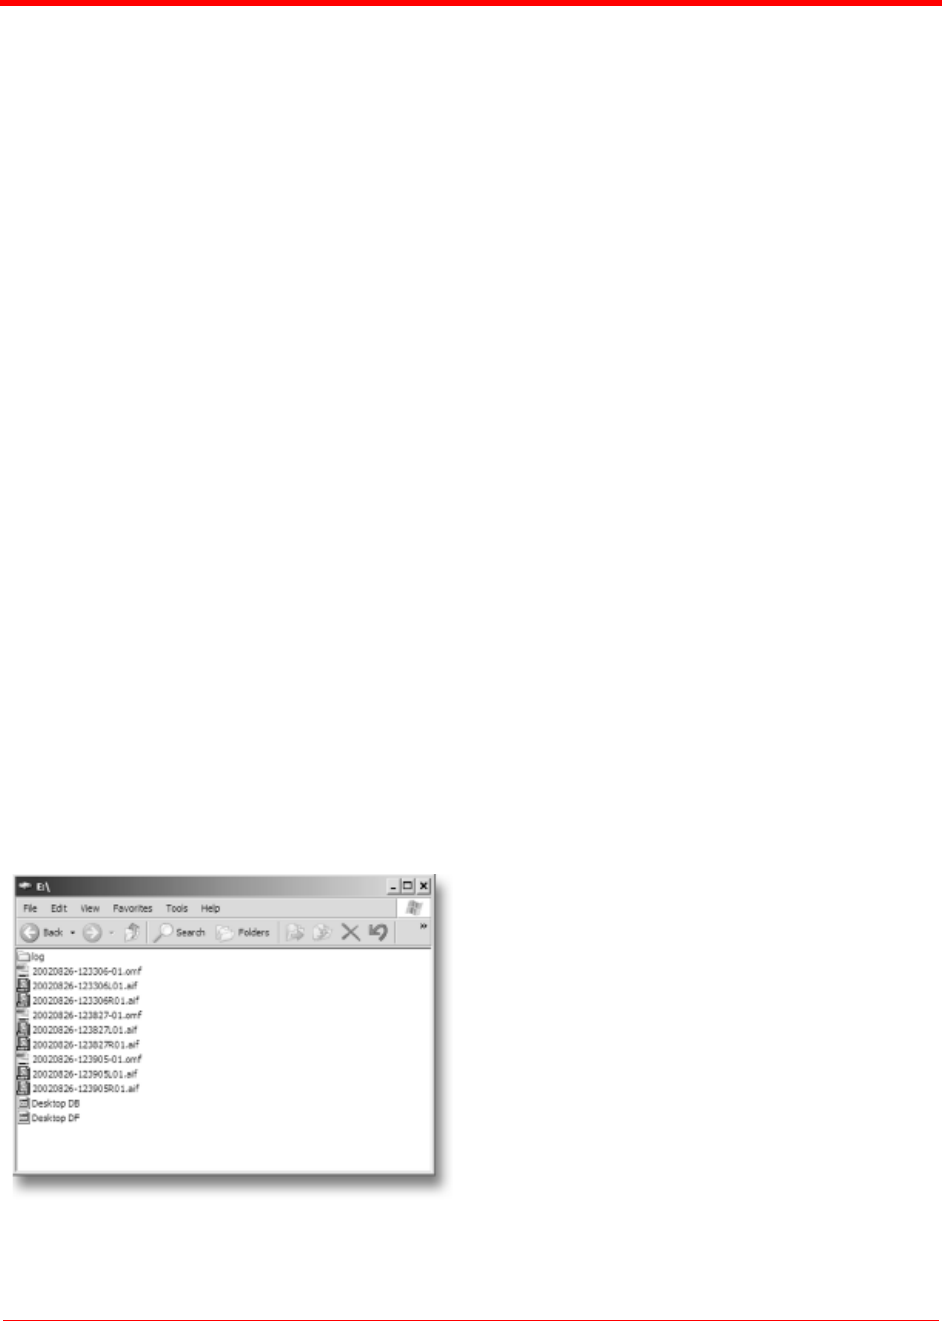
The Avid DV OMF file format creates three files
simultaneously; an OMF video file and two separate
AIF audio files. On the computer's desktop, the files
appear as shown in the next illustration.
On the FS-2/2E, the video file (OMF) and the audio
files (AIF) appear as one track.
If you delete an Avid DV OMF file, the FS-2/2E
deletes the audio and video portions at the same
time.
In order to use the FS-2/2E recorded Avid DV OMF
files on your Avid NLE system from the external
FireWire drive, use the following procedure.
S
TEP 1: Locate the external FireWire drive on
your computer.
If you have trouble, you can locate the
name of the external drive by selecting
“My Computer” on a Windows system.
On a Mac, the FireWire drive should
appear on the desktop.
S
TEP 2: Open the FireWire drive when you
have found it and create a new folder
named “OMFI MediaFiles”.
To do this on Windows, select File>
New>Folder from the pull down menu.
On Mac, select File>New Folder. You
must type “OMFI MediaFiles” correctly
in order for Avid to see the disk drive.
S
TEP 3: Drag all the OMF and AIF files into the
new folder (do not drag in the files titled
Desktop DB or Desktop DF).
NOTE: if you are using the ORGA-
NIZE OMF function on the FS-2/2E
prior to using the disk on a computer,
steps 2 and 3 are not necessary.
S
TEP 4: Launch Avid.
S
TEP 5: Once you have opened the desired
project or created a new project, select
Tools>MediaTool. The following
window appears:
