DVS 304 • Ethernet Control
4-9
File Management
The File Management page (located under the File Management tab), is a useful
tool that allows you to use and upload existing and custom Web pages. Custom
pages can be developed using a third-party Web page development program
such as FrontPage or Dreamweaver. File management also allows you to remove
unnecessary or outdated files when they are no longer needed.
To add or update files:
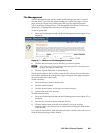
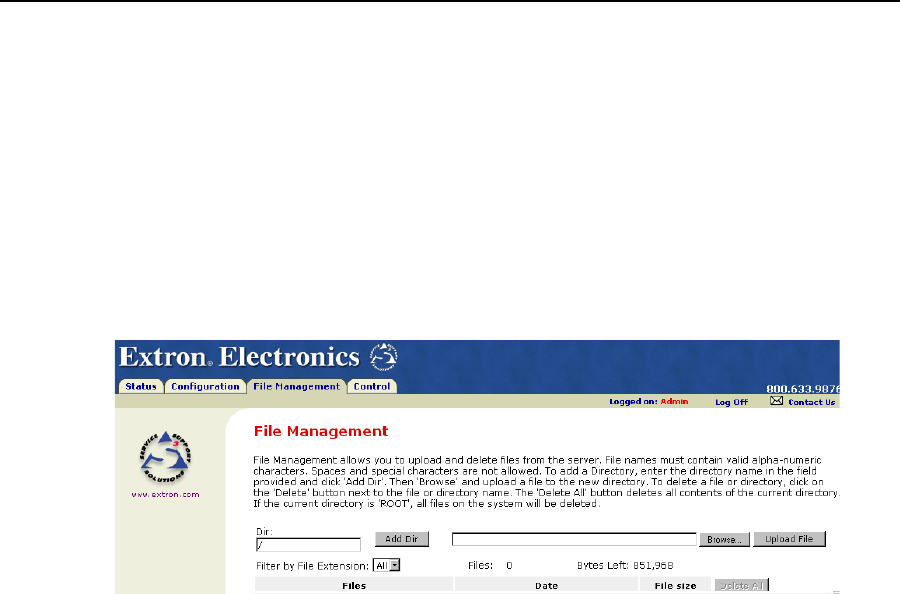
1. Select the File Management tab and the File Management screen (figure 4-7) is
displayed.
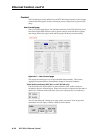
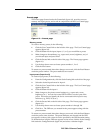
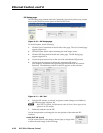
Figure 4-7 — Web server File Management screen
2. Click the Browse button to locate the file(s) you want to upload.
N If you want one of the pages that you create and upload to be the default start-
up page, name that file “index.html”.
3. Click the Upload File button to upload the file.
The file will be added to the list of files under the Files column. After ten files have
been loaded, additional file management pages will appear in the page navigation
area (on the right side of the screen).
To add a directory:
1. Enter the directory name in the Dir field.
2. Click the Add Dir button.
3. Click the browse button, and locate your chosen directory.
4. Upload a file to the new directory.
To delete unwanted files:
1. Select the File Management tab and the File Management screen (figure 4-7) is
displayed.
2. Find the file you wish to delete under the Files list.
3. Click the delete button of the file to be deleted. If you wish to delete
additional files, wait for the screen to refresh before clicking the delete button
of the next file.
If you wish to delete all files, click the Delete All button. The file count will revert to
0 and all subsequent pages will be deleted.


