INSTALLING AND POINTING YOUR SATELLITE DISH ANTENNA
PAGE 4-13
CAUTION
Local electric codes and the National Electric Code (NEC) require the satellite
dish antenna to be grounded. Grounding the satellite dish antenna helps protect
against damage caused by static voltage buildup or nearby lightning strikes.
Refer to the following:
• Go to the section titled “Grounding the Metal Pole Mount” if your satellite dish antenna is
installed on a metal pole.
• Go to the section titled “Grounding the Base Plate” if you satellite dish antenna is installed on
the supplied satellite dish antenna mast.
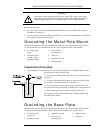
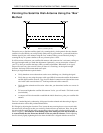
Grounding the Metal Pole Mount
Have the following tools and materials handy during this process. Items marked with a asterisk
(*) indicate that they are included in the Do-It-Yourself Installation Kit (sold separately).
• 1½-inch ground
clamp
• 5/8-inch x 8-foot
ground rod and
ground rod clamp
• #8 aluminum
grounding wire *
• Cable ties *
• Adjustable wrench
• Sledge hammer
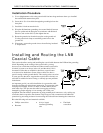
Installation Procedure
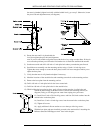
1) Approximately 1 foot from the pole’s cement pier foundation, use a sledge hammer to drive
the ground rod 8 feet into the ground.
2) Install the grounding clamp approximately 1 foot from the base
of the pole.
3) Install the #8 aluminum grounding wire onto the ground clamp
in accordance with National Electric Code 810-15..
4) Route the ground wire from the clamp to the ground rod. Use
the ground rod clamp to attach the grounding wire to the ground rod.
5) Secure the ground wire to the pole using the cable ties.
You can now proceed to the section titled “Installing and Routing
the LNB Coaxial Cable.”
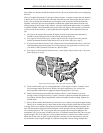
Grounding the Base Plate
Have the following tools and materials handy during this process. Items marked with a asterisk
(*) indicate that they are included in the Do-It-Yourself Installation Kit (sold separately).
• 5/8-inch x 8-foot
ground rod
• ground rod clamp
• Adjustable wrench
• #8 aluminum
grounding wire *
• Sledge hammer
• Cable ties *


