


INSTALLING AND POINTING YOUR SATELLITE DISH ANTENNA
PAGE 4-11
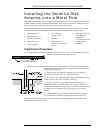
Installing the Satellite Dish
Antenna onto a Metal Pole
The satellite dish antenna can be installed onto a metal pole. You will not be using the base plate
or mast included with the satellite dish antenna for this procedure. Store these items in case you
decide to move the satellite dish antenna to a new location in the future.
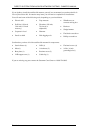
Have the following tools and materials handy during this process. Items marked with a asterisk
(*) indicate that they are included in the Do-It-Yourself Installation Kit (sold separately).
• Hole digging tools
• Wheelbarrow or
concrete mixing box
• Carpenter’s level
• Pencil or chalk
• Guy wires and
wooden stakes
• Hacksaw
• 40-pound bag of
quick setting concrete
(Qty 4)
• Metal pole (1¼-inch
inside diameter
schedule 40
galvanized water pipe
- 6-foot length
minimum)
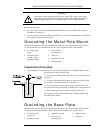
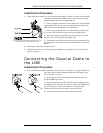
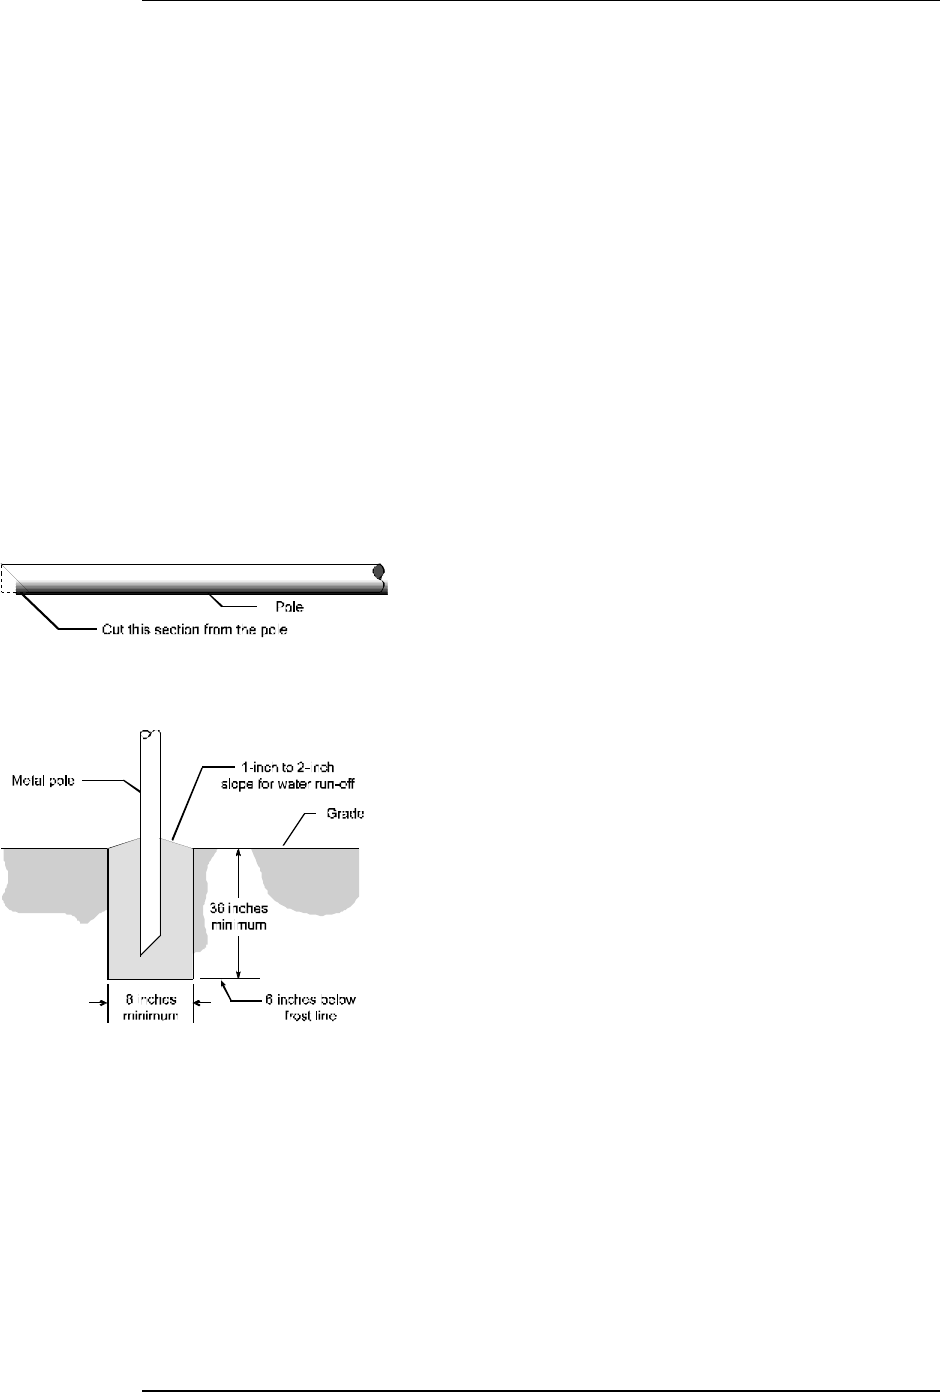
Installation Procedure
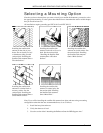
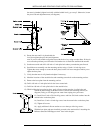
1) Use a hacksaw to cut the bottom edge of the pole at a 45° angle, as shown. This prevents the
pole from rotating in the concrete over time.
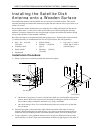
2) Dig a hole at least 8-inches in diameter and 36-inches deep. If you live in an area where the
frost line goes deeper than 30-inches, dig the hole at least 6-inches
deeper than the frost line.
3) Place the pole into the hole and place rocks (for example)
around the pole to stabilize it in a vertical position.
4) Fill the hole with prepared quick drying cement. Shape the top
of the concrete with a slope to improve drainage.
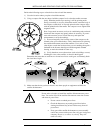
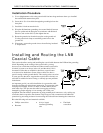
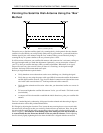
5) Using a carpenter’s level, plumb the pole in at least two
different locations on the side of the pole, as shown. These two
measurements should be at right angles to each other. When the pole
is plumb, secure it with the rocks, or attach guy wires to hold it
upright.
6) Let the cement dry for 24 hours before you remove the guy
wires or attempt to attach the satellite dish antenna to the pole.
With the pole installed, proceed to the section titled “Attaching the Reflector Onto the LNB
Support Arm” later in this chapter.