


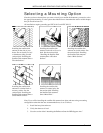
INSTALLING AND POINTING YOUR SATELLITE DISH ANTENNA
PAGE 4-9
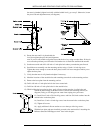
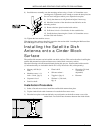
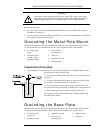
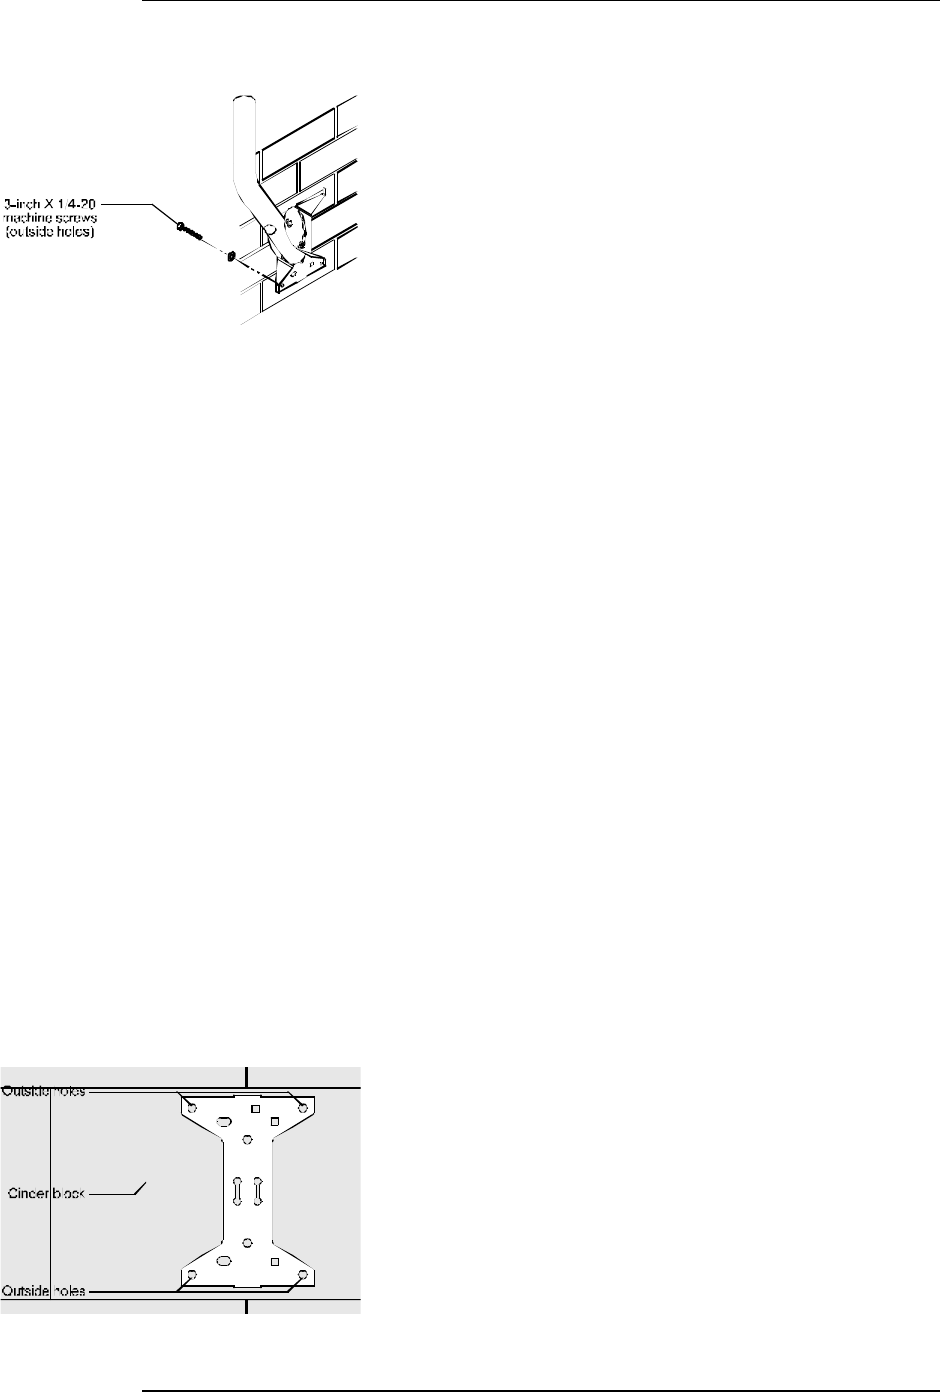
8) Install the mast assembly onto the mounting surface using a 3-inch x ¼-20 machine screw
(see diagram). Tighten the screw enough to secure the base plate, but
leave it loose enough to enable you to adjust the base plate.
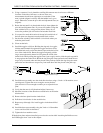
9) Verify that the mast is still plumb and adjust if necessary.
10) Mark the locations of the other three outside holes on the
mounting surface.
11) Remove the base plate from the brick surface.
12) Drill three ½-inch x 3-inch holes for the outside holes.
13) Install the base plate using the 3-inch x ¼-20 machine screws
and four 5/16-inch washers.
14) Tighten the four machine screws.
With the base plate and mast installed, proceed to the section titled “Attaching the Reflector Onto
the LNB Support Arm” later in this chapter.
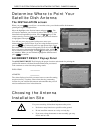
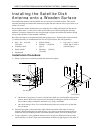
Installing the Satellite Dish
Antenna onto a Cinder Block
Surface
The satellite dish antenna can be installed onto brick surfaces. This section describes installing the
satellite dish antenna base plate and mast onto a cinder block or masonry surface.
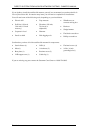
Have the following tools and materials handy during this process. Items marked with a asterisk
(*) indicate that they are included in the Do-It-Yourself Installation Kit (sold separately).
• Masonry drill bit (½-
inch)
• Machine screws * (¼-
inch x 3-inch , Qty. 4)
• Carpenter’s level
• Pencil or chalk
• Electric drill
• Silicone sealant *
• Togglers* (Qty. 4)
• Washers * (5/16-inch,
Qty. 4)
• Wrenches (3/8-inch,
7/16-inch, or
adjustable)
• Hammer
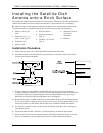
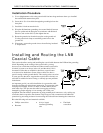
Installation Procedure
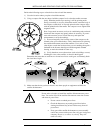
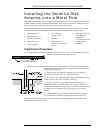
1) Select a flat and secure site to install the satellite dish antenna base plate.
2) Tap the cinder blocks with a hammer to locate the hollow center cores.
3) Place the base plate so the outside holes are positioned over the hollow center cores of the
cinder block. Do not drill into the mortar between the cinder blocks.