


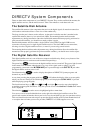
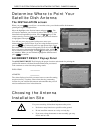
DIRECTV SYSTEM FROM HUGHES NETWORK SYSTEMS - OWNER’S MANUAL
PAGE 2-4
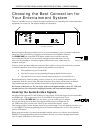
TV and/or VCR. These are sold separately and should be available from your dealer or an electronics
hardware store.
To connect your VCR…
use a coaxial cable to connect the OUT TO TV from the digital satellite receiver to the RF input section
on your VCR. This is the first place where an adapter may be needed if your VCR doesn’t have the F-
type connector.
To connect your TV…
connect a coaxial cable from the RF output (from either the digital satellite receiver’s OUT TO TV, if
available, or the VCR) to the RF input on the TV.
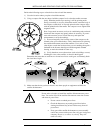
Set the channel 3/4 selector switch on the back of the digital satellite receiver to the channel that is not
broadcast or has the weakest signal in your area. This will be the channel that you need to set your TV
and/or VCR to for viewing or recording DIRECTV System programming.
You can also use the digital satellite receiver as a switch to select between DIRECTV System
programming and local broadcasts. This can be accomplished by pressing the key while the
remote is in DIRECTV System mode. Also, you must connect your local signal, either from an antenna
or cable service, to the IN FROM ANT on the back of the digital satellite receiver. If your antenna wire
is not a coaxial type you will need an adapter as described earlier.
If you have a stereo system…
you may be able to achieve big speaker sound. See the “Hook Up to a Stereo System” section for the
necessary connections.
If your hookup is complete…
move on to the “Finishing Up” section.
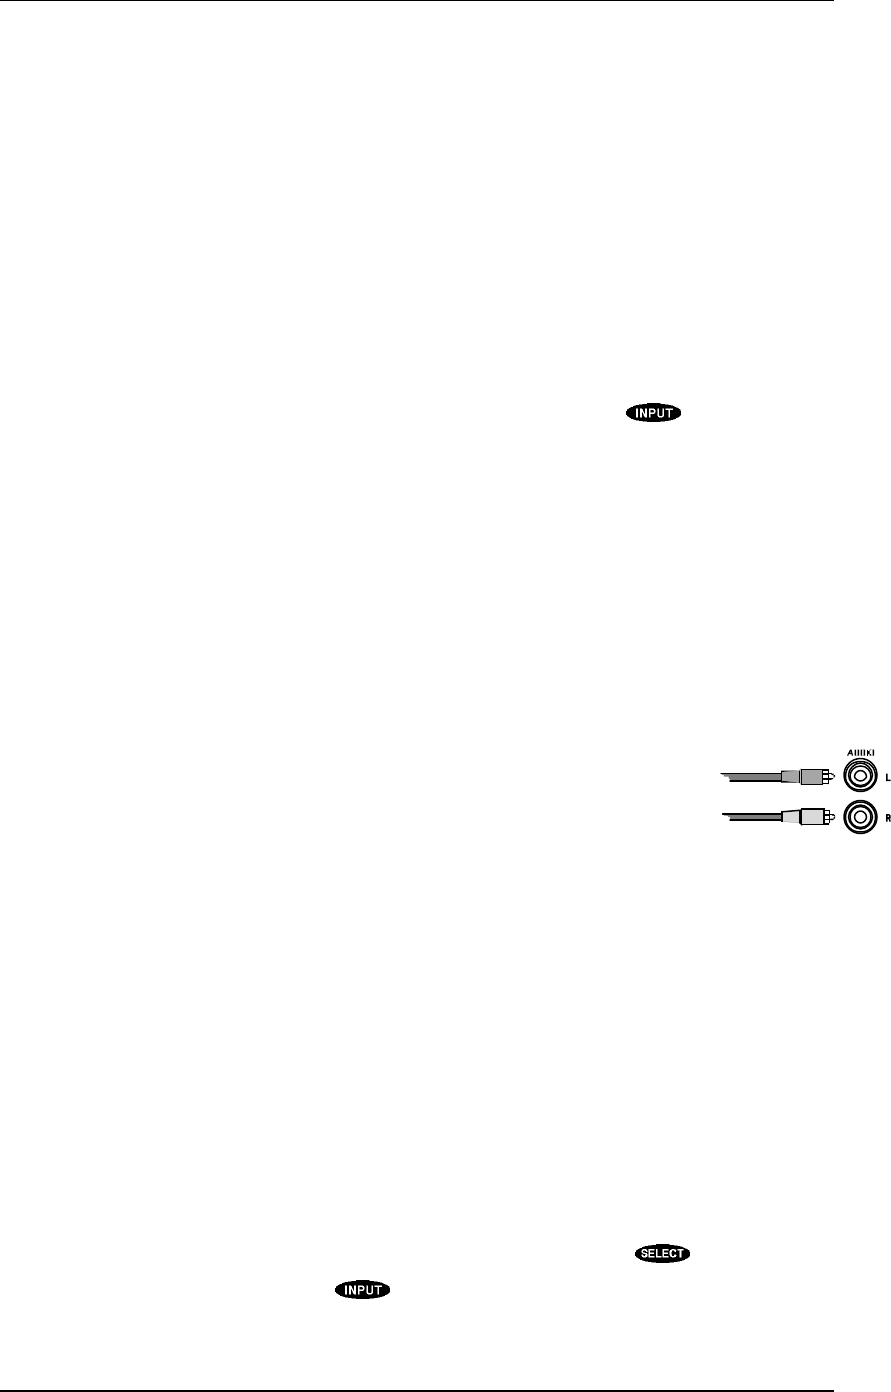
Hook Up to a Stereo System
To achieve high-quality sound from the digital satellite receiver through a stereo system, simply
connect the AUDIO outputs (Left and Right) to an available input on your audio
system. First, look for an input labeled AUX. If you aren’t using a compact disc
player or laser disc player, you can use one of those inputs, if available. The only
input that you should not use is one that is specified for a turntable/phonograph.
Finishing Up
You can mix and match the different hookups described above to suit your entertainment system’s
available connections. For example, you could connect the VCR using audio/video, while the TV is
connected with the RF signal. Always try to achieve the highest quality and greatest flexibility
available.
Once all connections have been completed, plug in the TV, VCR
and digital satellite receiver to the wall outlet, appropriate extension
cord, or surge protector. See Important Safety Instructions
described in the front of this manual.
Once you have connected everything, you can begin powering up
the components. Turn the TV on and set it to the DIRECTV System
channel (3 or 4) or input (video or S-video). Do the same for the
VCR, if applicable. Now turn the digital satellite receiver on. You will see the start-up screen for
several seconds, followed by a black screen with the message at the bottom:
“Searching for satellite signal. To access related utilities, press .”
If so, this is good! If not, try pressing the key while the remote control is in DIRECTV System
mode. If that doesn’t work, check all of the connections.
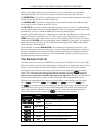
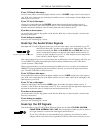
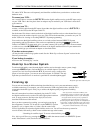
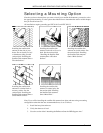
The phono-type audio cable and jack
Note: If you have connected a VCR into your
entertainment system in a way that routes the cables
from the digital satellite receiver to your VCR before
the signal reaches the TV, you may experience a
distorted picture if you attempt to record a copy-
protected program. These programs are identified by a
“Can’t Tape” symbol in the banner area of the screen.
If this occurs, simply stop the recording process and
your picture will automatically correct itself.