


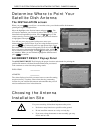
DIRECTV SYSTEM FROM HUGHES NETWORK SYSTEMS - OWNER’S MANUAL
PAGE 4-10
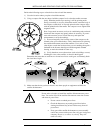
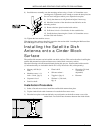
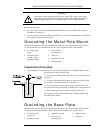
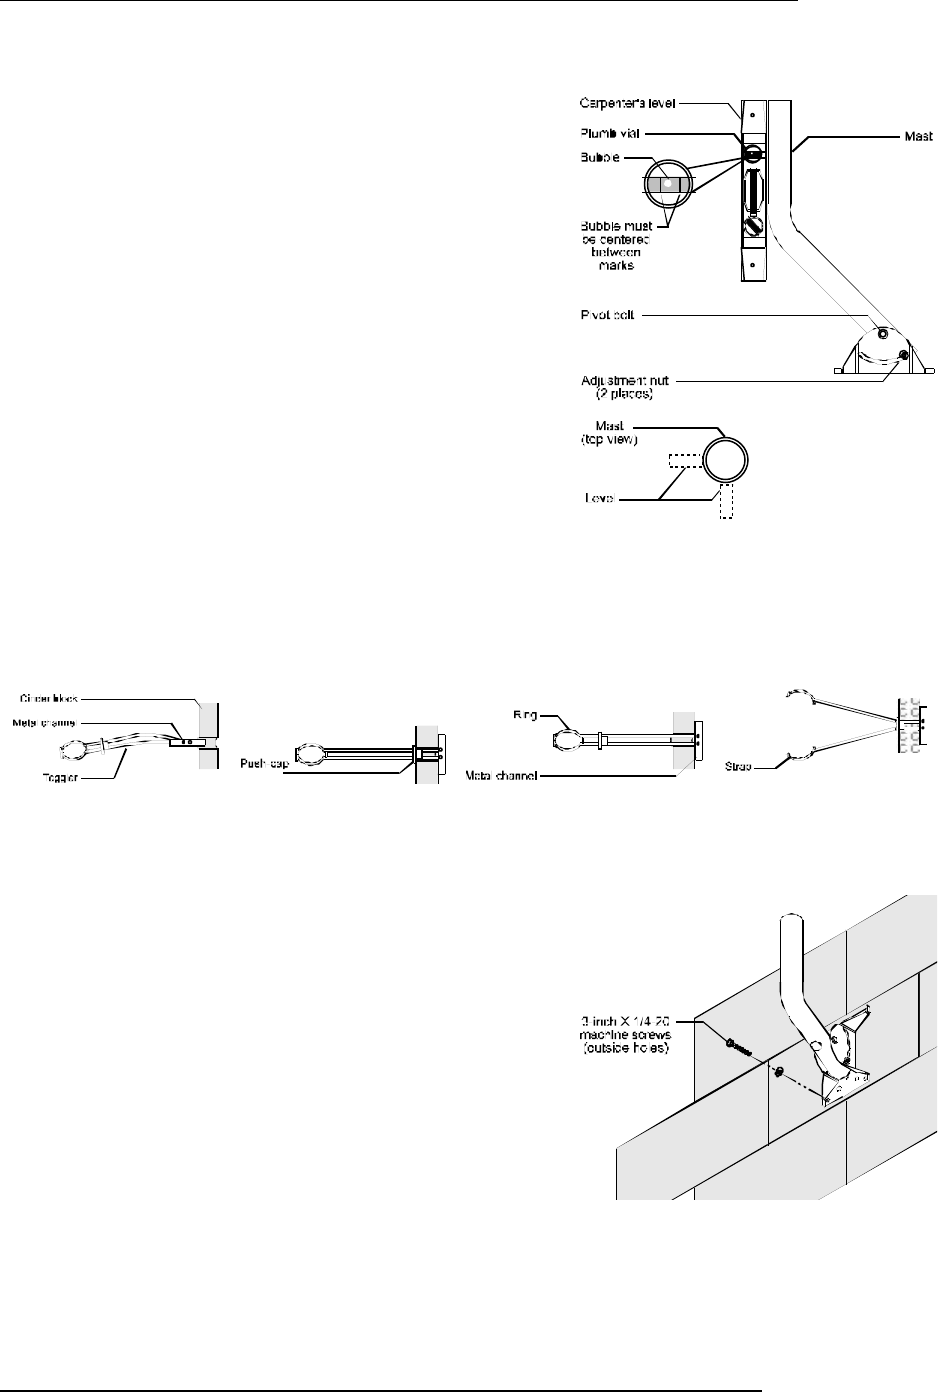
4) Using a carpenter’s level, plumb the satellite dish antenna mast in at least two different
locations on the side of the mast, as shown. These two
measurements should be at right angles to each other. If the
mast is plumb (aligned vertically with the bubble level), go to
step 5. Otherwise, loosen the pivot bolt and adjustment nuts (see
diagram).
5) Rotate the mast until it is plumb with the level, then tighten the
pivot bolt and alignment nuts. If you are still unable to align the
mast with the level, try using wooden shims. If they do not
correct the problem you will need to find another install site.
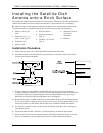
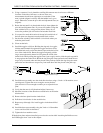
6) Use a pencil to mark the location of the top left outside hole of
the base plate (see diagram) onto the cinder block surface.
7) Set the mast assembly aside and drill a ½-inch hole where you
made the pencil mark.
8) Clean out the hole.
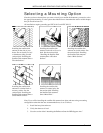
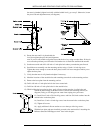
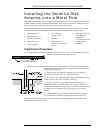
9) Install the toggler as follows: Holding the ring end of a toggler,
fold the metal channel flat against the toggler and insert it into
the drilled hole until you feel the channel open inside the hollow
core of the cinder block. Rotate the toggler and gently pull the
ring to ensure the metal channel is flat against the inside of the
cinder block. While pulling the toggler toward you to apply tension, slide the push-cap until it
is snug against the cinder block. Break the ring along the center perforation and bend the two
straps away from each other until they break at the push-cap. Break the ring along the center
perforation and bend the two straps away from each other until they break at the push-cap.
10) Install the mast assembly onto the cinder block surface using a 3-inch x ¼-20 machine screw
(see diagram). Tighten the screw enough to secure the base
plate, but leave it loose enough to enable you to adjust the base
plate.
11) Verify that the mast is still plumb and adjust if necessary.
12) Mark the locations of the other three outside holes on the cinder
block surface.
13) Remove the base plate from the cinder block.
14) Drill three ½-inch holes for the outside holes.
15) Repeat steps 8 through 12 to install togglers in the three drilled
holes.
16) Install the base mast assembly using the 3-inch x ¼-20 machine
screws and four 5/16-inch washers.
17) Tighten the four machine screws.
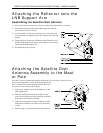
With the base plate and mast installed, proceed to the section titled “Attaching the Reflector onto
the LNB Support Arm” later in this chapter.
Toggler installation steps.