


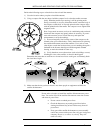
INSTALLING AND POINTING YOUR SATELLITE DISH ANTENNA
PAGE 4-7
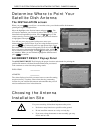
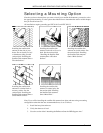
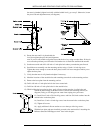
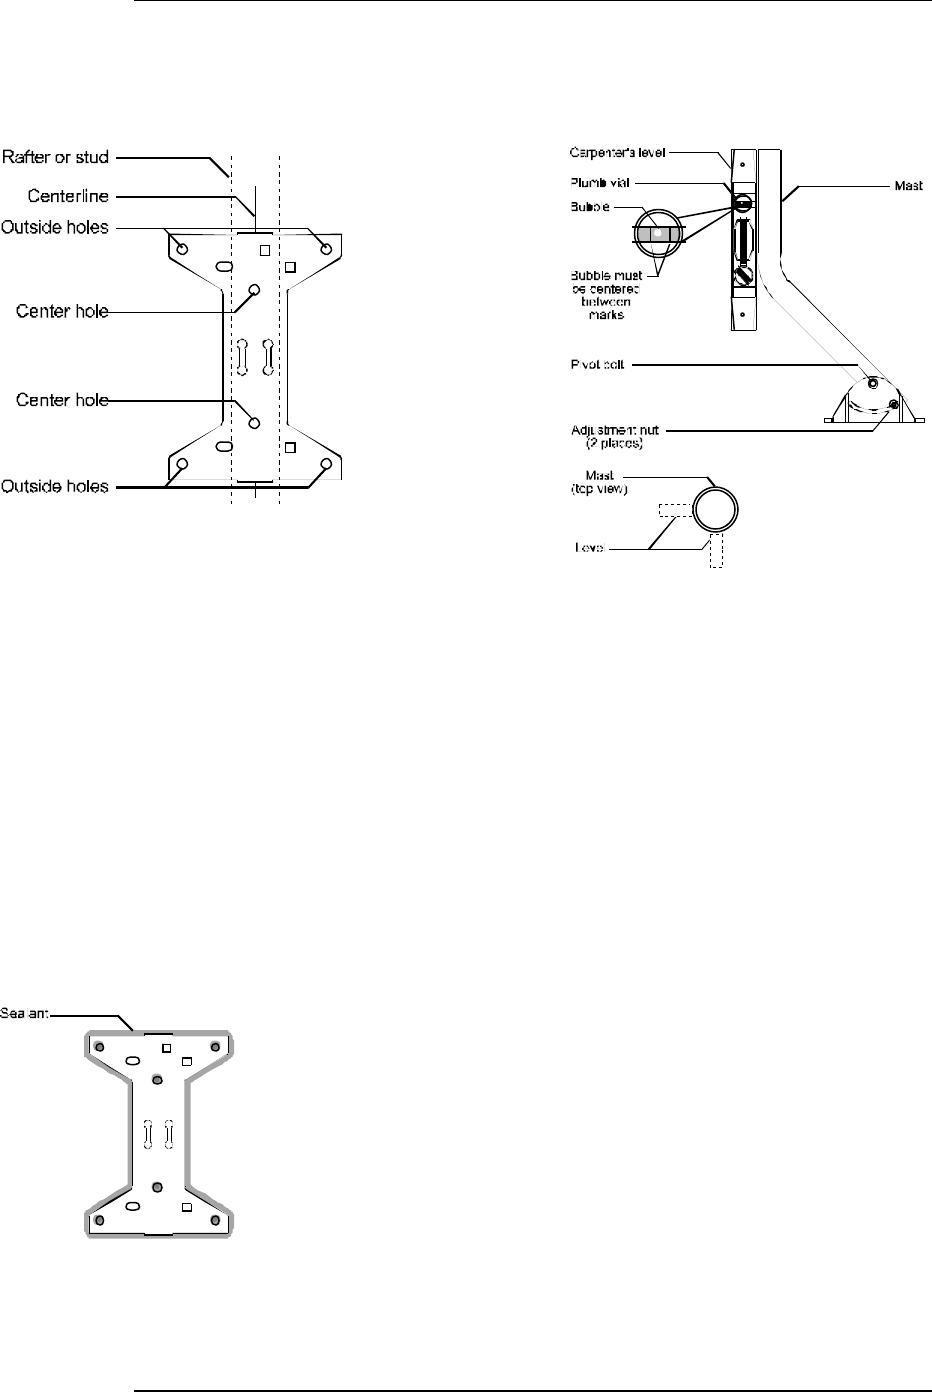
the mast is plumbed (aligned vertically with the bubble level), go to step 5. Otherwise, loosen
the pivot bolt and adjustment nuts (see diagram).
4) Rotate the mast until it is plumb with the
level, then tighten the pivot bolt and alignment
nuts. If you are still unable to align the mast with the level, try using wooden shims. If they do
not correct the problem you will need to find another site to install the satellite dish antenna.
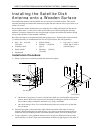
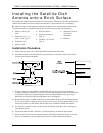
5) Set the mast aside and drill a 1/8-inch x 3-inch pilot hole where you made the pencil mark.
6) Install the mast assembly onto the mounting surface using a 3-inch x ¼-inch lag screw.
Tighten the screw enough to secure the base plate, but leave it loose enough to enable you to
adjust the base plate.
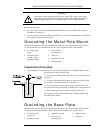
7) Verify that the mast is still plumb and adjust if necessary.
8) Mark the locations of the outside holes and remaining center hole on the mounting surface.
9) Remove the base plate from the mounting surface.
10) Drill a 1/8-inch x 3-inch pilot hole for the lower center hole.
11) Drill four 1/8-inch x 2-inch pilot holes for the outside holes.
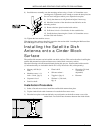
12) While holding the base plate in place, apply silicone sealant onto the six pilot holes and
around the bottom edge of the base where it contacts the mounting surface (see
diagram). Doing so will help prevent water from seeping into your house.
13) Install four 2-inch x 5/16-inch lag screws and four 5/16-inch washers into the
outside holes on the base plate.
14) Install two 3-inch x ¼-inch lag screws into the center holes on the base plate.
15) Tighten all screws.
16) Apply additional silicone sealant to cover the tops of the lag screws.
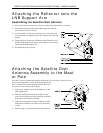
With the base plate and mast installed, proceed to the section titled “Attaching the
Reflector Onto the LNB Support Arm” later in this chapter.