


DU6675 DLP Projector - User's Manual
17
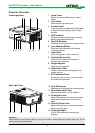
Installing or Removing the Optional Lens
Caution:
Do not shake or place excessive pressure on the projector or the lens components as the projector and
lens components contain precision parts.
• When shipping the projector with the optional lens, remove the optional lens before shipping the projector.
The lens and the lens shift mechanism may encounter damage caused by improper handling during
transportation.
• Before removing or installing the lens, be sure to turn off the projector, wait until the cooling fans stop, and
turn off the main power switch.
• Do not touch the lens surface when removing or installing the lens.
• Keep ngerprints, dust or oil off the lens surface. Do not scratch the lens surface.
• Work on a level surface with a soft cloth under it to avoid scratching.
• If you remove and store the lens, attach the lens cap to the projector to keep off dust and dirt.
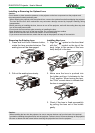
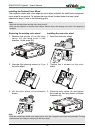
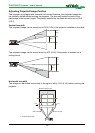
Removing the Existing Lens
1. Press and hold Lens Release button,
rotate the lens counterclockwise. The
existing lens will be disengaged.
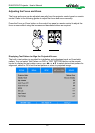
Installing New Lens.
1. Align the "
" symbol on the lens label
with the " * " symbol on the top of the
body (align to the center of the lens
hole) and pull in the lens.
!
Arrow
Mark
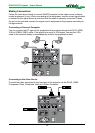
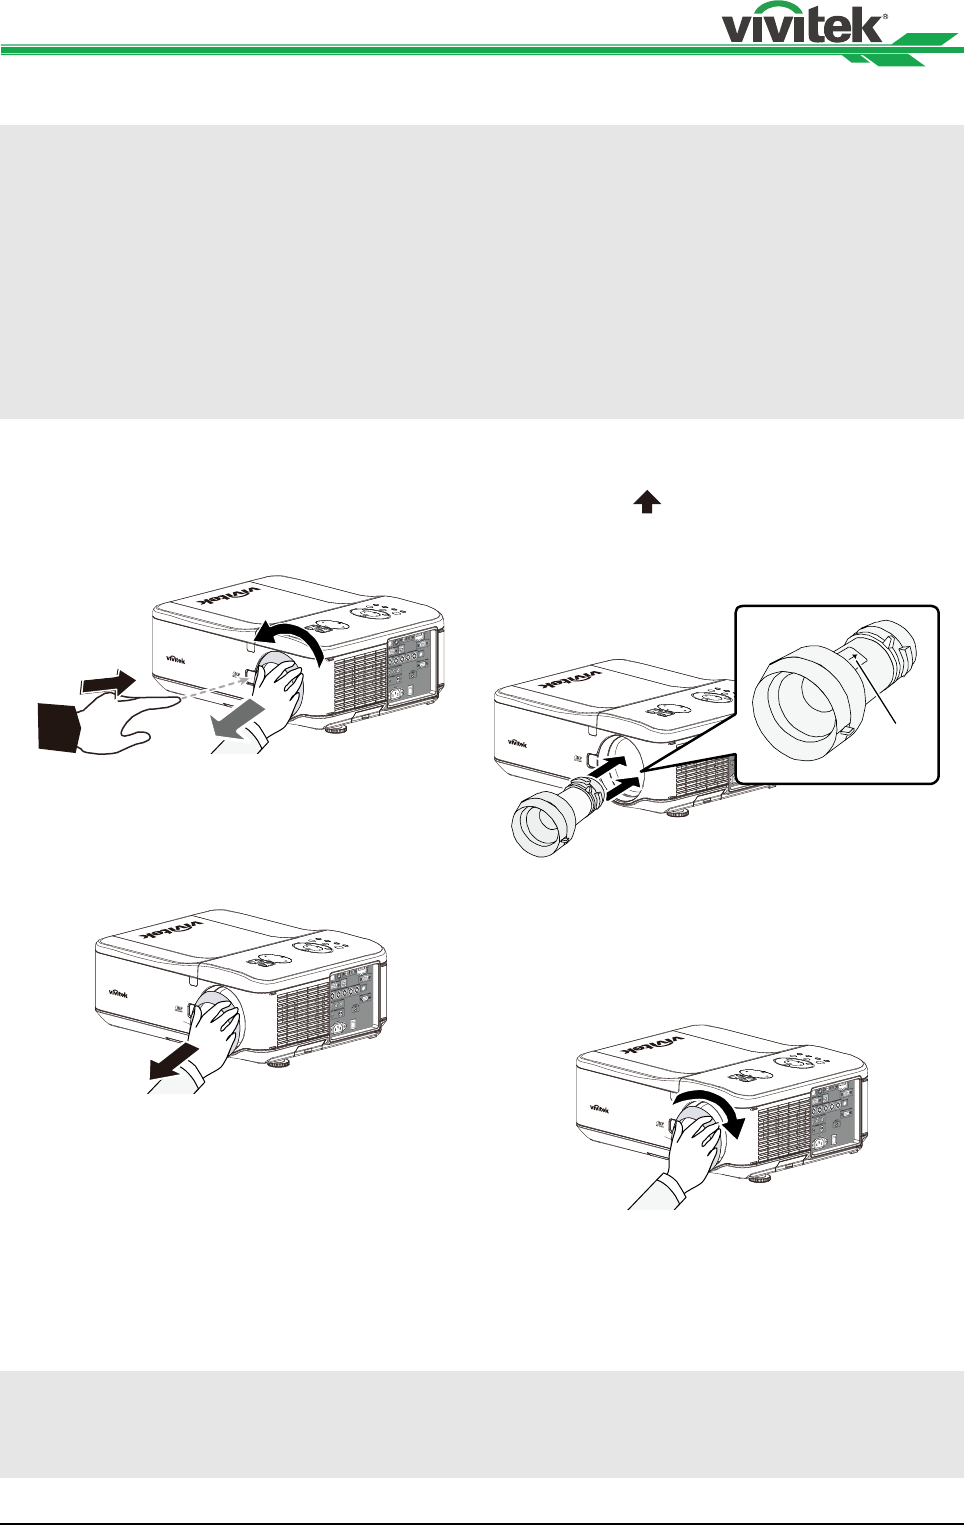
2. Pull out the existing lens slowly. 2. Make sure the lens is pushed into
the holder and turn it clockwise to the
"Lock" position. When turning the lens,
the "Click" sounds twice to indicate that
the lens is completely xed.
3. Check if the lens is fixed successfully
by pulling the lens out of the holder
gently.
Caution:
• When installing the lens into the projector, be sure to remove the lens cap from the back of the optional
lens before installing the optional lens into the projector. Failure to do so will cause damage to the projector.
• Be sure to detach anti-thief screw before removing the projection lens from the projector.