


DU6675 DLP Projector - User's Manual
15
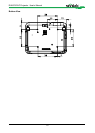
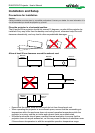
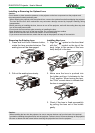
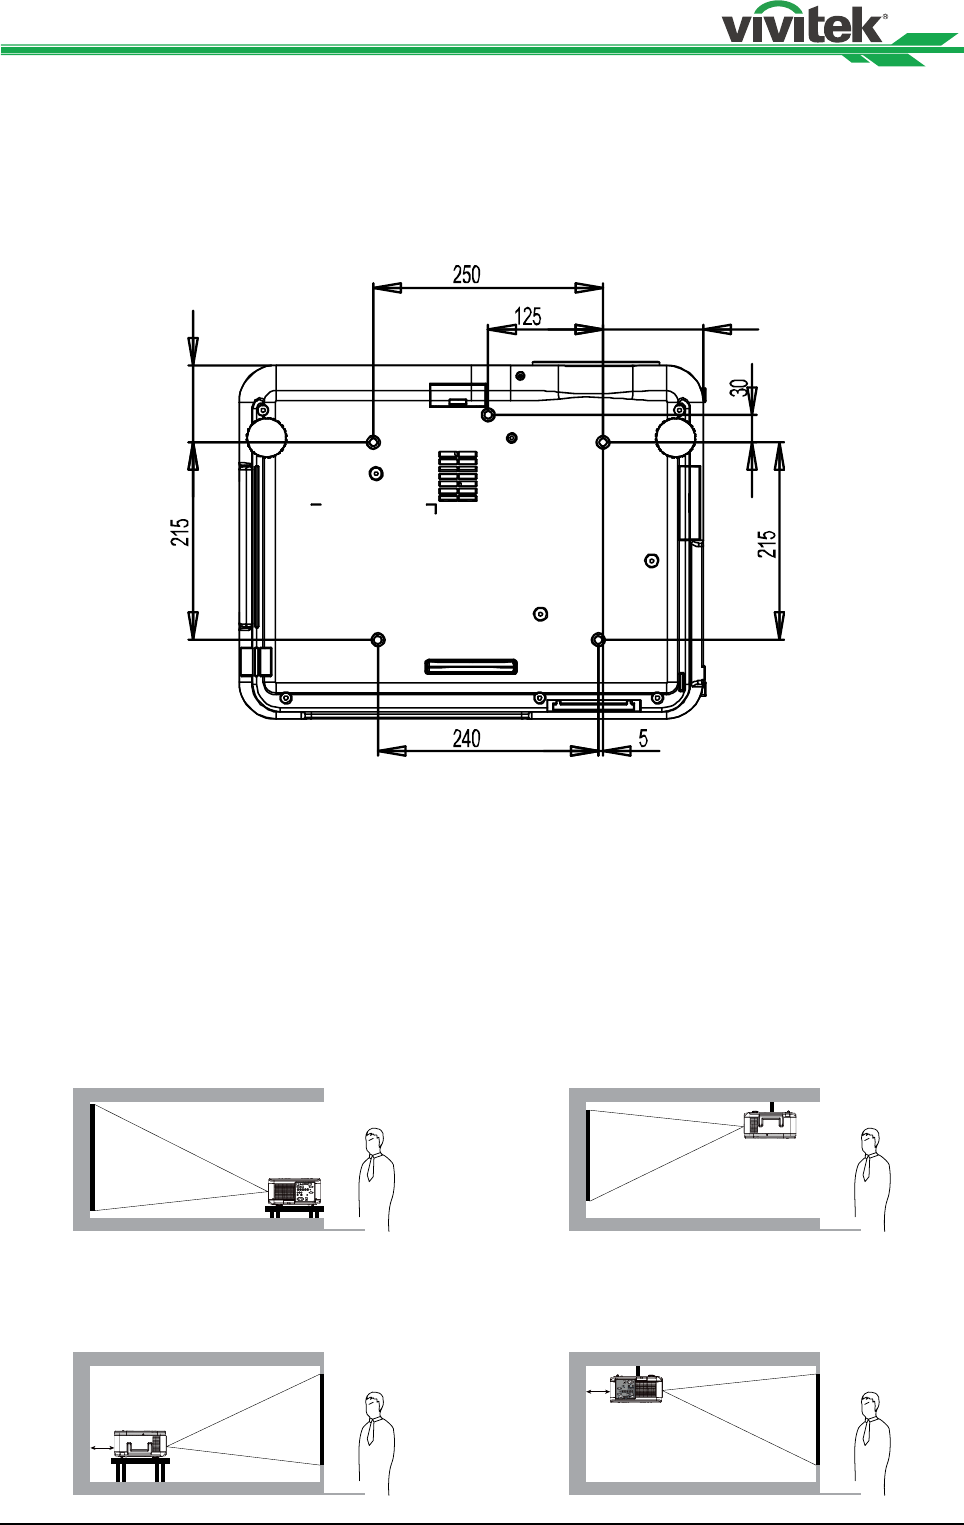
Caution for Ceiling Mounting Installation
When installing the projector other than desktop front or rear installation, please read
below notice carefully. mounting installation.
For ceiling mounting installation, please use UL Listed ceiling mounts and M4 screws,
maximum depth of screw: 12 mm, the distance from wall to projector must be kept 30cm at
least for proper ventilation.
109
84
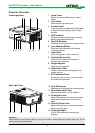
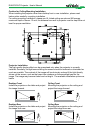
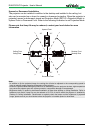
Projector Installation
The high quality display effect can be guaranteed only when the projector is correctly
installed. Generally, the light source facing the screen should be reduced or eliminated as
much as possible. The contrast of the image will be obviously reduced if the light directly
shines on the screen, such as the beam from windows or the searchlight cast on the
image. The image may become faded and not bright. The available installation options as
below.
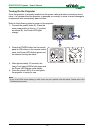
Desktop Front
Install the projector on the table and project
the image forward.
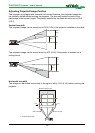
Desktop Rear
Install the projector on the table and project
the image from rear.
50cm
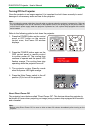
Ceiling Front
Mounting the projector on the ceiling and
project the image forward.
Ceiling Rear
Mounting the projector on the ceiling and
project the image from rear.
50cm