51
Remember: After making changes to the settings press/click the APPLY button.
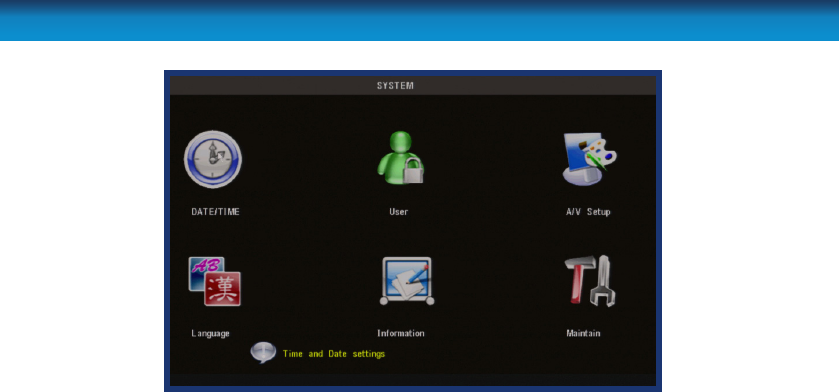
The SYSTEM SETUP menu is where most of the advanced settings for the DVR hide
out. Most of the time, there isn’t much you’ll need to change here. However, a few
settings might need tweaking from time to time, particularly when you’re rst
conguring the DVR. So here’s a quick rundown of what’s what.
DATE/TIME: Allows you to set the date and time. The DVR will retain an accurate
time even whilst turned o - there is a small battery attached to the
main circuit board. It may be the case that if the DVR is switched o
for an extended period (for example, weeks or months at a time)
that this battery may be exhausted. In this case, you will need to
setup the time and date settings again.
PASSWORD: For enabling/disabling password control to access the DVR, and
choosing what this password is. The admin password will be the
one you use for remote access (see “Remote Access” on page 62
for more details).
A/V SETUP: For changing your video standard (PAL or NTSC), conguring the
VGA output, selecting where the menu is displayed, and selecting how
the DVR processes and outputs audio.
LANGUAGE: For changing the language of the on screen display.
INFO: Displays information about the DVR: specically, it shows the
current version of the software and hardware that the DVR is
running, as well as the media access control (MAC) address.
MAINTAIN: Dene and implement an automatic maintenance schedule for
the DVR. It is important that the DVR be rebooted on occasion
to prevent errors - this function lets you program an automatic
schedule of rebooting which the DVR will follow.
System Setup Menu


