The Timer
39
GB
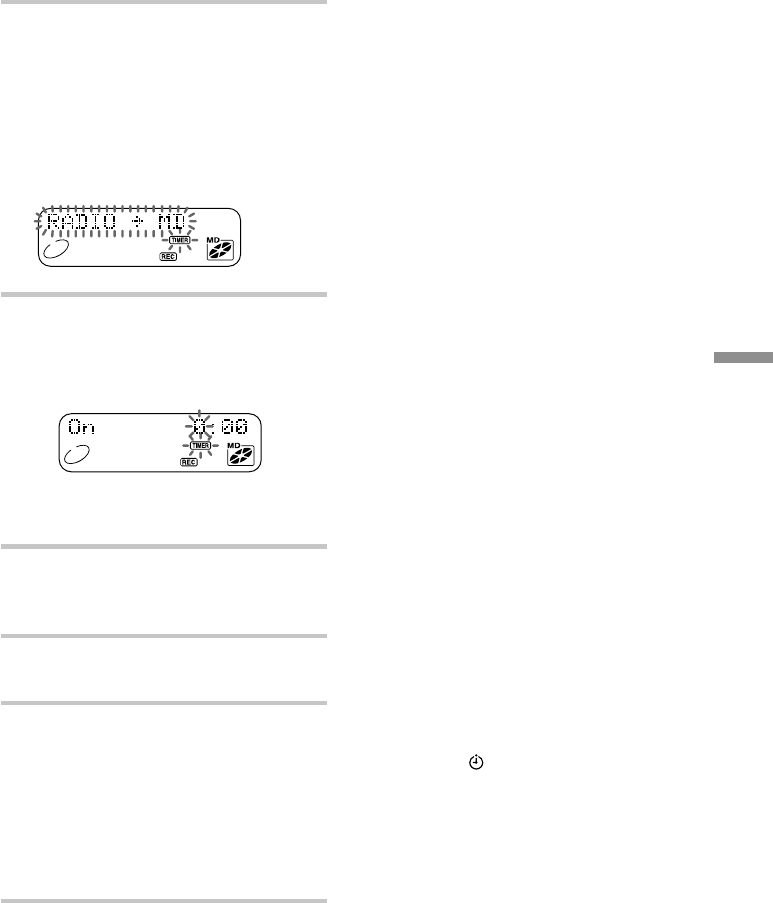
4 Turn the jog dial until “RADIOpMD”
flashes in the display, and press
YES•ENTER.
When recording from the component
connected to the LINE IN jack of the
player, turn the jog dial until
“LINEpMD” flashes in the display, and
press YES•ENTER.
5 Set the timer to the hour and the
minutes you want to start recording.
1 Turn the jog dial to set the hour and
press YES•ENTER.
2 Turn the jog dial to set the minutes,
and press YES•ENTER.
6 Set the timer to the hour and the
minutes you want to stop recording. (Do
as step 5.)
7 Turn the jog dial to set the volume you
want, and press YES•ENTER.
8 Press STANDBY.
“TIMER” is displayed, and the player
enters the standby mode.
At the preset time, the power will go on
and the recording will start. Then the
power will go off at the preset time, and
the player will enter the standby mode
again.
To check/change the recording
timer settings
Press CLOCK/SLEEP/TIMER until “Timer
Set” appears in the display, then press
YES•ENTER. Each time you press
YES•ENTER, a stored setting is displayed in
the set order. To change the setting, display
the setting you want to change and re-enter
it.
To use the player before a timer-
recording starts
If you turn on the player, you can use it as
usual (in case of the radio, if you listen to the
station which is different from the one you
tuned in step 1 on page 38, you will hear that
station at the preset time). Turn off the
player before the preset time.
To stop timer-recording
Turn off the power.
Notes
• You cannot preset recording timer and waking
up timer (page 36) at the same time.
• When recording from the component connected
to the LINE IN jack of the player, refer to the
operating instructions of the component.
Tips
• If you made a mistake, press NO•CANCEL. The
setting entered last will be cleared. Re-enter it.
• To exit the standby mode, press STANDBY to
make “TIMER” disappear from the display.
• The preset settings remain until you reset them.
• As long as the indication appears in the
display, the player is in timer mode.
