


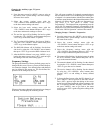
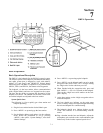
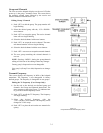

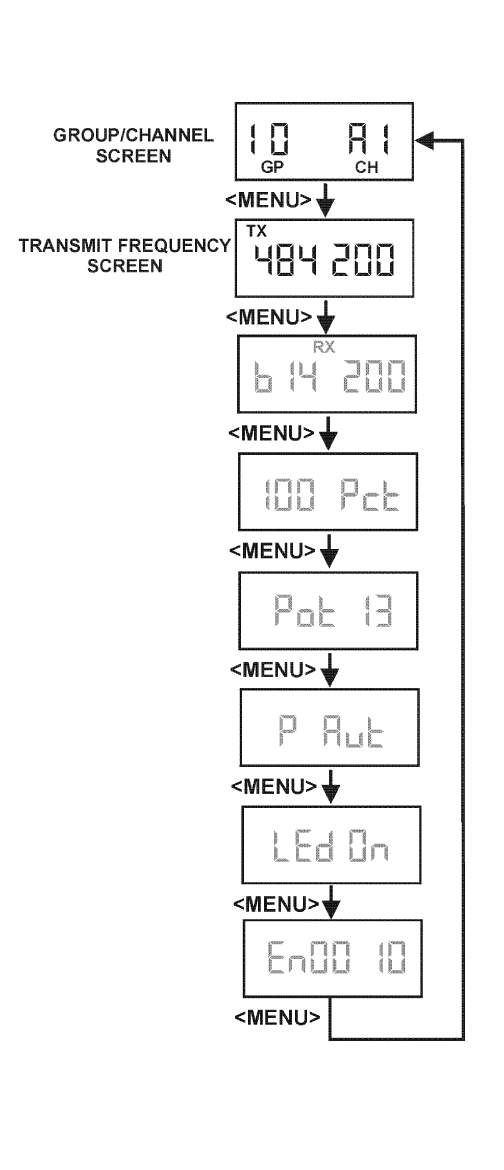
Group and Channels
The first screen the beltpack displays on the rear LCD,after
power-up, is the group / channels screen. This screen shows
the currently selected group followed by the receive and
transmit channels where the unit is set.
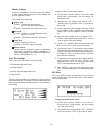
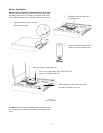
Editing Group / Channels
1. Push <SET> to edit the group. The group number will
begin flashing.
2. Select the desired group with the, <UP>/<DOWN>
arrow buttons.
3. Push <SET> to accept the group. The receive channel
letter will now begin flashing.
4. Select the desired channel with arrow buttons.
5. Push <SET> to accept the receive channel. The trans-
mit channel number will now begin flashing.
6. Select the desired channel with the arrow buttons.
7. Push <SET> once more to accept the transmit channel.
8. The new group containing the selected channels is
now set.
NOTE: Pressing <MENU> during the group/channels
editing will bail out of the editing without any changes.
Factory group’s frequencies are not changeable.
User group’s (Group 51u to 64u) frequencies are change-
able.
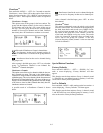
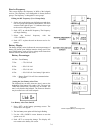
Transmit Frequency
This screen displays the frequency in MHz of the beltpack
transmitter. The frequency is not changeable in factory
defined groups. The frequency is changeable in user groups.
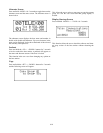
Editing the Tx Frequency (User Groups Only)
1. Set the unit to the desired user defined group and
channels. See Groups and Channels Instructions. The
menu structure at the right (Figure 7-5) indicates how
to get to the transmit frequency screen.
2. Push <SET> to edit the TX frequency. The frequency
will begin flashing.
3. Select the desired frequency with the
<UP>/<DOWN> arrow buttons. The frequency can be
changed in 25 kHz steps.
4. Push <SET> to place the unit on the new transmit fre-
quency.
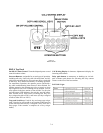
7-5
Figure 7-5
Group/Channel and Transmit Frequency Screen