


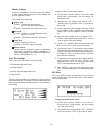
Changing the Auxiliary types, TX power
and Sidetone
1. From the status screen hit <MENU> once to arrive at
the security code / system settings / four wire settings /
RF meter menu screen.
2. Select the system settings menu with the
<UP>/<DOWN> arrow buttons and press <SET> to go
to the base station settings sub-menu.
3. Select the base main settings menu with the
<UP>/<DOWN> arrow buttons and press <SET> to go
to the base station main settings set screen.
4. The aux line type will be flashing. Set local or global
by using the <UP>/<DOWN> arrow buttons then press
<SET> to go to the base station Tx options.
5. The Tx option will be flashing. Set Norm or High by
using the <UP>/<DOWN> arrow buttons then press
<SET> to go to the sidetone option.
6. The RKP-4B sidetone will be flashing. Set the base
side level by using the <UP>/DOWN> arrow buttons
then press <SET> to go on to the RKP-4 sidetone level.
7. After the RKP-4 sidetone is set press <MENU> to go
back to the status screen or press <SET> again to begin
the editing of the base main setting again.
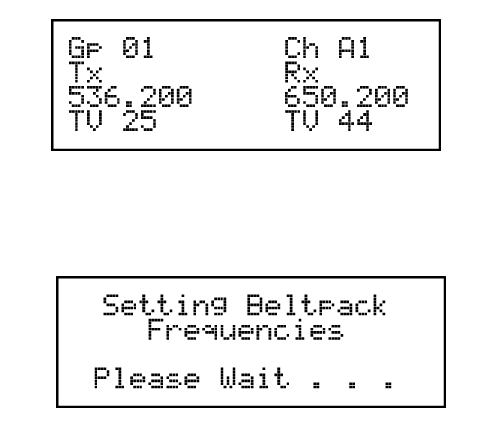
Frequency Settings
The group and channels of factory defined groups may be
changed in this screen. However, factory defined frequen-
cies cannot be changed. User defined groups and channels
may be defined in this screen too. The user defined fre-
quencies can be changed by the user.
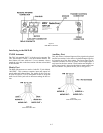
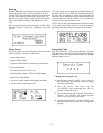
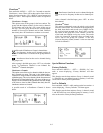
Whenever the group, channels or frequencies are changed
at the base, it will display the following screen.
This will occur regardless if a beltpack communicating to
the base station or not. It is a broadcast type of message. If
a beltpack is in communication with the base station, then
a software menu function in the beltpack determines if that
beltpack will follow the base to the new frequencies or
stay where it is. The option is called, “Auto
Programming”. The beltpack auto programming must be
set to ON for automatic frequency programming of the
beltpack to occur. More detail on these two options may be
found in the “RKP-4 Operation” section of the manual.
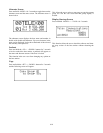
Changing Groups / Channels / Frequencies
1. From the status screen hit <MENU> once to arrive at
the security code / system settings / four wire settings /
RF meter menu screen.
2. Select the system settings menu with the
<UP>/DOWN> arrow buttons and press <SET> to go
to the base station settings sub-menu.
3. Select the frequency settings menu with the
<UP>/<DOWN> arrow buttons and press <SET> to go
to the Groups/Channels/Frequencies set screen.
4. The group will be flashing. Set desired groups by using
the <UP>/<DOWN> arrow buttons then press <SET>
to go to the transmit channel.
5. The transmit channel will be flashing. Set the channel
by using the <UP>/<DOWN> arrow buttons then press
<SET> to go to the receive channel.
6. The receive channel will be flashing. Set the channel
by using the <UP>/<DOWN> arrow buttons then
pressing <SET> to end editing in factory defined
groups.
7. In factory defined groups, after the RX channel is set
press <MENU> once to go back to the status screen.
Press <SET> again to begin the editing of the screen
again. In user defined groups the editing continues with
the Tx frequency then Rx frequency. Once these are
set, press <MENU> once to go back to the status
screen or press <SET> again to begin the editing of the
screen again.
6-7