91
Timer operation
Application section
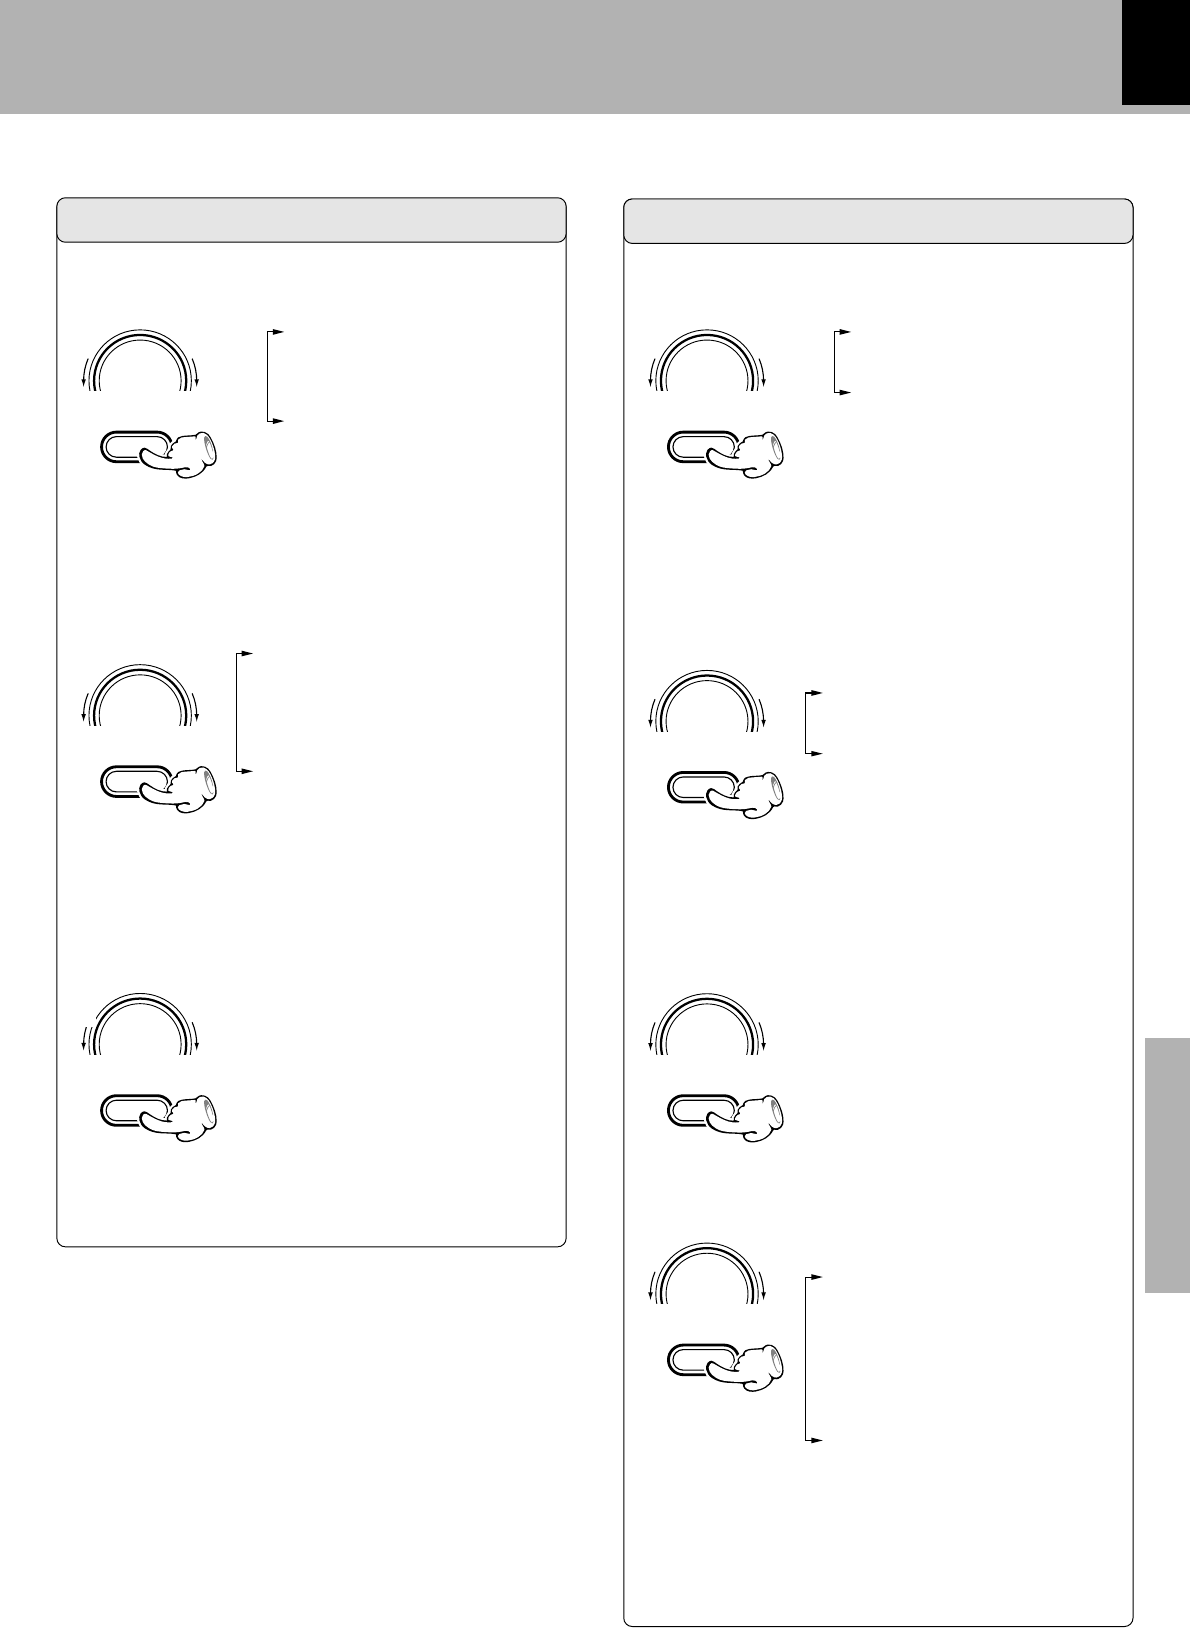
1 Select the mode.
(1) Select "PLAY" or "AI PLAY".
(2) Set it.
Make the desired reservation.
4
1 "PLAY"
(Timer play)
2 "REC"
3 "AI PLAY"
(Timer play with gradually
increasing volume)
For timer playback or AI timer playback
For timer recording
2 Select the input source.
(1) Select the source to be played.
(2) Set it.
1 "TUNER"
(Broadcasts)
2 "DVD/CD"
3 "MD"
4 "AUX"
(Analog)
5 "DIGITAL AUX" (Digital)
2 Select the input source.
(1) Select the source to be re-
corded.
(2) Set it.
1 "TUNER"
(Broadcasts)
2 "AUX" (Analog)
3 "DIGITAL AUX" (Digital)
SET/DEMO
ME/
ROL
\
SET/DEMO
ME/
ROL
\
1 Select the mode.
(1) Select "REC".
(2) Set it.
1 "PLAY"
2 "REC"
3 "AI PLAY"
ME/
ROL
\
ME/
ROL
\
3 Select the broadcast station (only when
TUNER is selected above).
(1) Select the preset station No.
(2) Set it.
3 Select the broadcast station (only when
TUNER is selected above).
(1) Select the preset station No.
(2) Set it.
SET/DEMO
ME/
ROL
\
ME/
ROL
\
Continued on next page
÷ When "PLAY" is selected, the timer playback will start
at the volume setting used at the moment the unit is
set to the Standby mode.
÷ The sound is muted during timer recording. If you want
to monitor the recorded sound, turn the VOLUME/
MULTI CONTROL knob (or press the VOLUME key on
the remote) to adjust the volume.
ME/
ROL
\
4 Set the recording mode.
(1)
(2)Set it.
1 "STEREO"
(Stereo re-
cording mode
)
2 "LP2" (Stereo LP2 re-
cording mode
)
3 "LP4" Stereo LP4 re-
cording mode
4 "MONO" (Monaural re-
cording mode)
Continued on next page
