58
Operating the DVD600
II
DVD Changer
•
On some discs, when you select the DVD
menu during the playback of a movie, the disc
will return to the point in the program where
the menu was selected by offering a “Play
Movie” option. Press the
Enter Button
or Play/Pause Button to
resume play. However, not all discs offer this
feature, and selecting the menu while playing
a movie may mean that you will either have
to go back to the beginning of the program or
the start of a chapter. This feature is out of
the control of the DVD600
II
, as it is set by the
disc’s internal programming.
• Some DVD discs also feature a Chapter
Selection menu. Press the
Title Button x
to proceed directly to the disc’s Chapter
Selection option.
IMPORTANT NOTES
ON DVD PLAYBACK
Due to the nature of this product category, DVD
players, while being operated at elevated tem-
peratures, may exhibit certain anomalies such
as picture freeze-ups. If this occurs, the
DVD600
II
needs to be “reset” by powering it
down and up again, using its master On/Off
switch. Should this occur with your DVD600
II
,
first check your discs for any damage, scratches
and fingerprints. If discs are OK, then ventilation
around the DVD600
II
needs to be increased to
ensure proper operation.
The DVD600
II
is capable of all the features and
options covered by the DVD standards. However,
it is up to the producer of a DVD disc to decide
which of those features and functions are avail-
able on any given disc. For that reason, not all
discs will function identically, and some discs
will not have many of the features of the DVD
system. For example, most current DVD discs do
not take advantage of the multiple-angle fea-
ture. When the player displays the “Feature
Prohibited” icon “
ɂ”, this indicates that the disc
has not been programmed for that feature.
In addition, it is common for the producers of
DVD discs to block the use of certain functions
during only some parts of a disc. For example,
many discs prohibit the use of fast-play buttons
or prohibit access to the Chapter Menu display
during the playback of copyright notices, studio
logos, movie credits or trailers. The appearance
of the “Feature Prohibited” icon “
ɂ”, or the
inability of certain features to operate when the
disc itself has prohibited them, does not indi-
cate a problem with the DVD600
II
, as these fea-
tures are outside of the unit’s control.
Using the Menu Bar
The DVD600
II
is equipped with a powerful on-
screen display system that serves the dual pur-
pose of showing you the current status of the
DVD600
II
while enabling quick and easy
changes to settings and functions. Depending
on whether a DVD or CD is in use, the menu will
vary to display information that is specific to the
type of disc in play.
Menus and Controls
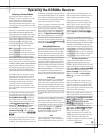
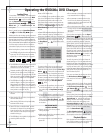
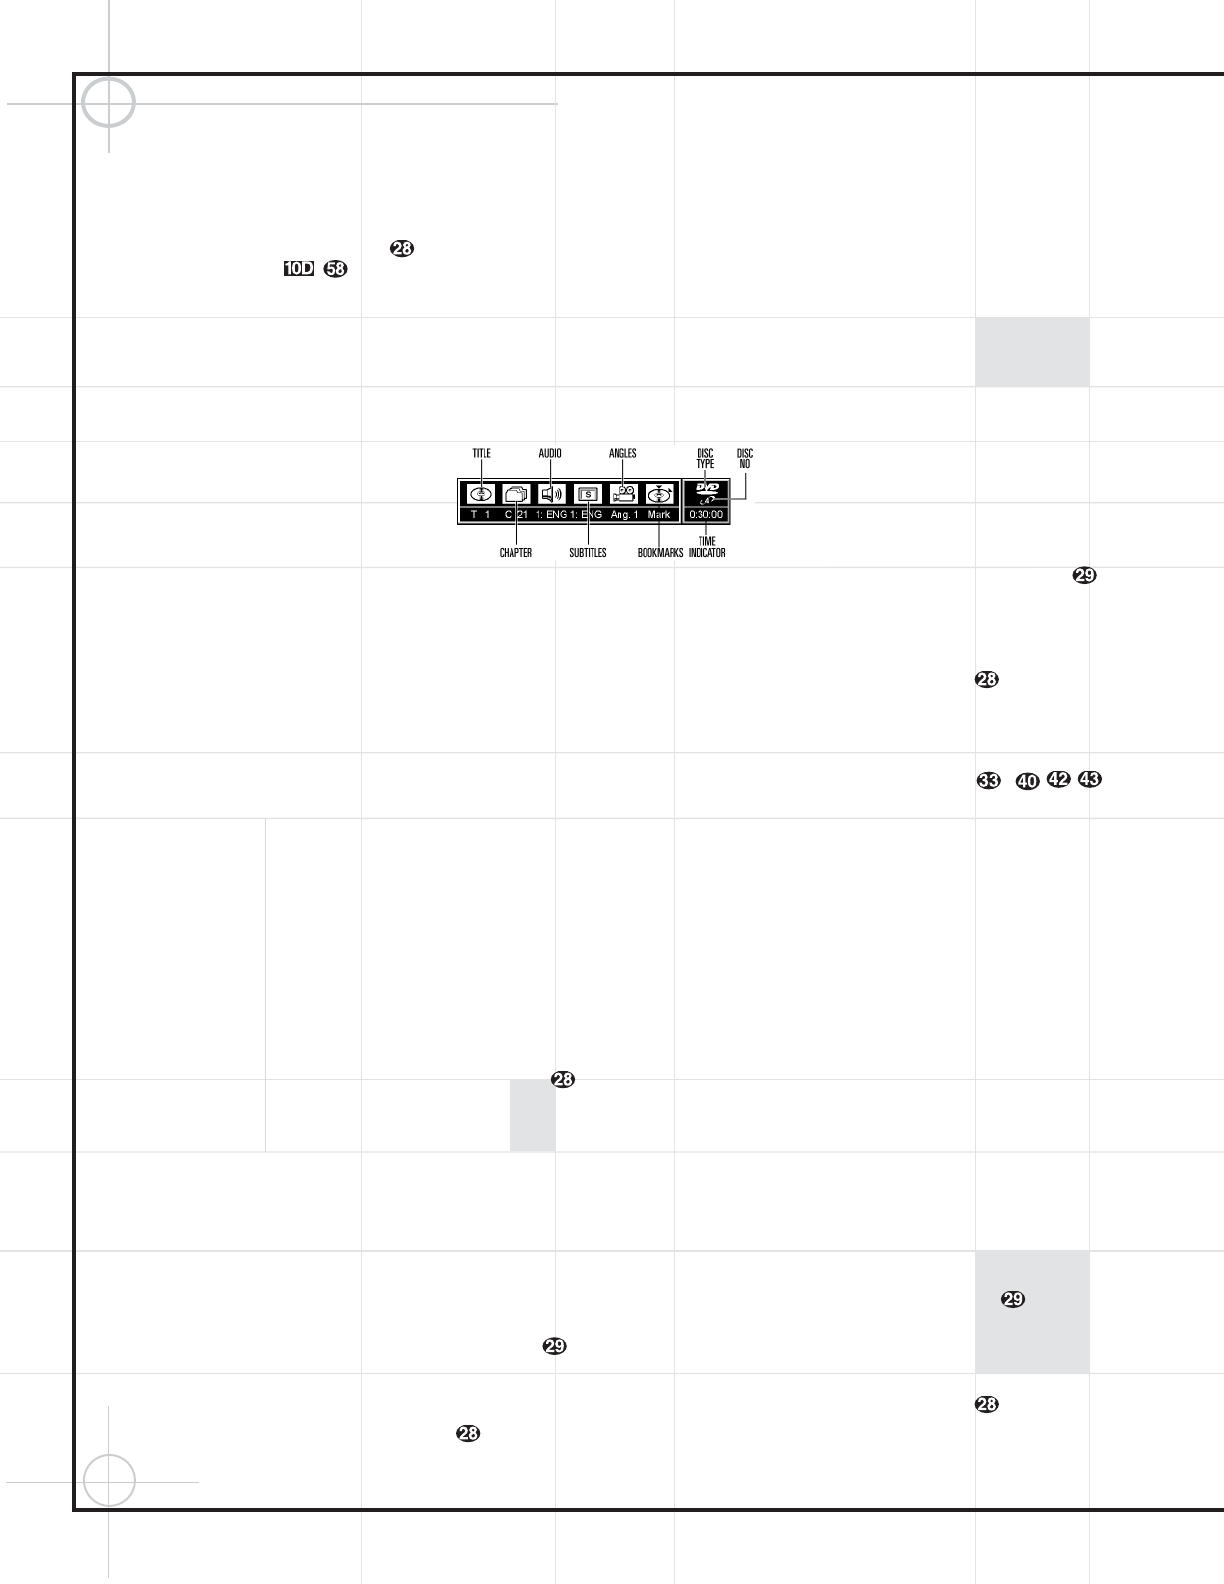
When a disc is playing, press the Status
Button
e to view the status of the current
disc and to change the setting for key playback
functions (Figure 18).
Figure 18
Title: The number shown indicates the number
of the title that is currently playing.
Chapter: The number shown indicates the
number of the chapter that is currently playing.
Audio: The number and abbreviation show the
audio language soundtrack that is currently
playing. Consult the DVD jacket for the key to
available audio tracks on the disc.
Subtitles: The number and abbreviation show
the subtitle language that is currently playing.
Consult the DVD jacket for the key to available
subtitle languages on the disc. A pound sign (
#)
displayed next to the language selection indi-
cates that subtitles are active.
Angles: The number shown indicates the
multiple-angle view that is currently playing.
Bookmarks: Highlight this area and press the
Enter Button to mark or go to previously
bookmarked locations on a disc.
Disc Type: The type of disc playing (DVD or CD)
is shown.
Disc Number: The slot number of the disc being
played is shown.
Time Indicator: The elapsed time of the current
title is shown.
Once the Menu Bar appears, press the
‹
/
›
Buttons ` to move across the display to
select the desired option. When the option to be
changed is highlighted in white with yellow
brackets on both sides, press the
Enter Button
to change the setting for that option.
Selecting Titles and Chapters
Some discs contain more than one title.
Remember that a disc may contain one title or
two separate program titles, or the disc may use
the Title function to separate the special feature
sections or audio tracks on the disc. The use of
titles is optional with the producer of each DVD
disc, as is the way in which he/she may choose
to implement the feature. You may directly
access any chapter while the disc is playing or
in Pause mode simply by entering its number
using the remote.
To change the title on those discs using the
Menu Status Bar, follow these steps:
1. During disc playback, press the Status
Button
e.
2. If needed, press the ‹
/
› Buttons `
until the disc icon for the current title, with the
letter “T” underneath it, is highlighted in white
between yellow brackets.
3. Press the Enter Button .
4. Note that the number to the right of the “T”
will be replaced with two dashes (– –).
5. Use the Numeric Keys –
to enter the number of the title to be accessed.
6. The desired title will automatically be started.
Titles may also be selected during the playback
of a DVD by pressing the
Title Button x.
However, the action of the disc when pressing
this button will vary from disc to disc. On occa-
sion, pressing this button will take you to the
disc’s main menu while, in other cases, pressing
this button will result in no action at all.
The movies or programs on most discs are divided
into individual chapters, as selected by the
disc’s producer. Using the on-screen Menu Bar,
you may view the number of the current chapter
and move to any chapter on the disc.
To change the chapter using the Menu Status
Bar, follow these steps:
1. During disc playback, press the Status
Button
e.
2. Press the ‹
/
› Buttons ` until the
icon showing a disc and a file folder (second
from left), with the letter “C” beneath it, is
highlighted in white between yellow brackets.
3. Press the Enter Button .
4. Note that the number to the right of the “C”


