86
Advanced Operation
5
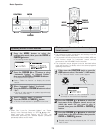
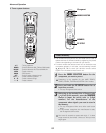
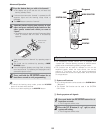
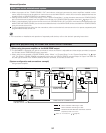
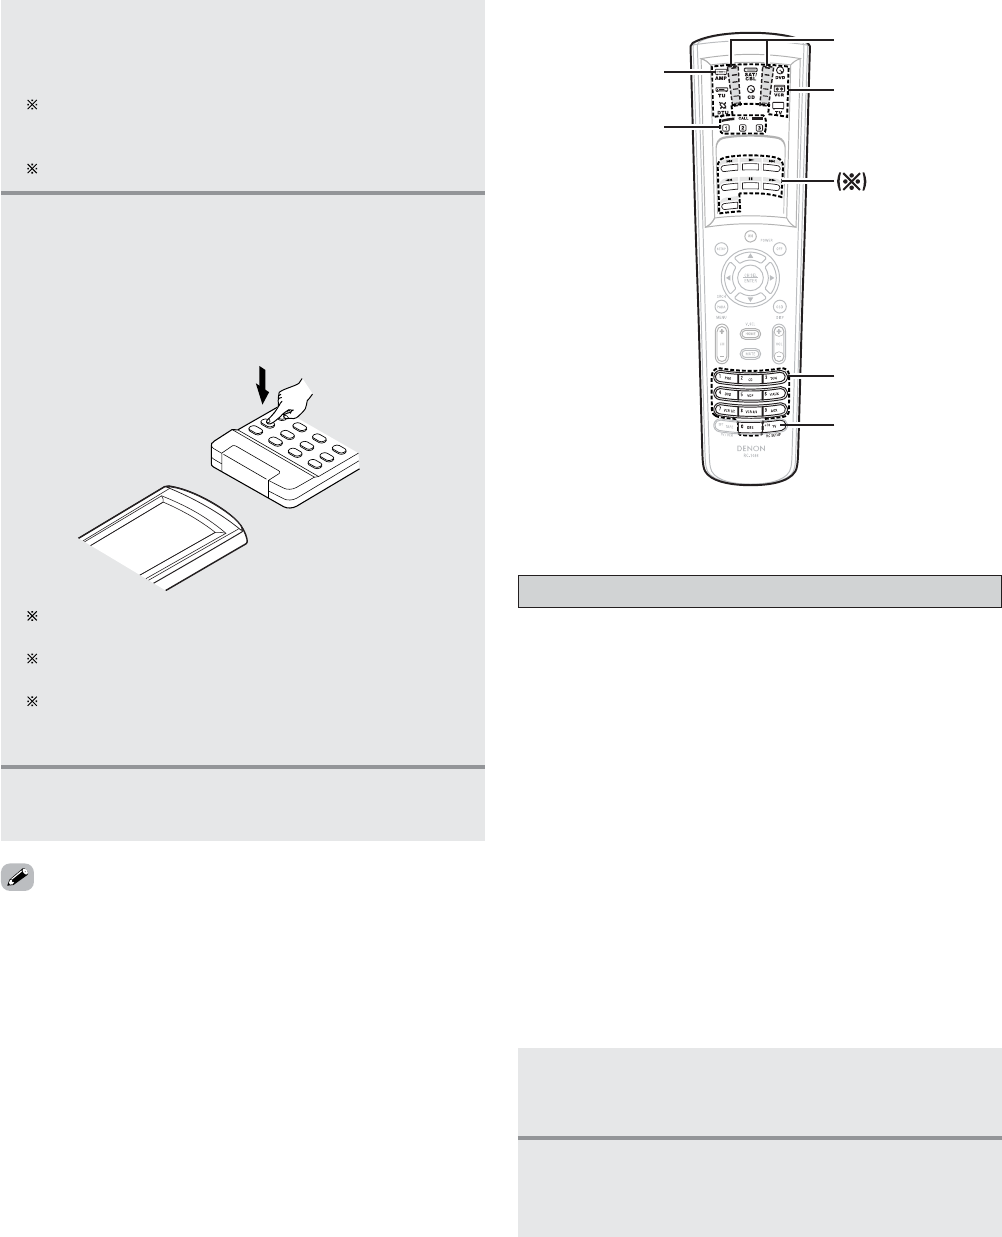
Point the remote control units directly at each
other and press and hold in the button on the
other remote control unit which you want to
“learn”.
• The display turns on again and the IR segment blinks
twice to indicate that the code is successfully
captured.
Other remote
control unit
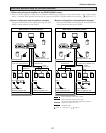
Other buttons can be “learned” by repeating steps 4
and 5.
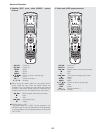
The mode can be switched by pressing a MODE
SELECTOR button.
If the IR segment displays one long flash, a leaning
error has occurred. Try repeating this step again until a
successful capture occurs.
4
Press the button that you wish to be learned.
• The display will go off and the unit will enter the
learning standby mode.
If a button that cannot be “learned” is pressed, the IR
segment lights and the learning setup mode is
cancelled.
The HOME button cannot be “learned”.
•To cancel the learning setup mode, press the RC SETUP
button for at least three seconds.
• Do not try to learn anything to the RC SETUP button.
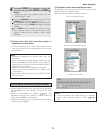
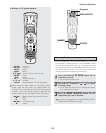
6
Press and hold the RC SETUP button for at
least three seconds to exit programming.
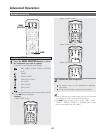
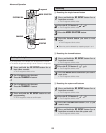
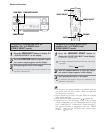
NUMBER
RC SETUP
IR segment
AMP
MODE SELECTOR
SYSTEM CALL
System call
• The accessories remote control unit is equipped with
“system call” function allowing a series of remote control
signals to be transmitted by pressing a single button.
• This function can be used for example to turn on the
amplifier’s power, select the input source, turn on the
monitor or TV’s power, turn on the source component’s
power and set the source to the play mode, all at the touch
of a single button.
¢ System call buttons
• Up to 32 signals each can be stored at the SYSTEM CALL 1
~ 3 buttons.
• The System Call function can be used in the SYSTEM
CALL mode.
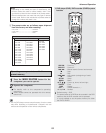
¢ Storing system call signals
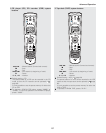
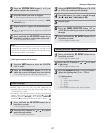
1
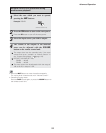
Press and holed the RC SETUP button for at
least three seconds.
• The IR segment blinks twice.
2
Press the 9, 7, 8 button (9
→
7
→
8) to select
system call setting.
• The IR segment blinks twice.


