


124
Advanced Setup – Part 1
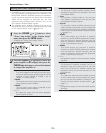
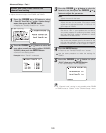
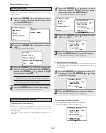
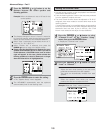
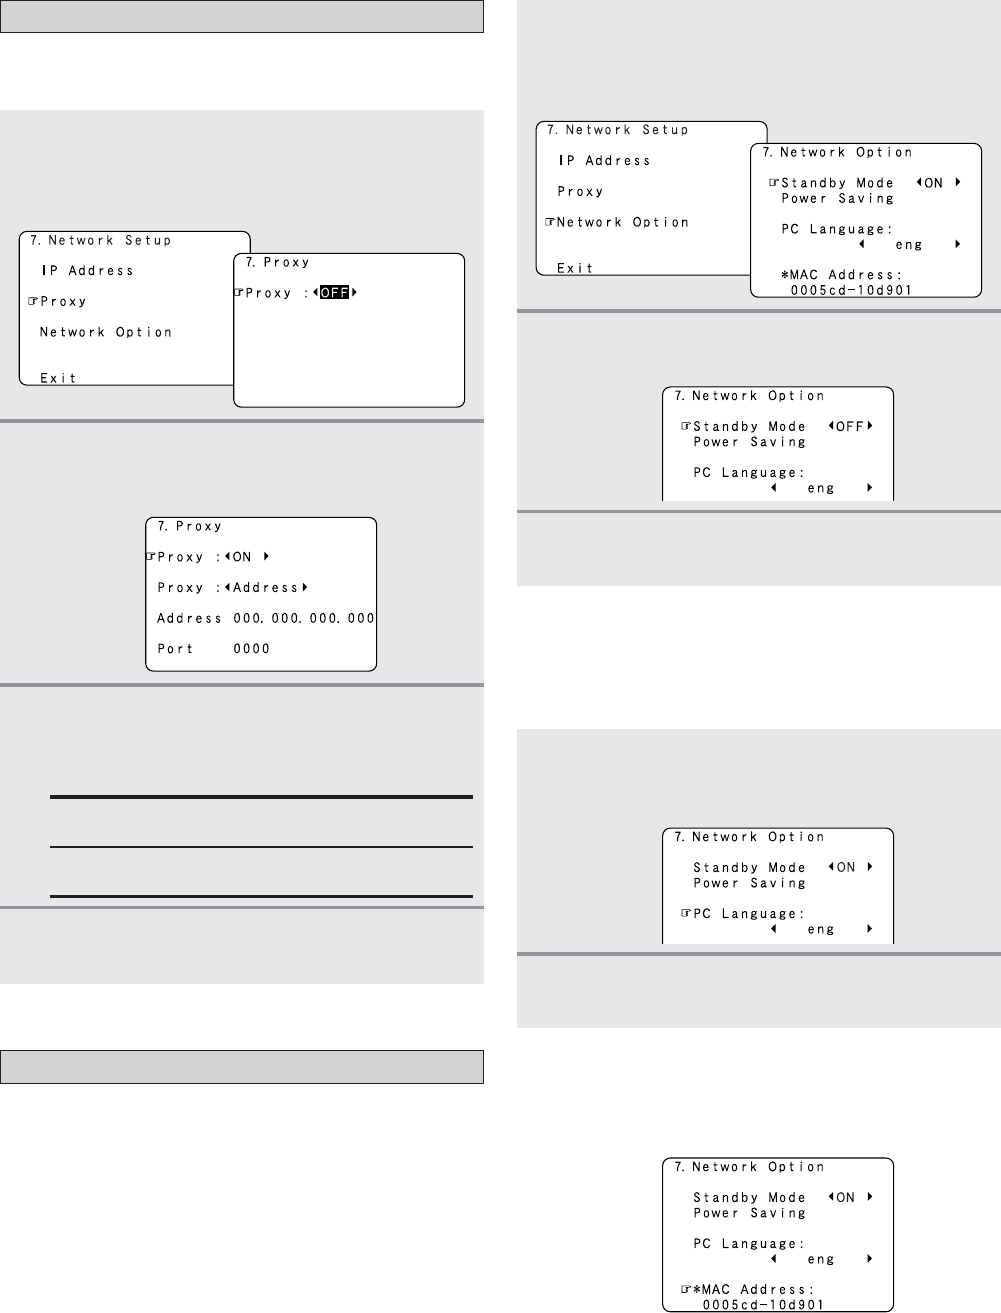
•Make this setting when connecting to the Internet via a
proxy server.
1
Press the CURSOR
DD
or
HH
button to select
“Proxy” at the “Network Setup” screen, then
press the
ENTER button.
• The “Proxy” screen appears.
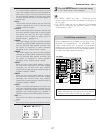
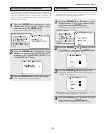
2
Press the CURSOR
FF
or
GG
button to select
“ON”.
• The proxy server is enabled.
Setting the Proxy
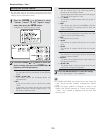
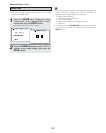
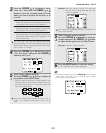
3
Press the CURSOR
DD
or
HH
button to select the
desired setting item, then press the
CURSOR
GG
button and CURSOR
DD
or
HH
button to input
the character or number.
Proxy:
Input the proxy server domain name or address.
Port:
Input the proxy server port number.
4
Press the ENTER button to enter the setting.
• The “Network Setup” menu reappears.
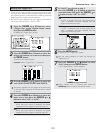
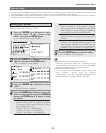
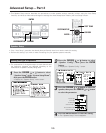
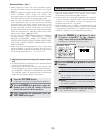
¢ Setting the Power Saving
•When not using the AVR-4806CI connected in a network,
set “ON” to reduce the power consumption when in the
standby mode.
Set “OFF” when using the AVR-4806CI connected in a
network.
1
Press the CURSOR
DD
or
HH
button to select
“Network Option” at the “Network Setup”
screen, then press the
ENTER button.
• The “Network Option” screen appears.
2
Press the CURSOR
FF
or
GG
button to select
“ON” or “OFF”.
Setting the Network Option
3
Press the ENTER button to enter the setting.
•The “Network Setup” menu reappears.
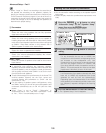
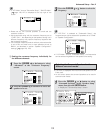
¢ Setting the PC Language
Select according to the language of the computer being used.
The languages are indicated with three letters conforming
to ISO639-2.
¢ Checking the MAC Address
• The AVR-4806CI’s MAC address is displayed.
• The MAC address differs for each set.
1
Press the CURSOR
DD
or
HH
button to select “PC
Language”, Press the
CURSOR
FF
or
GG
button
to select PC language.
2
Press the ENTER button to enter the setting.
•The “Network Setup” menu reappears.