Recording operations
RQT5471
38
1
A
3
2
@
21
DISC 1—5
CD EDIT
@
3
H
REC
PAUSE
Î
NR2
REC
Î
NR2
REC
EDIT
B
CD EDIT
INPUT SELECTOR
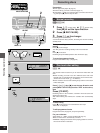
Recording discs
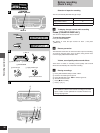
Preparation:
³Do the preparatory steps (á page 37).
³Insert the disc(s) you want to record (á page 14).
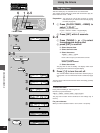
³Press [DISC 1]–[DISC 5] to select the disc you want to start record-
ing, then press [º] twice to stop the disc.
»
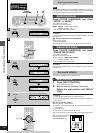
A
Normal recording
[DVD] [V-CD] [CD]
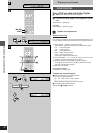
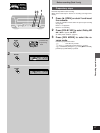
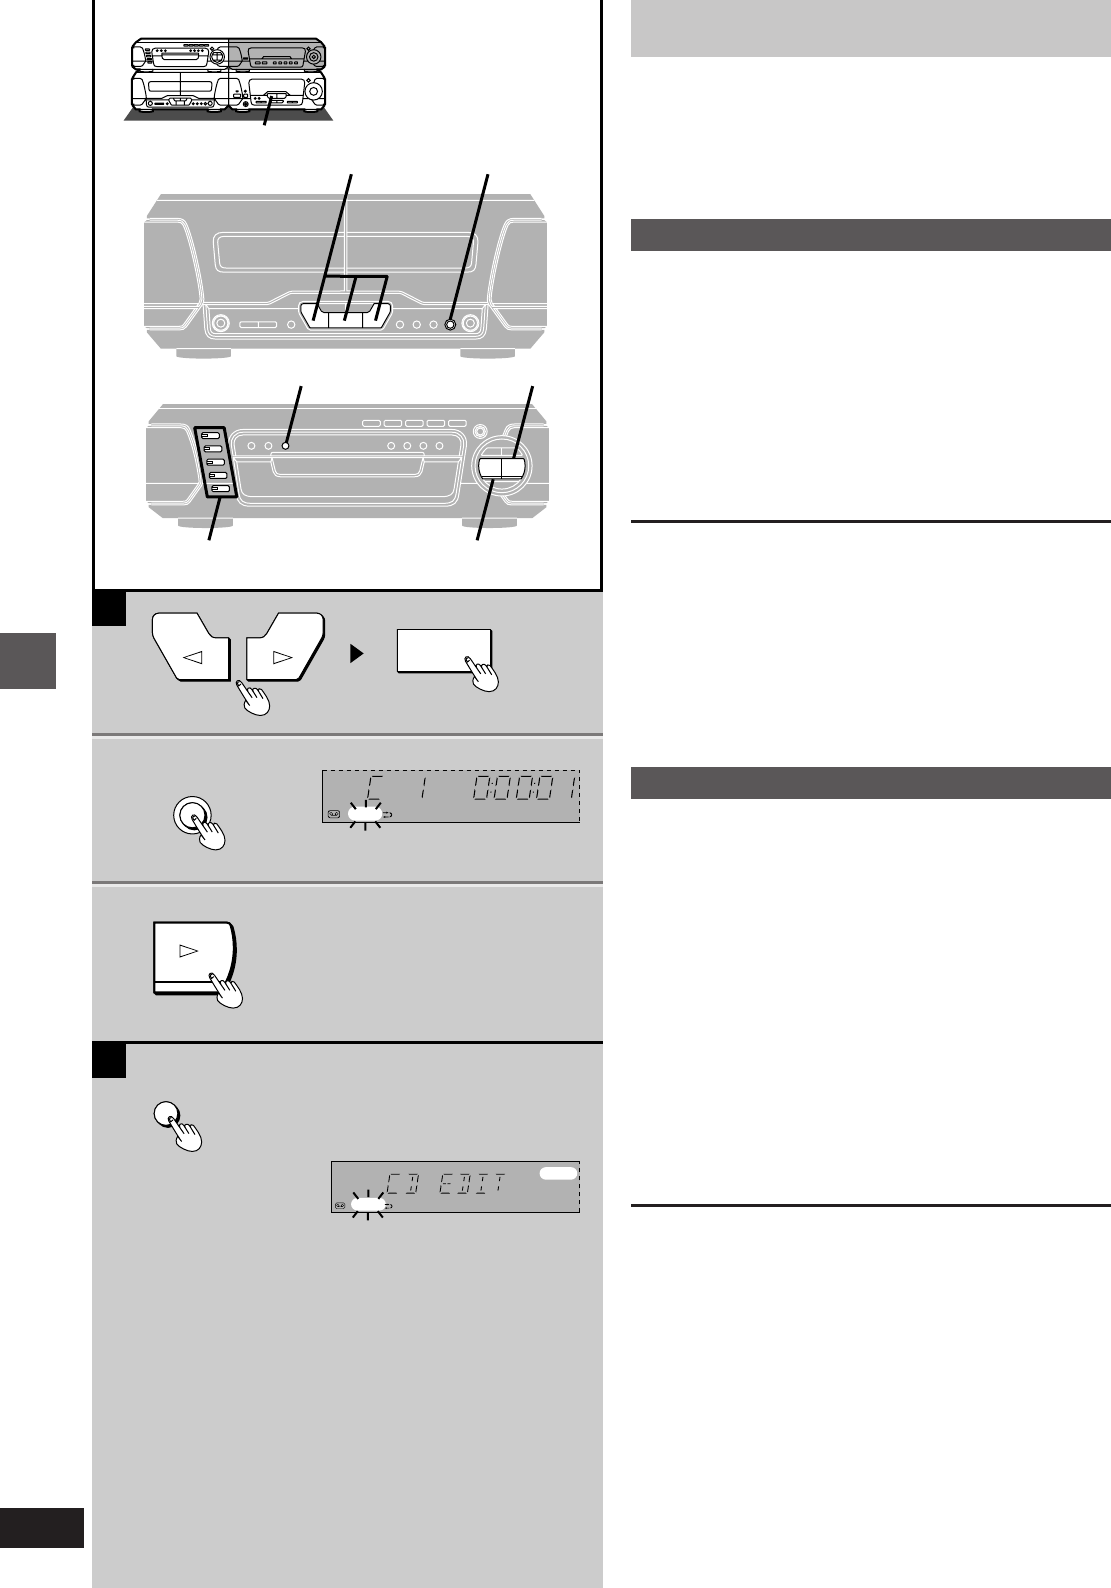
1 Press ["] (reverse side) or [!] (forward side)
then [º] to set the tape direction.
2 Press [´ REC PAUSE].
3 Press [!] on the changer.
Recording starts automatically.
4 seconds after the disc(s) finishes, the deck goes into the recording
standby mode.
To stop recording
EITHER
Press [º] on the changer.
The deck goes into recording standby mode 4 seconds later.
OR
Press [º] on the deck.
Recording stops immediately but the disc continues to play.
To record programmed tracks
Program tracks before step 1 (á page 20).
»
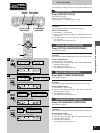
B
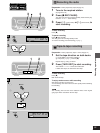
One touch disc editing
[V-CD] [CD]
This function makes it easier for you to record from Video CDs and
CDs.
³When recording, if a track is cut off in mid-track at the end of the
forward side, it is recorded from the beginning on the reverse side.
(Ensure the reverse mode “d” is selected.)
³At the end of the reverse side recording stops and the current track
will be interrupted.
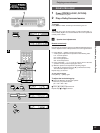
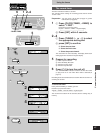
Press ["] or [!] then [º] to set the tape direction, and
press [INPUT SELECTOR] to select “DVD” as the source,
then
Press [CD EDIT].
Recording starts. In the meantime, “CD EDIT” will scroll across the
display from right to left.
After edit-recording has finished, the cassette deck automatically
stops.
To stop editing
Press [º] on the changer. The cassette deck also stops.
“EDIT OUT” is displayed.
To edit programmed tracks
Program the tracks (á page 20) and press [CD EDIT].
For your reference:
³“ALL DISC” or “1-DISC” can be combined (á page 15).
³PBC on Video CDs is automatically canceled.
³“ERROR” is displayed if the disc in the playing position is a DVD or
the resume function is activated.


