40
Erasing recordings
— Erase Function
The MD deck lets you erase unwanted tracks
quickly and easily. You can restore the contents to
the condition before erasing (unerase) by using the
Undo function. Note, however, you cannot undo
an edit after performing any additional edits.
The three options for erasing recordings are:
• Erasing a single track. (Track Erase)
• Erasing all tracks. (All Erase)
• Erasing a portion of a track. (A-B Erase)
Erasing a single track (Track
Erase Function)
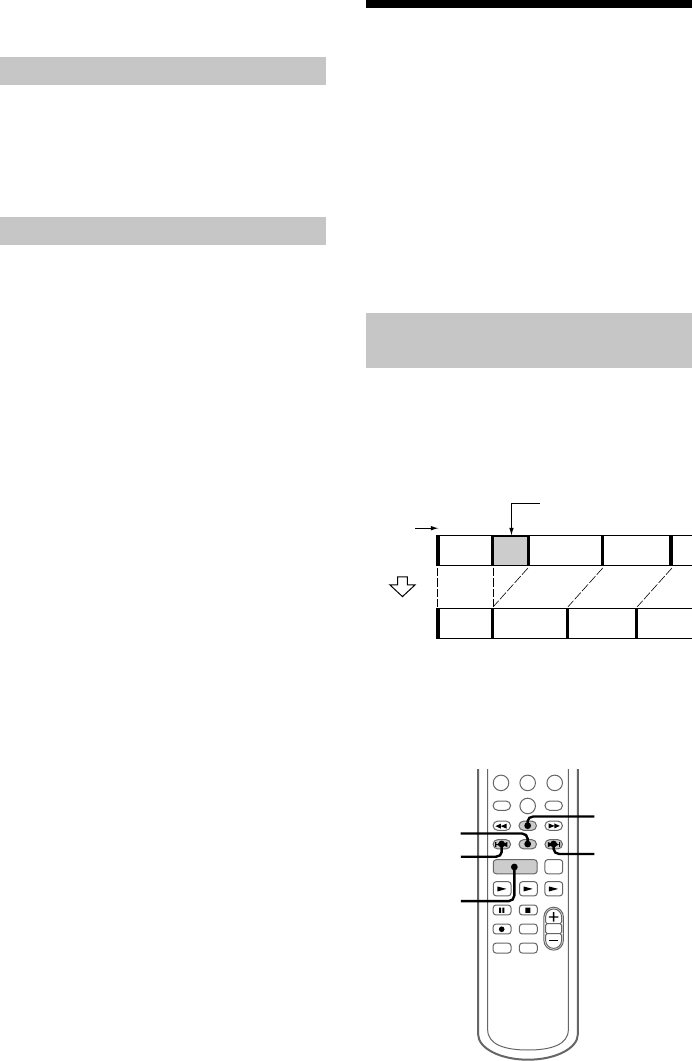
You can erase a track simply by selecting its track
number. When you erase a track, the total number
of tracks on the MD decreases by one and all the
tracks following the erased one are renumbered.
Eg.: Erasing track 2.
123
123
4
AB
AC D
CD
When erasing multiple tracks, you should proceed
in order from high to low track number to prevent
the renumbering of tracks that have not been
erased yet.
3,5
3,4
1
3,4
2
Labeling an MD (continued)
Checking the titles
To check the disc titles, press SCROLL in stop
mode. To check the track title, press SCROLL
during play. The title appears scrolling in the
display. To stop scrolling, press SCROLL. Press
the button again to resume scrolling.
Erasing the titles
1 Press MENU/NO in stop mode.
2 Press – or + repeatedly until “Name?” appears,
then press ENTER/YES.
3 Press – or + repeatedly until “Nm Erase?”
appears, then press ENTER/YES.
4 Press – or + repeatedly until the desired title to
erase appears, then press ENTER/YES.
“Complete!” appears and the title is erased.
To erase all the titles, press – or + repeatedly until
“Nm All Ers?” appears, then press ENTER/YES
twice after performing 1 and 2.
To cancel erasing
Press MENU/NO.
To return to the condition before
labeling or erasing
You can return to the original condition
immediately after labeling or erasing a title (see
page 48).
Track
number
Original
tracks
After
ERASE
Erase track 2
