


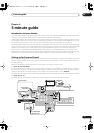
5 minute guide
02
13
En
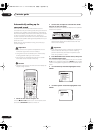
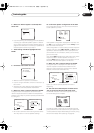
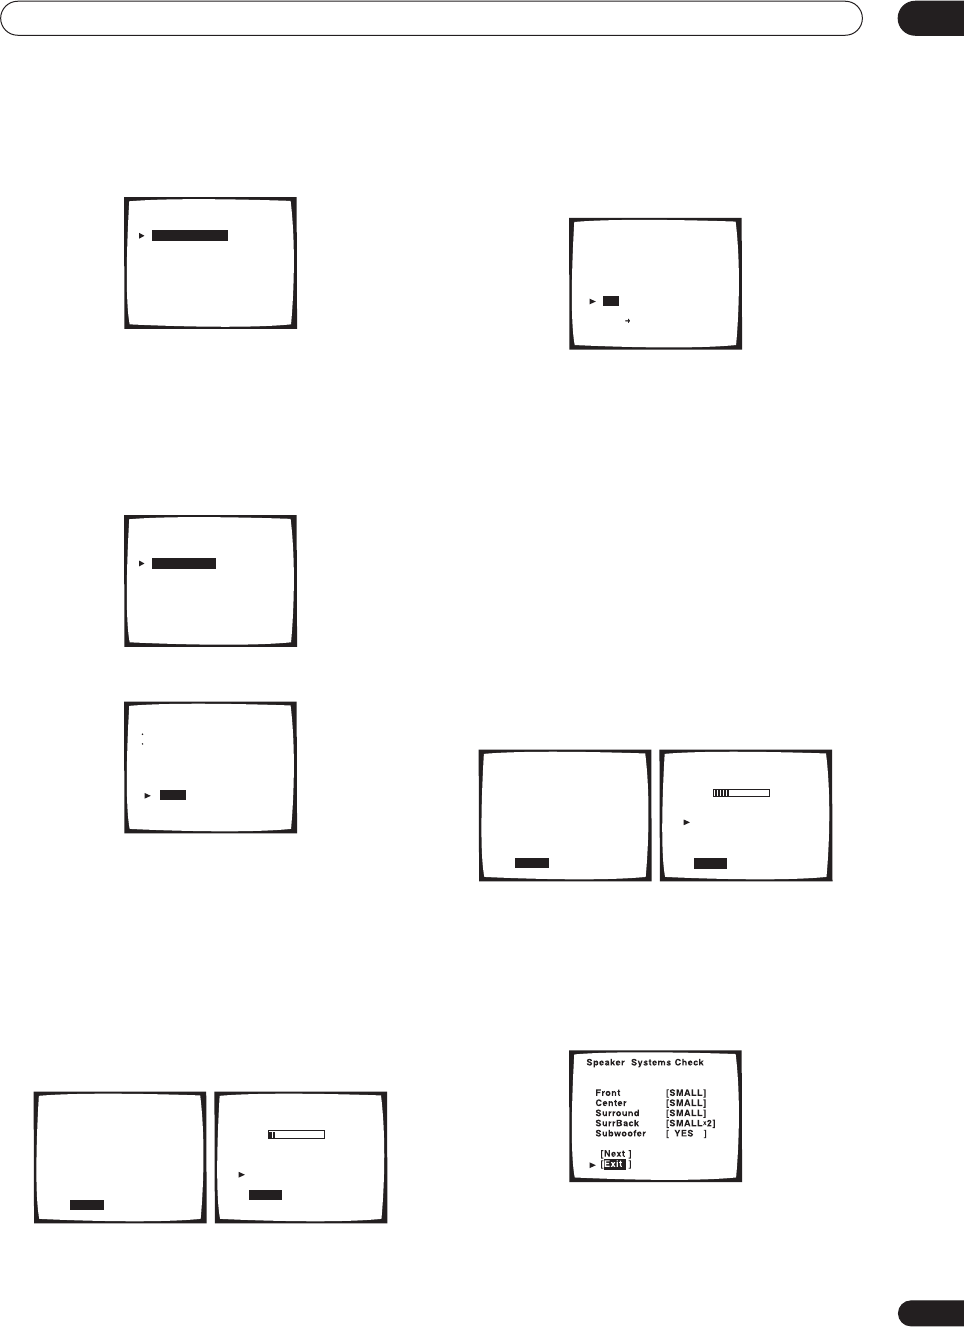
6 Make sure ‘Normal System’ is selected, then
select ‘Exit’.
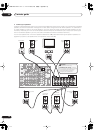
• If you are planning on bi-amping your front speakers,
or setting up a separate speaker system in another
room, read through
Surround back speaker setting
on
page 55 and make sure to connect your speakers as
necessary before continuing to step 7.
7 ‘Auto Setting’ should be highlighted. Press
ENTER.
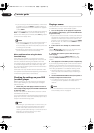
8 Follow the instructions on-screen.
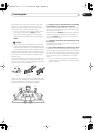
• Make sure the microphone is connected.
• If you’re using a subwoofer, switch it on and turn up
the volume.
• See below for notes regarding high background
noise levels and other possible interference.
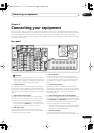
9 Make sure ‘Start’ is selected, then press ENTER.
A progress report is displayed on-screen while the
receiver outputs test tones to determine the speakers
present in your setup. Try to be as quiet as possible while
it’s doing this.
• Do not turn down the volume during the test tones.
This may result in incorrect speaker settings.
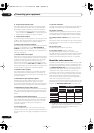
10 Confirm the speaker configuration in the OSD.
The configuration shown on-screen should reflect the
actual speakers you have.
If the speaker configuration displayed isn’t correct, use
the
/
(cursor up/down) buttons to select
Retry
. Follow
the instructions from step 8.
If the configuration is incorrect and you want to input the
settings manually, select
ERR
Fix SP
. Use
/
(cursor
up/down) to select the speaker and to specify the size
(and number for surround back). When you’re finished,
go to the next step.
If you see an
ERR
message in the right side column, there
may be a problem with the speaker connection. If
selecting
Retry
(above) doesn’t fix the problem, turn off
the power and check the speaker connections.
11 Make sure ‘OK’ is selected, then press ENTER.
A progress report is displayed on-screen while the
receiver outputs more test tones to determine the
optimum receiver settings for channel level, speaker
distance, and acoustic calibration EQ.
Again, try to be as quiet as possible while this is
happening.
12 The Auto Surround Setup has finished! Select
‘Exit’ to go back to the Surround Setup menu.
The MCACC indicator continues to light to show the
surround settings are complete.
The settings made in the Auto Surround Setup should
give you excellent surround sound from your system, but
it is also possible to adjust these settings manually using
the Surround Setup menu (starting on page 54).
SurrBack System
[ Normal System
[ Second Zone
[ Front Bi-Amp
[ MR&S
[ Exit
]
]
]
]
]
1.Surround Setup
[ SurrBack System ]
[ Auto Setting ]
[ Normal ]
[ Expert ]
[ Exit ]
Auto Surround Setup
Set microphone
Turn on subwoofer
[ Start ]
[ Cancel ]
Auto Surround Setup
Please Wait
Caution!!
Test tone is
output loudly.
[ Cancel ]
Auto Surround Setup
Now Analyzing
•••
Environment Check
Ambient Noise [OK]
Microphone [OK]
Speaker YES/NO [OK]
[Cancel]
Check!!
Front [ YES ]
Center [ YES ]
Surround [ YES ]
SurrBack [ YES
X
2 ]
Subwoofer
[ YES ]
[OK]
[Retry]
[ERR Fix SP.]
[Return to Menu]
Auto Surround Setup
Please Wait
Caution!!
Test tone is
output loudly.
[ Cancel ]
Auto Surround Setup
Now Analyzing
•••
Surround Analysis
Speaker Systems [OK]
Speaker Distance [OK]
Channel Level [OK]
Acoustic Cal EQ [OK]
[Cancel]
VSX-AX5Ai.book 13 ページ 2004年6月2日 水曜日 午後3時27分