


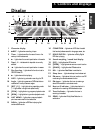
3 Controls and Displays
18
En
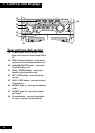
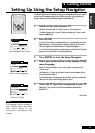
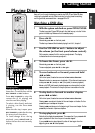
TIMER/CLOCK ADJ
DISPLAY
SET
S.M.JOG
STANDBY/ON
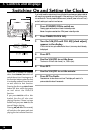
Switching On and Setting the Clock
If you’ve followed the instructions to here, you should now have your system installed
with everything connected up and plugged in. After switching on, the first thing to do
is to set the clock. This only needs to be done once (unless all power to the unit is cut)
and will enable you to use the timer features.
1 Press STANDBY/ON to switch on.
Pressing again switches the unit back into standby mode.
Note: the system uses less than 1W of power in standby mode.
2 Press TIMER/CLOCK ADJ.
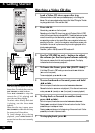
3 Turn the S.M.JOG until CLK ADJ (clock adjust)
appears in the display.
If this is the first time you’ve switched on the unit, CLK ADJ should already
be displayed.
4 Press SET.
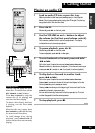
5 Use the S.M.JOG to set the hour.
The time is in 24-hour clock format (i.e., 13:00 is 1pm).
6 Press SET.
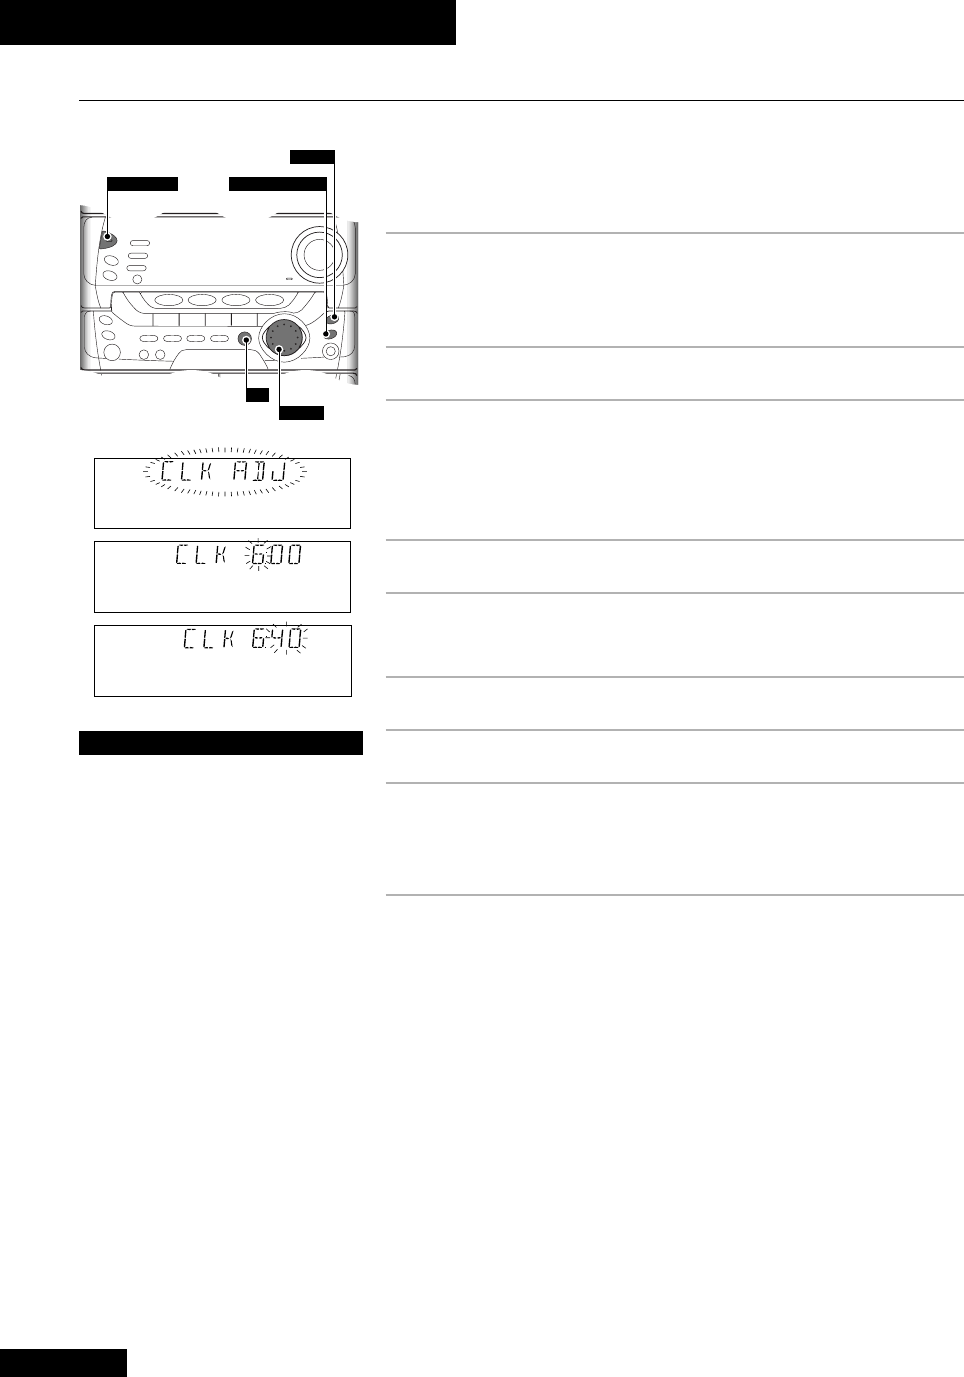
7 Use the S.M.JOG to set the minute.
8 Press SET to finish.
Press DISPLAY to show the current time. The display will revert to it’s
previous state after about five seconds.
Tip
There are a number of buttons
other than STANDBY/ON which will
switch the unit on. Pressing any of
the function buttons when the unit
is in standby mode will turn the unit
on and switch to that function.
Pressing the disc tray OPEN/CLOSE
button will also switch the power
on and select the DVD/CD
function.
If you press
DVD/CD with a disc
loaded, the disc will also start
playing. Likewise, if there is a tape
loaded and you press TAPE I/II, the
tape will begin playing.
Pressing ` (
2
6 on the remote)
will switch on the power and start
playing the last selected function.