27
Recording on TAPE
Basic section
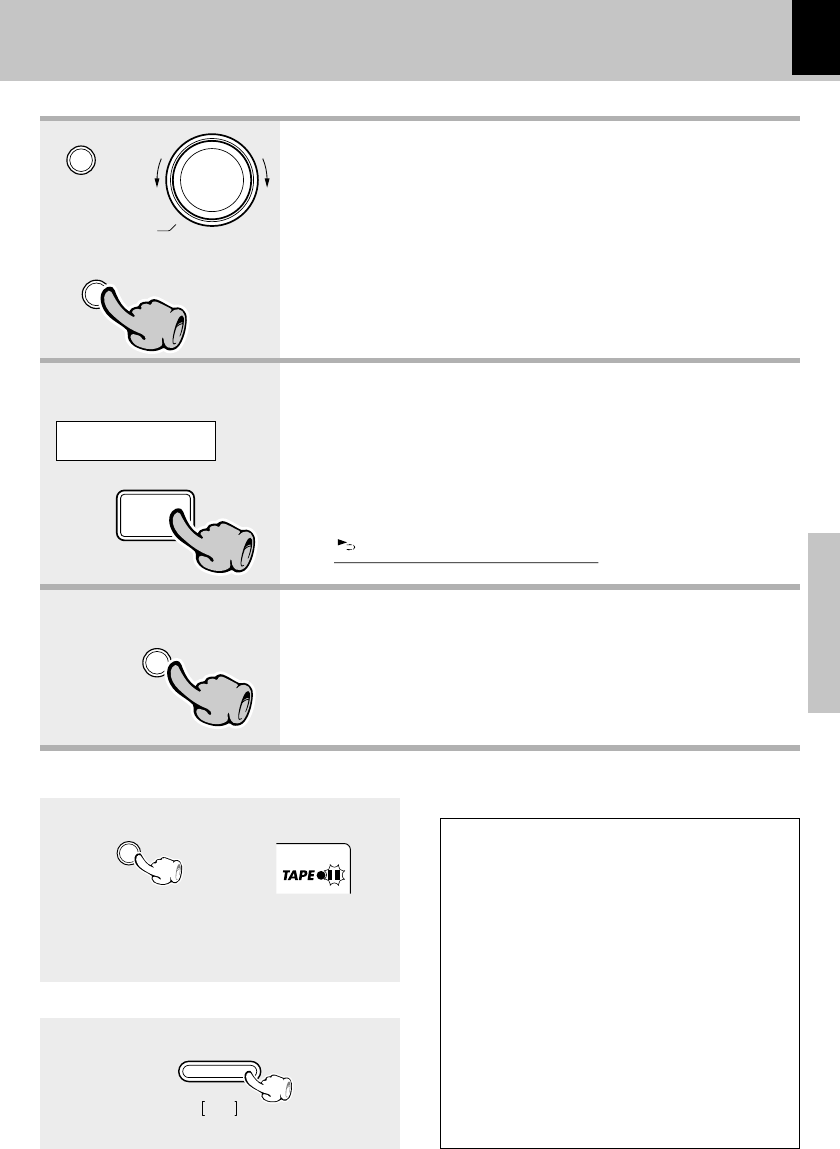
5. Start recording.
4. Select the source to be recorded.
Select an input source other
than "TAPE"
÷ If a CD has already been loaded, it starts to play now. Press the 7 STOP
key to stop it.
1 Press the TAPE rec key.
2 Play (or tune) the input source to be recorded.
÷ Recording stops automatically when the tape side (s) to be recorded have
been fully recorded.
CD (CD-DA, VIDEO CD with PBC OFF and MP3 file)[For PBC OFF *]
TUNER (Broadcasts)
AUX (External input) [Adjusting the AUX input level e]
Pause the recording
÷ Press the TAPE rec key during recording. It stops
after leaving a non-recorded blank of 4 seconds.
(Press the key again to resume recording.)
Lights
The character information
display shows the recording
input source.
Stop the recording
Select the reverse mode. ™
3. Set the recording condition.
÷ Check the tape transport direction before starting recording. If it is set to
the reverse direction, only one side of tape can be recorded regardless of
the reverse mode setting made here.
÷ The tape equalizer is defeated during recording.
\
\
\
\
Example:
To select the CD input
1 Put the CD player in pause mode.
2 Select the track to be recorded with the skip
(4, ¢) keys. (The CD player pauses at the
beginning of the selected track.)
3 Put the cassette deck in Record-pause
mode. (Press TAPE rec key twice)
4 Start playing the CD. (Recording starts)
Points in CD recording (CD-DA and VIDEO CD with PBC
OFF only)
When recording CD tracks onto a tape, if you
leave the cassette deck in record-pause mode be-
forehand, the cassette deck recording can be
started at the CD starts to be played.
÷ To stop recording, press the 7 STOP key.
menu
volume / multi control
set
/
demo
33
6
CD
44
TAPE rec
55
TAPE rec
7
stop
Tuning
Mode
CD CD-DA
